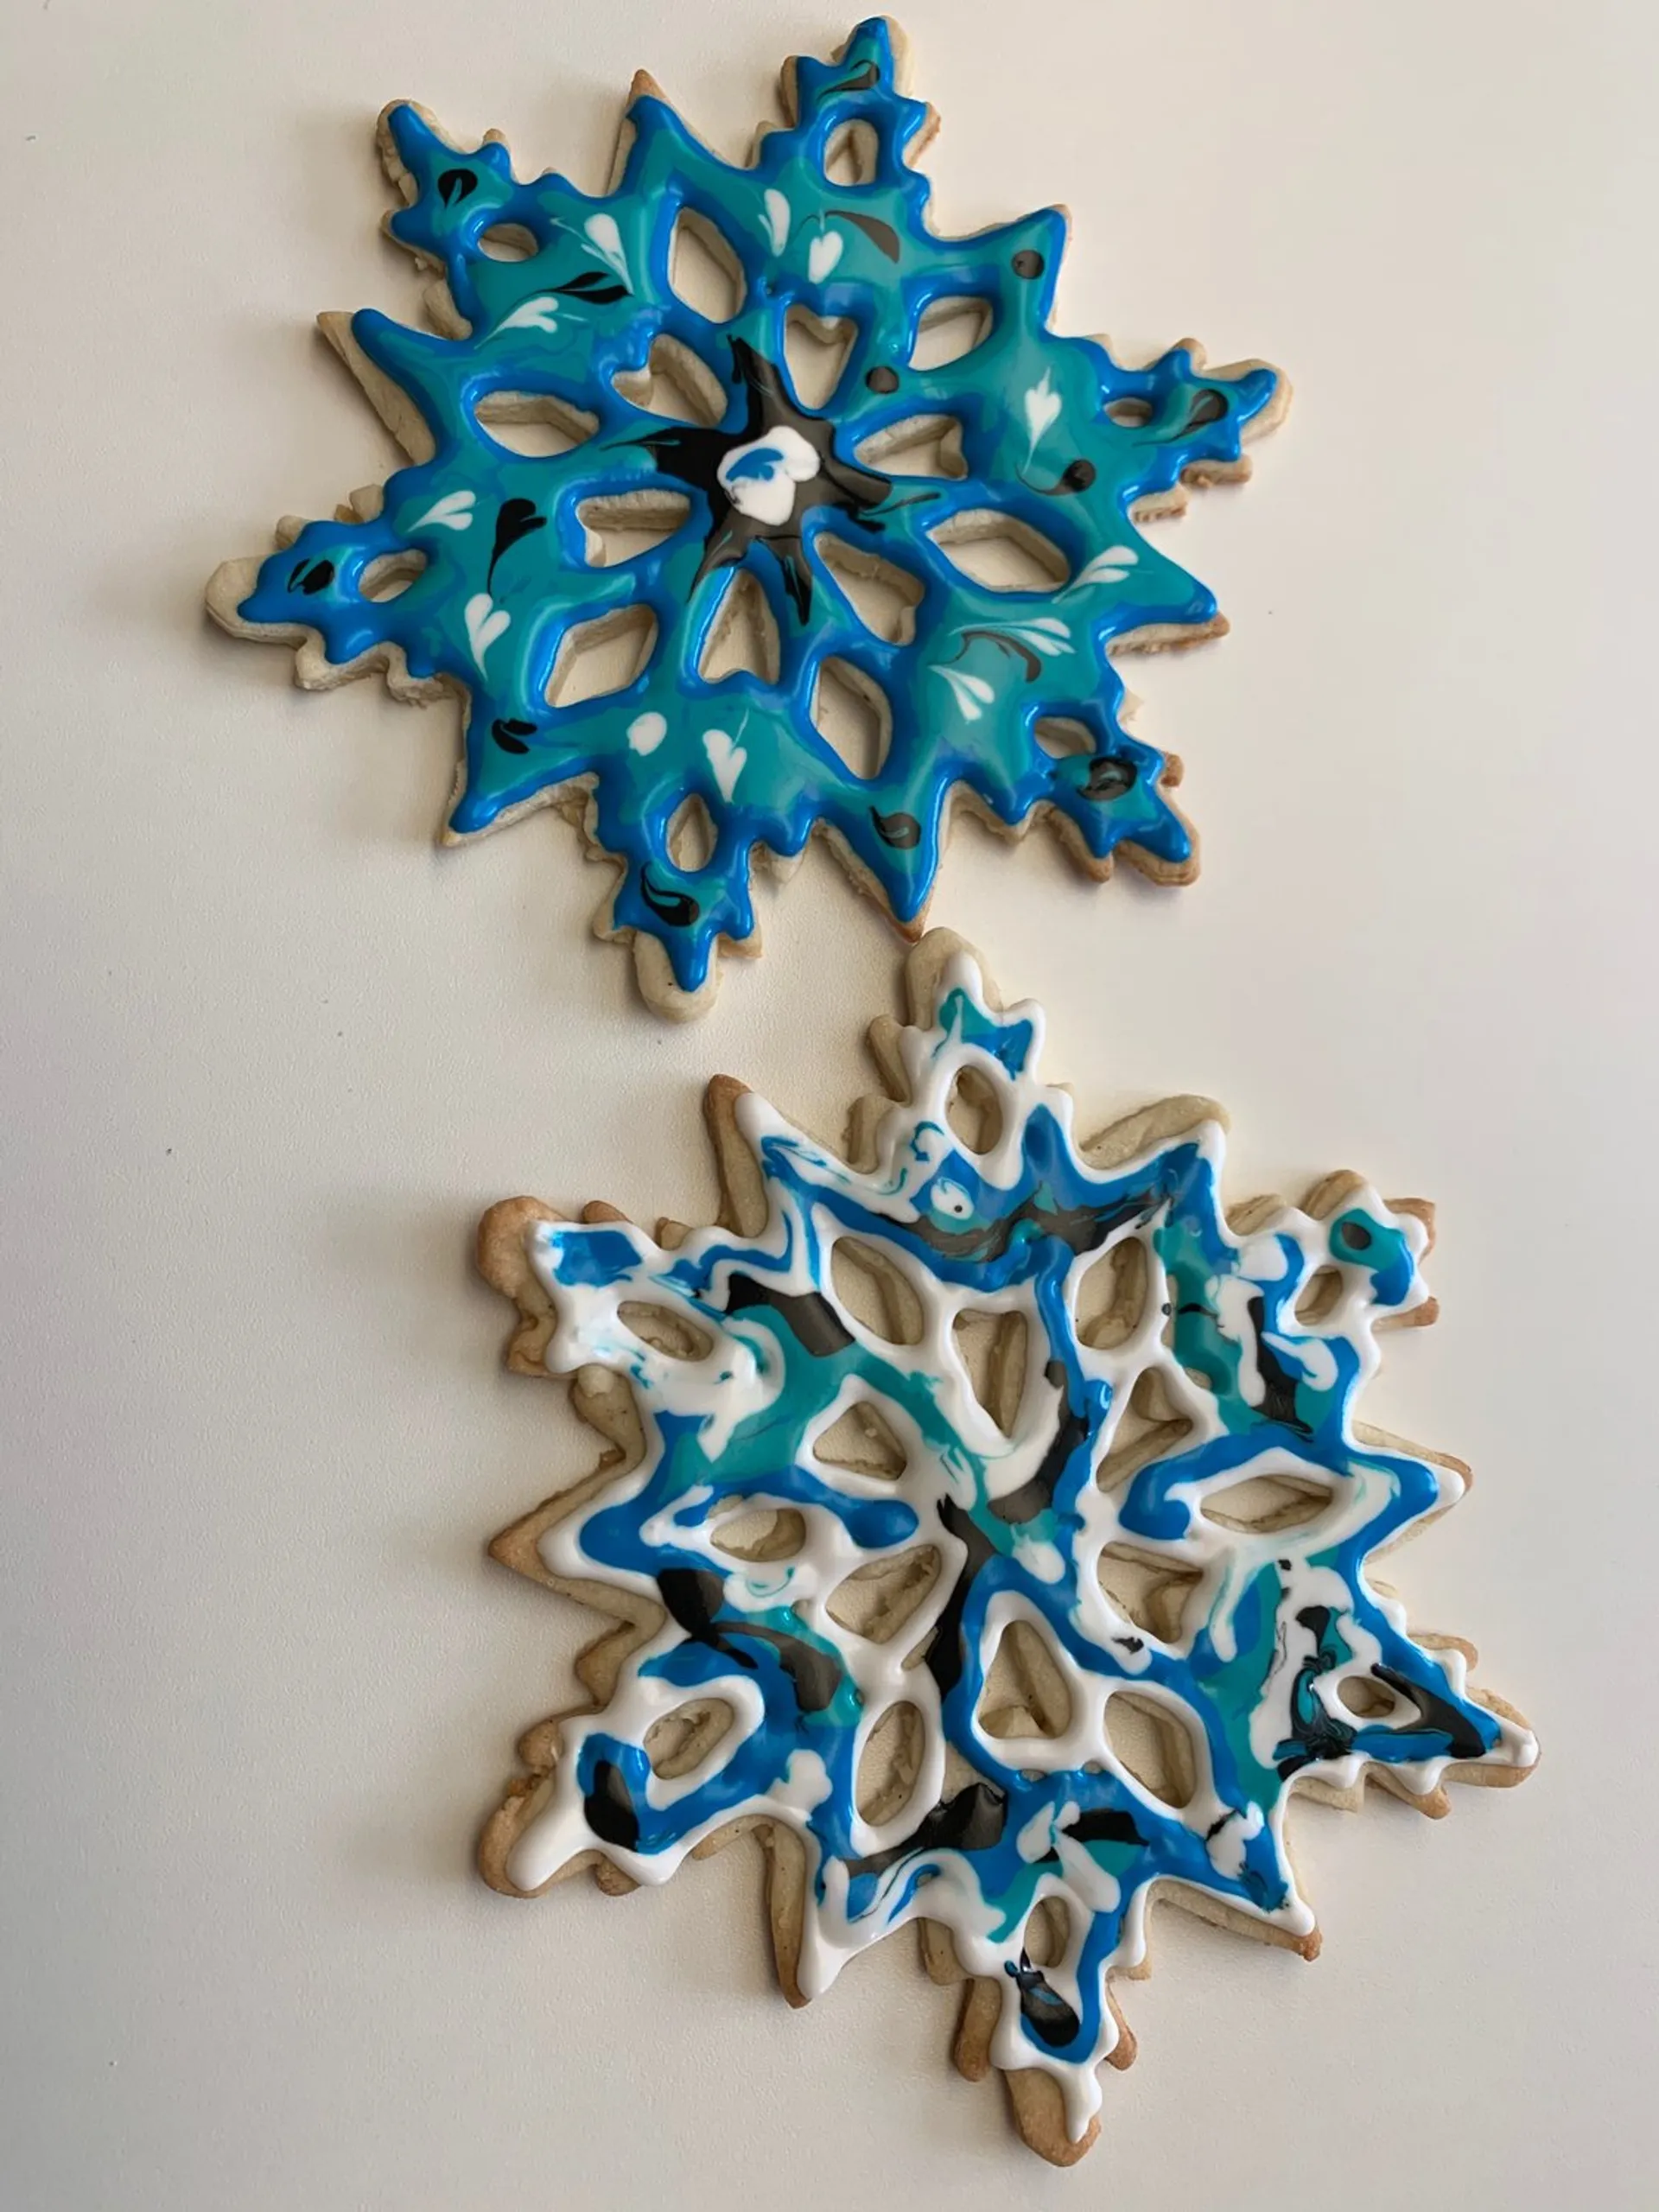
Abstract Snowflake Cookie
Intermediate
Learn how to decorate an abstract snowflake sugar cookie using royal icing flooding and color-pulling techniques.
Supply List
Sugar cookies in the shape of snowflakes
Royal Icing (Recipe)
Gel colors
4 piping bags
1 tall glass
Toothpicks
Scissors
Water
Paper towels
Small bowls to mix colors into the royal icing
Spoons
Instructions
- Split the royal icing into 4 small bowls. Color the icing using gel colors of your choice, and stir with a spoon.
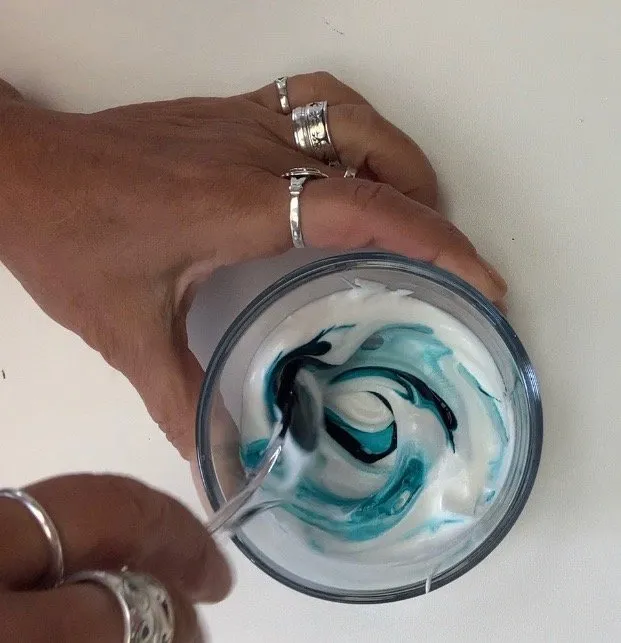
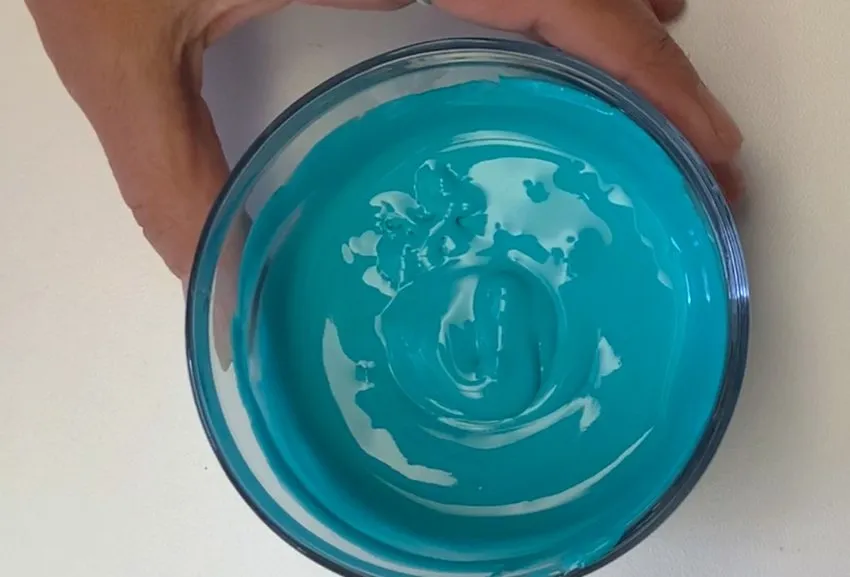
- Check for the correct flooding consistency: take some icing on a spatula and drop it back into the bowl. If it sinks after a full count of 10, the icing is thin enough for flooding.
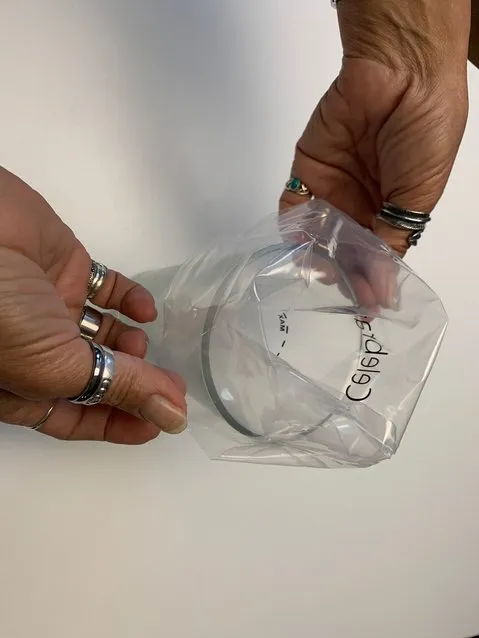
- Place a pastry bag over a tall glass and “cuff” the excess over the edge. Fill the bag 1⁄2 to 2⁄3 full.
- Squeeze the filled pastry bag to remove air bubbles, then twist and tie off the end.
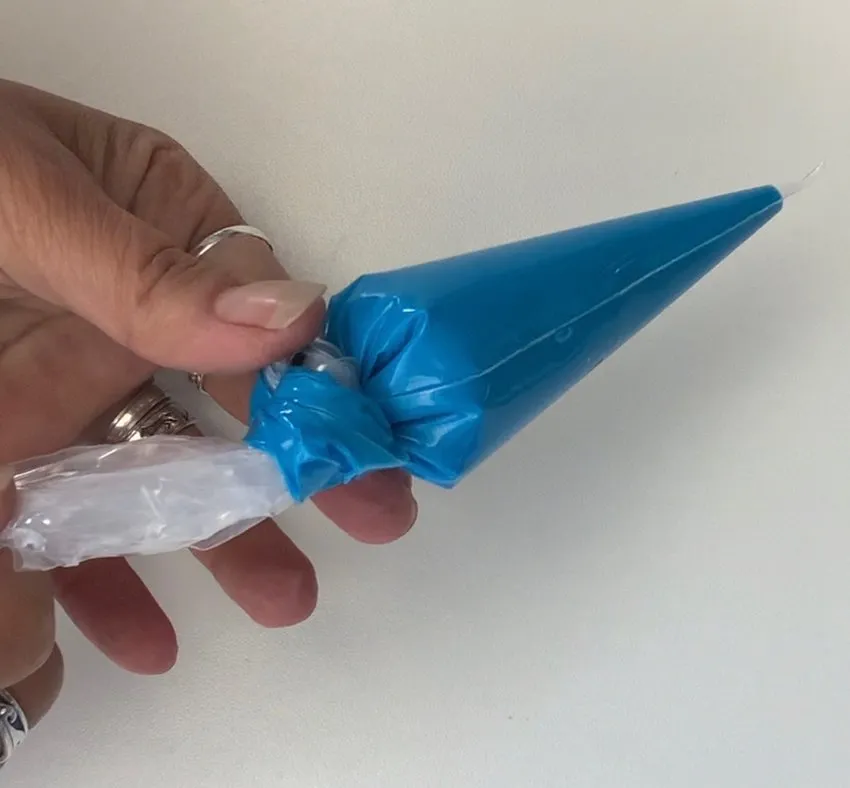
- Repeat this process for all the colors.
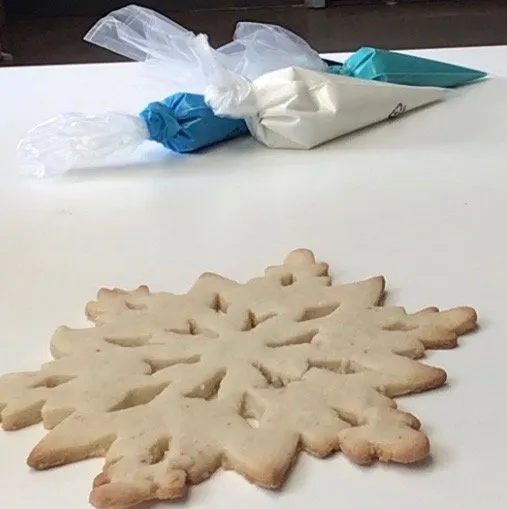
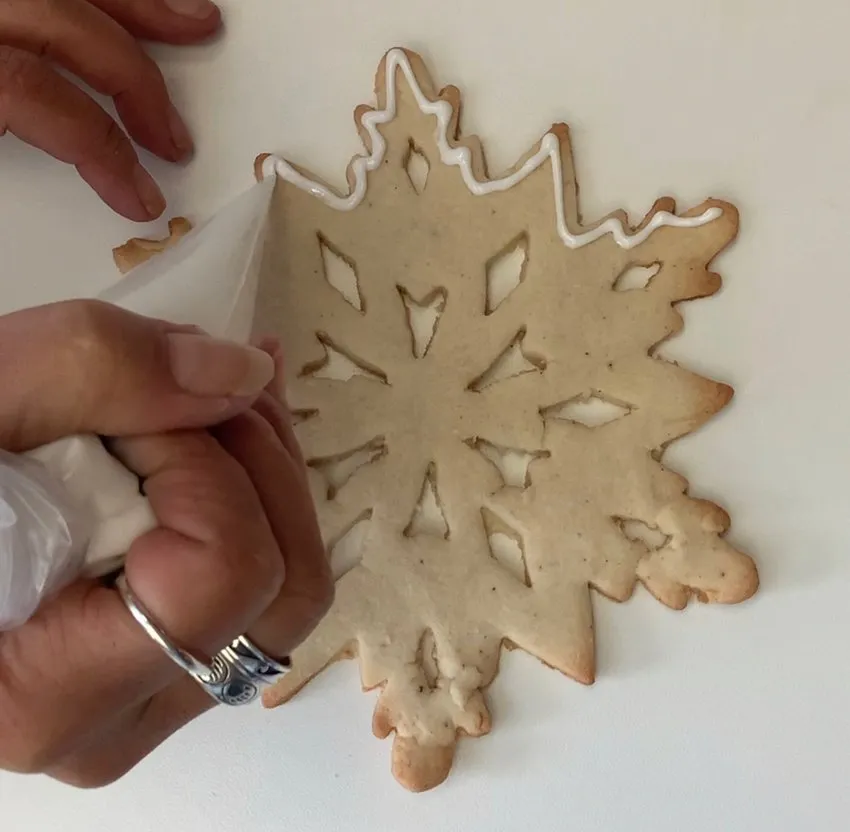
- Cradle the pastry bag against your palm between your thumb and fingers. Squeeze to control the flow of icing. Start by outlining your cookie, keeping the icing about 1⁄8 to 1⁄4 of an inch from the edge.
- Once outlined, use the flood icing and a scribe or toothpick to pull colors together.
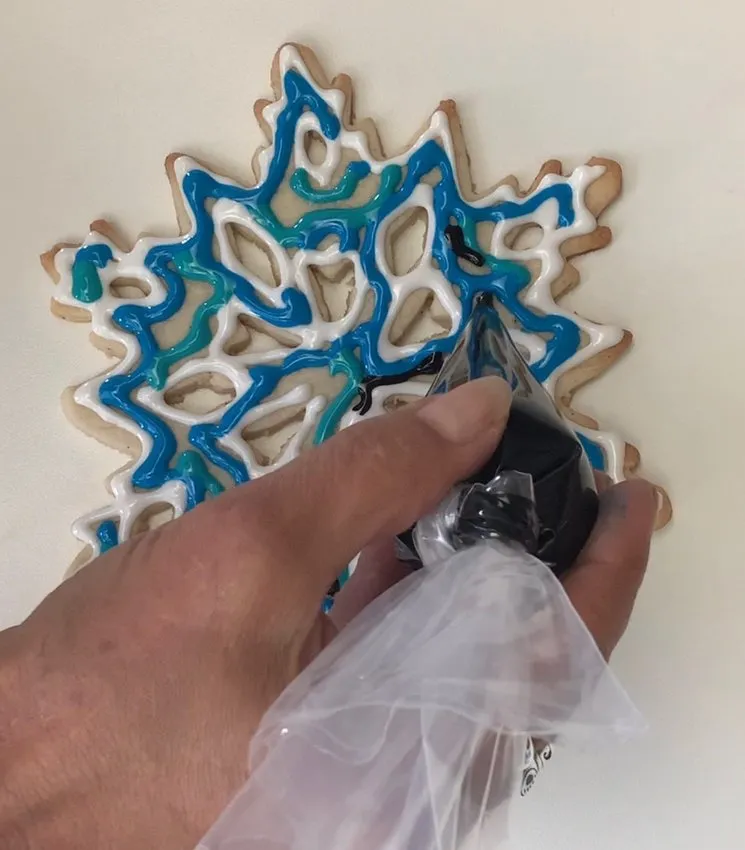
Products Used
•
Artisan Accents: Gel colors (black, blue, turquoise)