Chocolate Surprise Pumpkin

Intermediate
Learn how to make a hollow chocolate pumpkin filled with candy — a fun twist on the classic piñata for Halloween.
Supply List
Silicone pumpkin mold
White chocolate melting wafers
Edible colors
Edible dusting powder
Candy thermometer
Plastic or glass bowl
Stirring spoon
Microwave
Paint brushes
Clay tool
Silicone mat
Water
Instructions
Using a microwave, temper white chocolate wafers.
- Heat for 30 seconds.
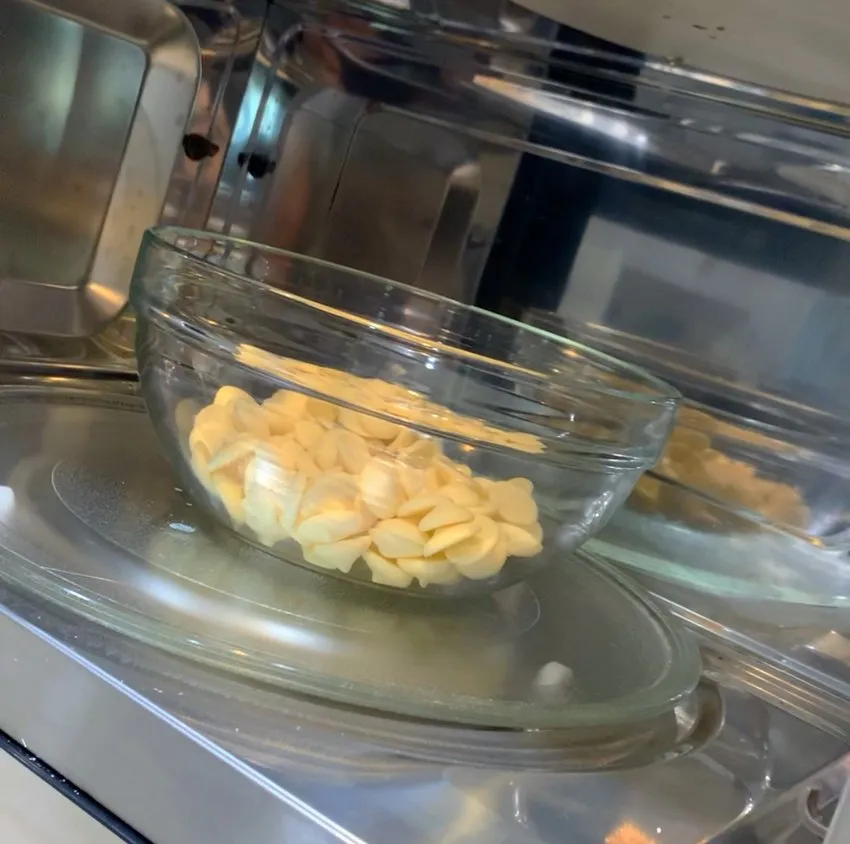
- Then continue heating for 15-second intervals.
- Stir the chocolate in between bursts to ensure it melts evenly.
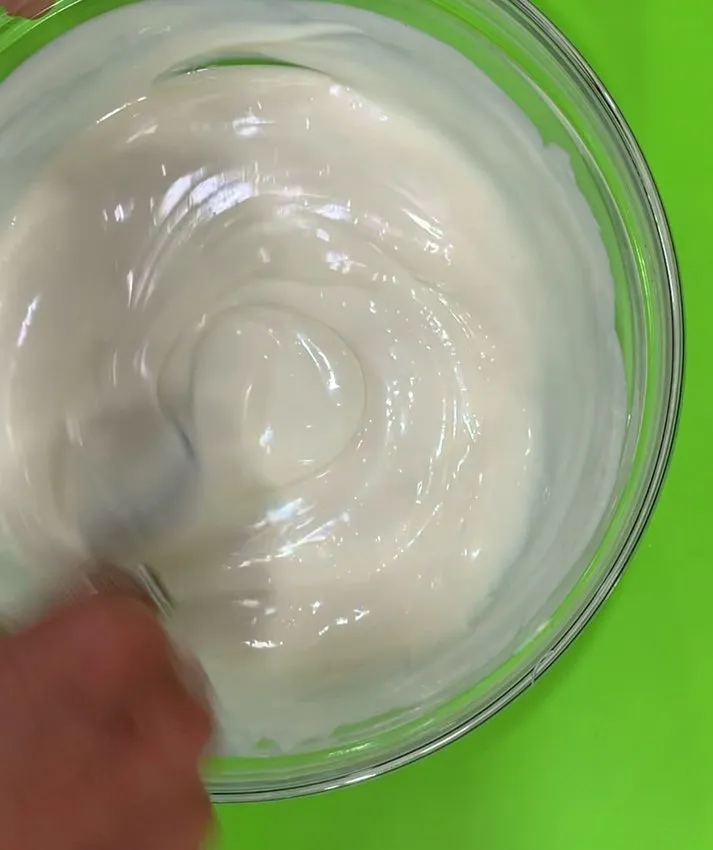
- Temper until chocolate is 87-88 degrees Fahrenheit.
- Heat for 30 seconds.
- Pour tempered chocolate into pumpkin mold.
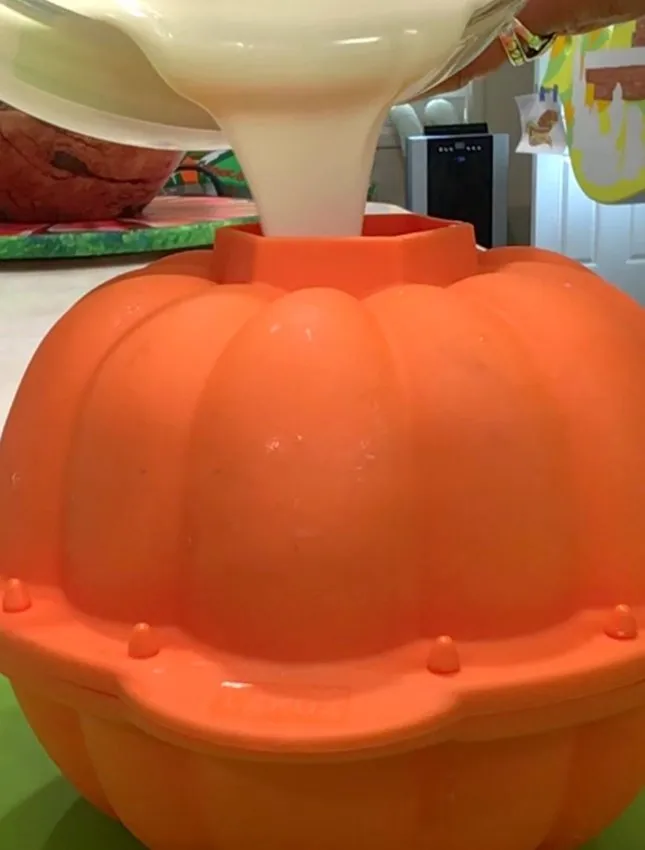
- Swirl the mold slowly to coat the inside. Pour off excess and let harden.
- Carefully remove hardened chocolate from the mold.
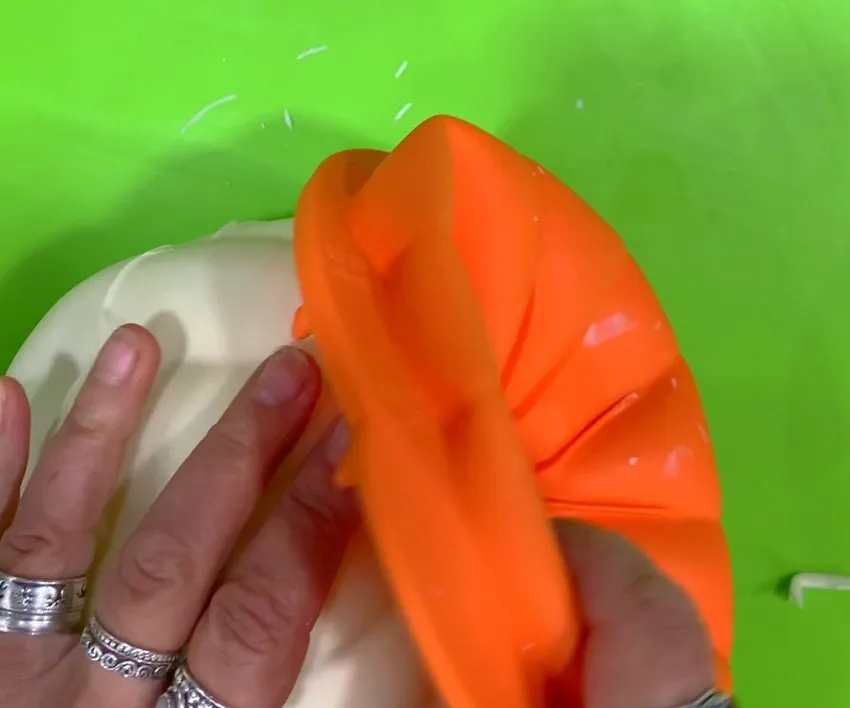
- Temper more white chocolate and shape into a stem.
- Pour your favorite candy into the chocolate pumpkin.
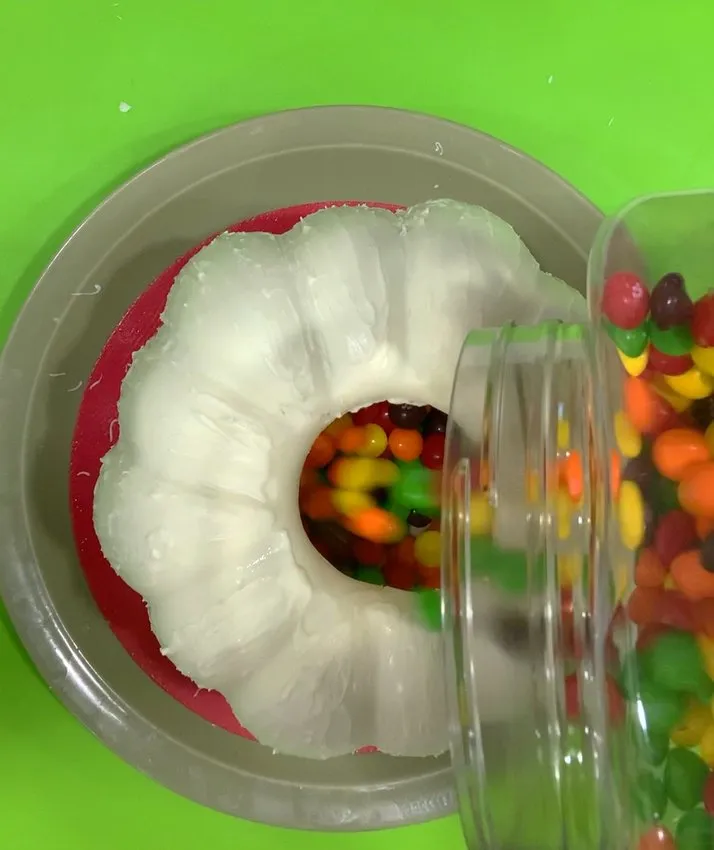
- Place the stem on top. Seal with tempered chocolate.
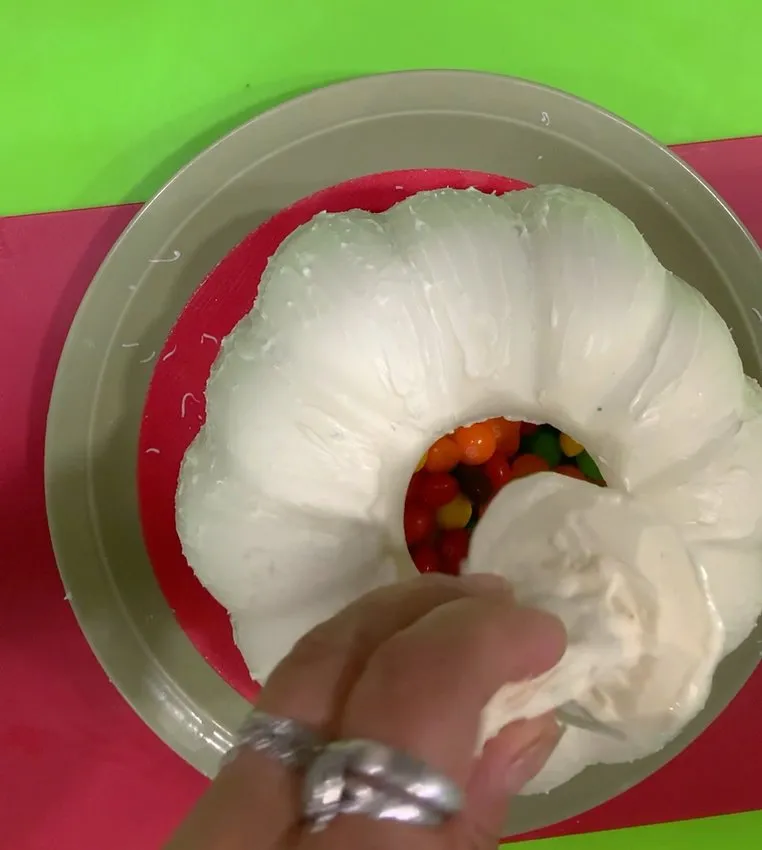
- Detail surface using a clay tool and a small precision knife.
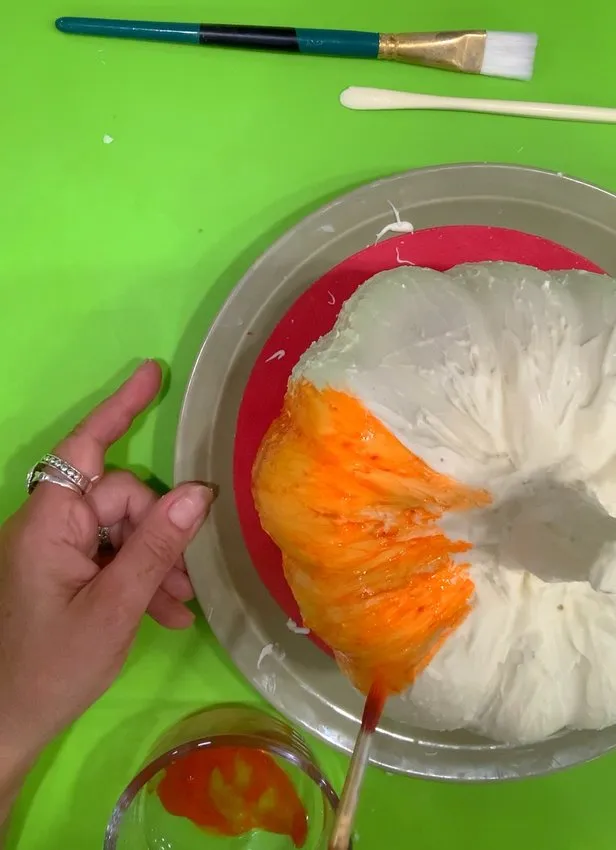
- Paint and dust with edible colors.
Notes
•
Temper white chocolate to 87-88 degrees Fahrenheit for best results.
•
Heat for 30 seconds, then in 15-second intervals, stirring between bursts.
Products Used
•
Ghirardelli: White chocolate melting wafers
•
The Sweet Chalet: Chocolate Chameleon colors (peach or orange and lime green)
•
The Sugar Art: Edible dusting powder (shades of oranges and greens)