Cute Scarecrow Cake Topper

Beginner
Learn how to make a cute scarecrow cake topper out of fondant with this step-by-step tutorial. Perfect for autumn cakes and fall-themed confections.
Supply List
Fondant: blue, red, black, white, yellow, and brown
Cake tools
Scissors
Ball tools (small and large in size)
Small rolling pin
Silicone mat
Small precision knife
A cup of water
Wooden skewer
Cutting wheel
Textured wheel
Powdered colors (navy blue and brown)
Paint brush
Instructions
- With blue fondant, make a two-inch cone for the scarecrow’s body.
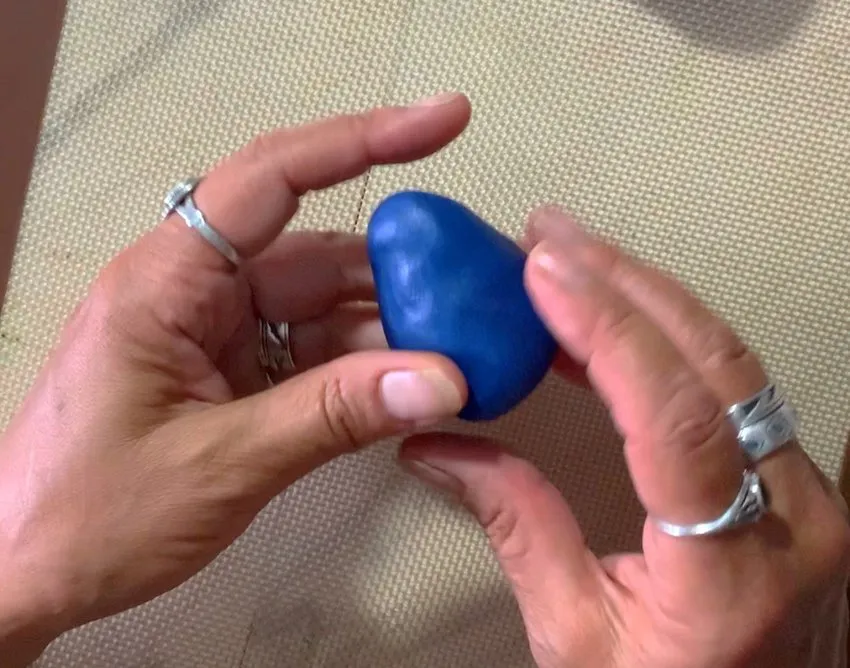
- Roll out blue fondant about 4 ½-inches long and ¼-inch thick; cut in half for the legs. Using a large ball tool, open up the bottom part of the pant legs.
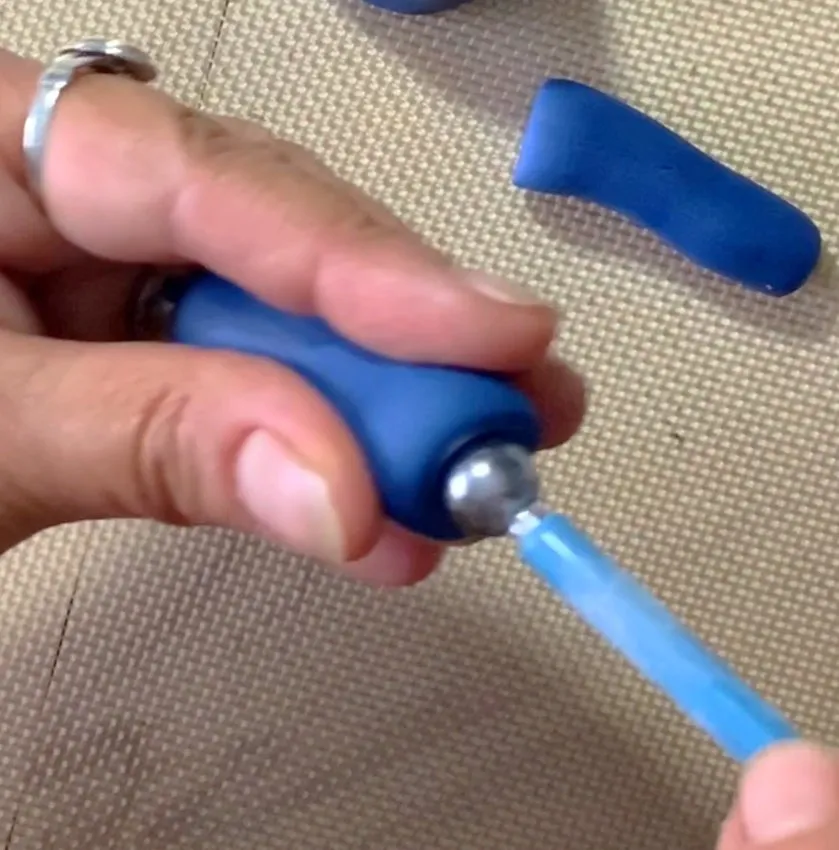
- Pinch the other end and attach to the body using a little bit of water and a sculpting tool.
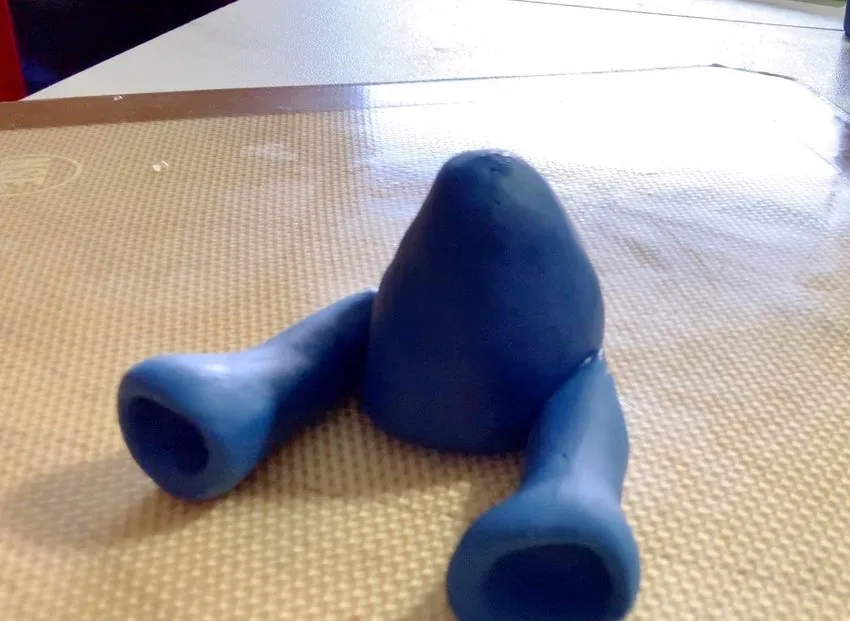
- Make a one-inch circle out of yellow fondant; using scissors, cut all the way around to make the straw.
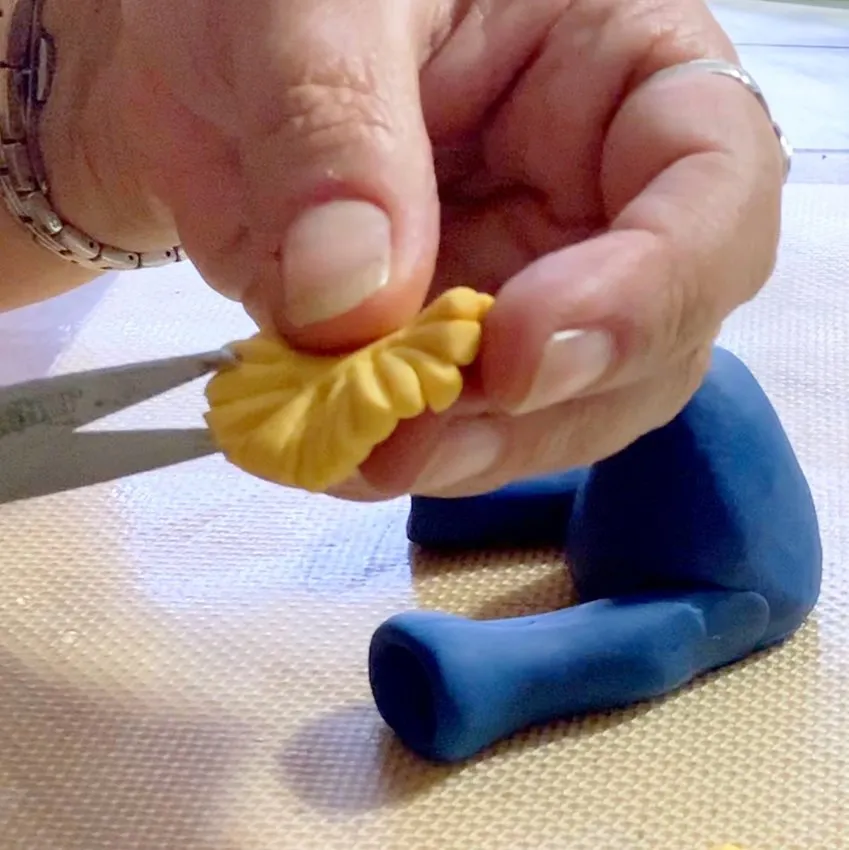
- Using a little bit of water and the ball tool, add the straw to the bottom half of the legs.
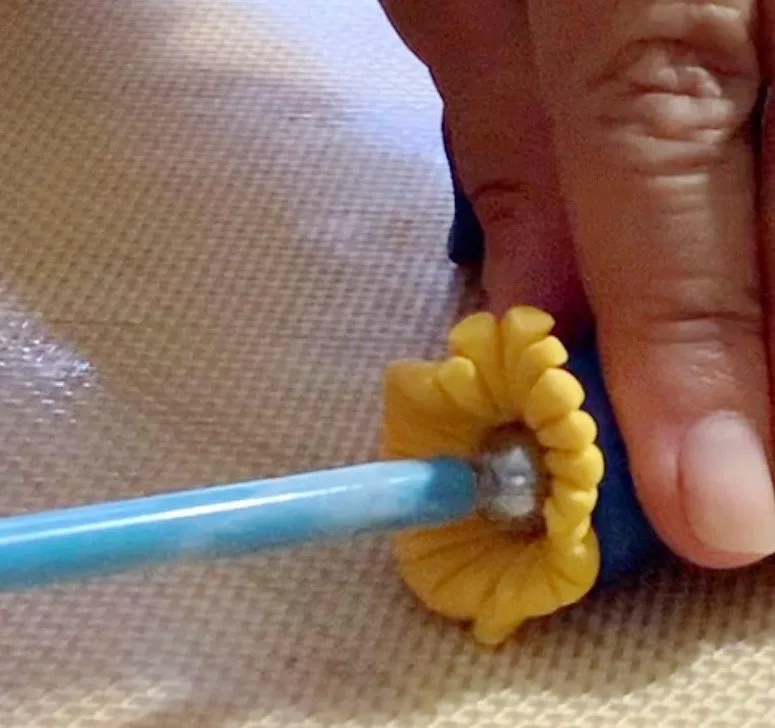
- Using red fondant, make the top half of the body (about 2-inches high). Add to lower body. Use a wooden skewer that sticks out about a quarter-inch at the top for head.
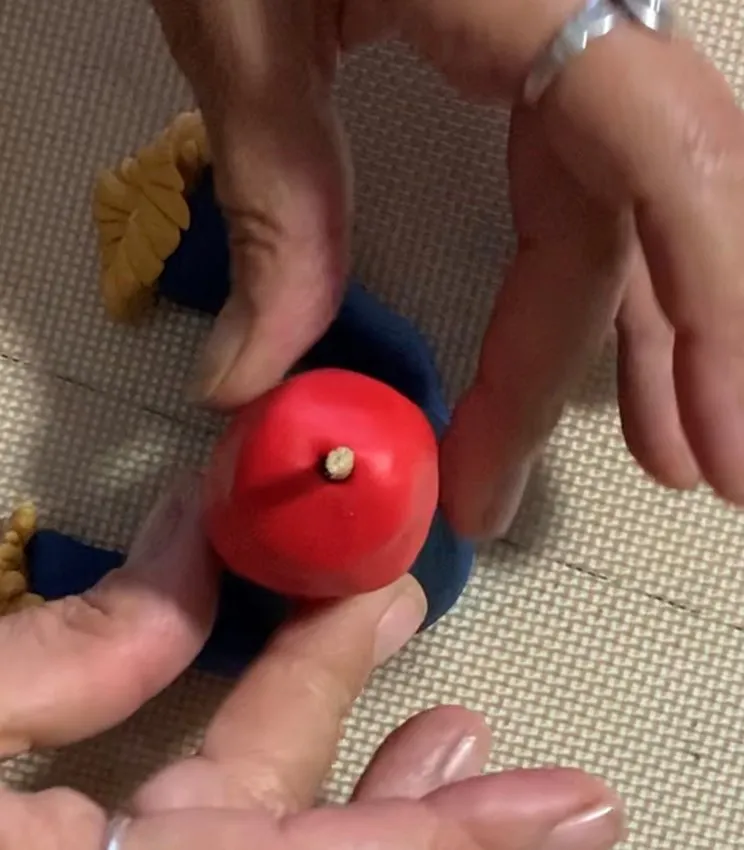
- Roll red fondant thin. Using a wheel cutter and textured wheel, cut jacket to fit. Add to the upper body using a little water to attach.
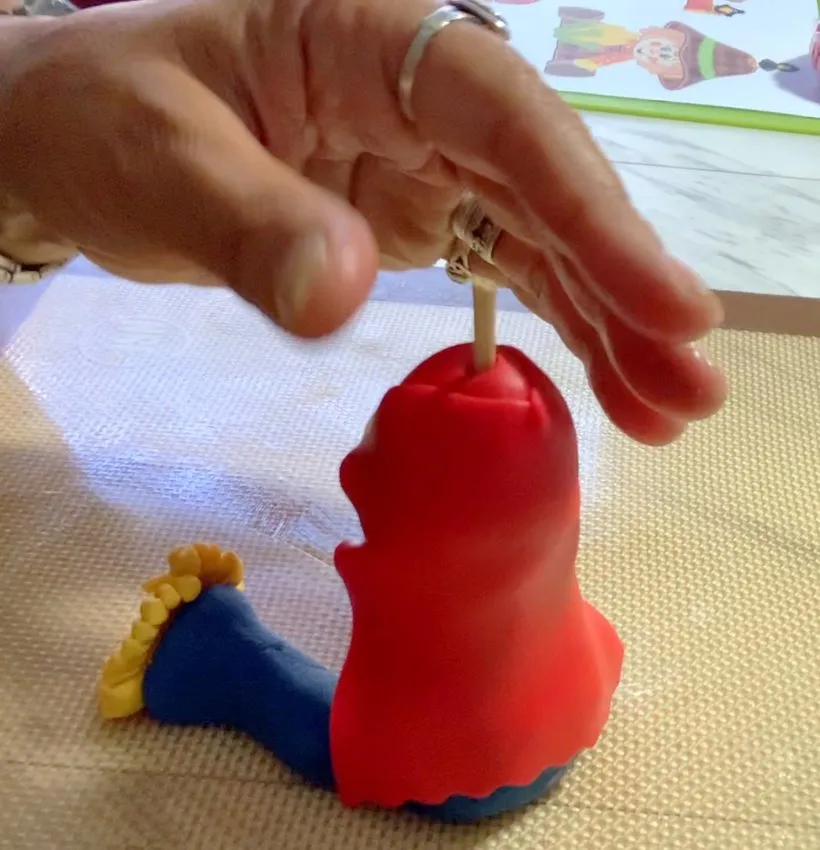
- Roll a thin strip of red fondant to make the collar for the jacket. Cut a V for the front and wrap around the neck area using a little water to attach.
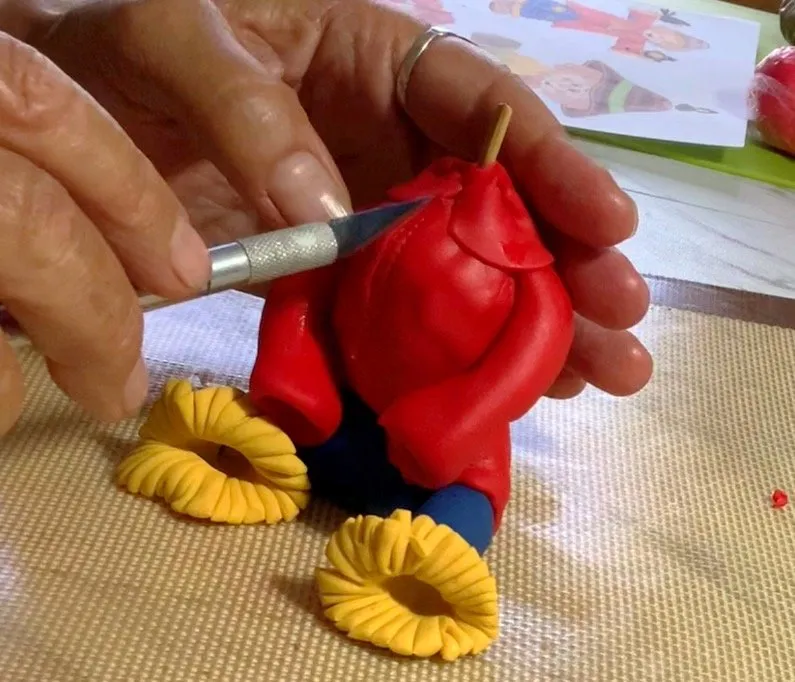
- Using a small textured wheel, add stitches to the jacket up and down both sides and the front.
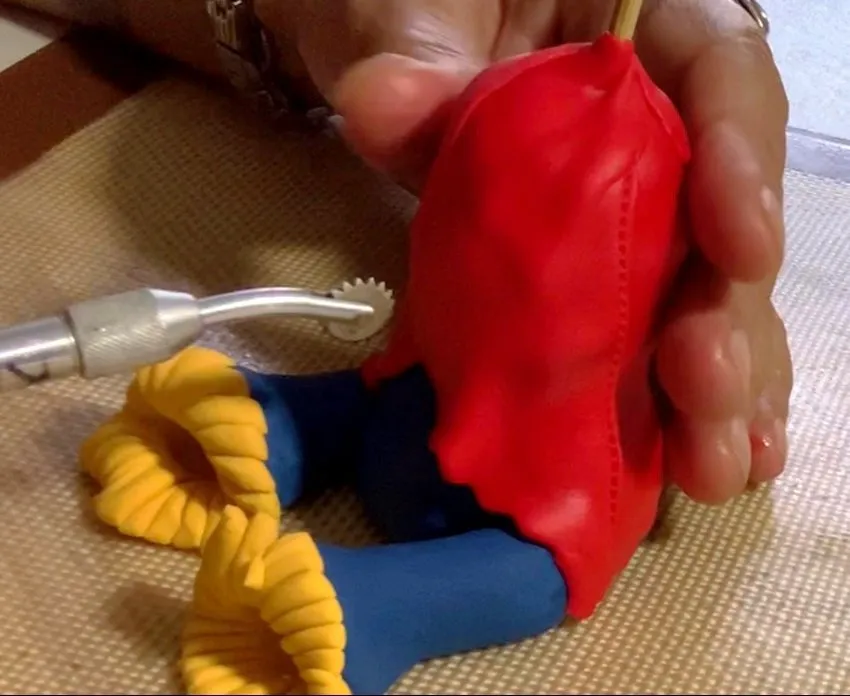
- Using a large ball tool, open up the bottom part of the arms. Make a 1-inch circle out of yellow fondant; using scissors, cut all the way around to make the straw. Using a little bit of water and the ball tool, add the straw to the bottom half of the arms.
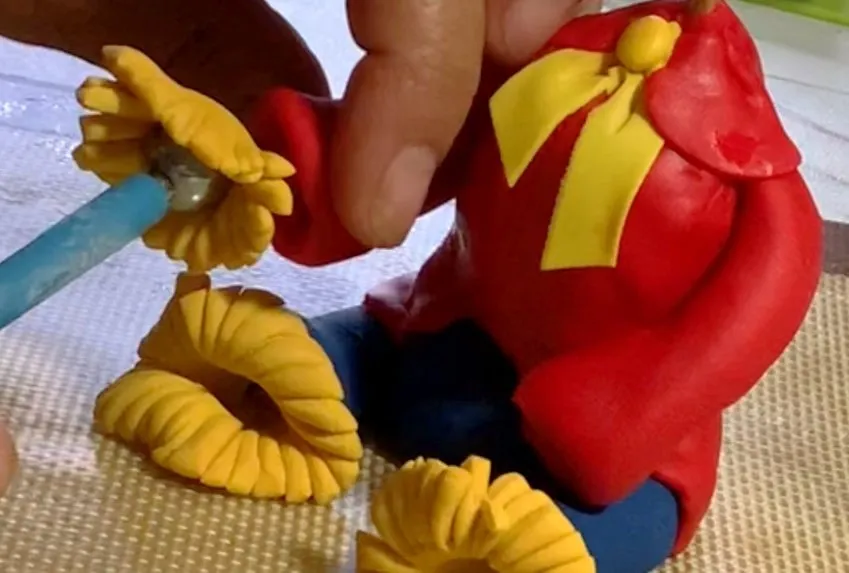
- Pinch the ends of the arms and add to body with a little water.
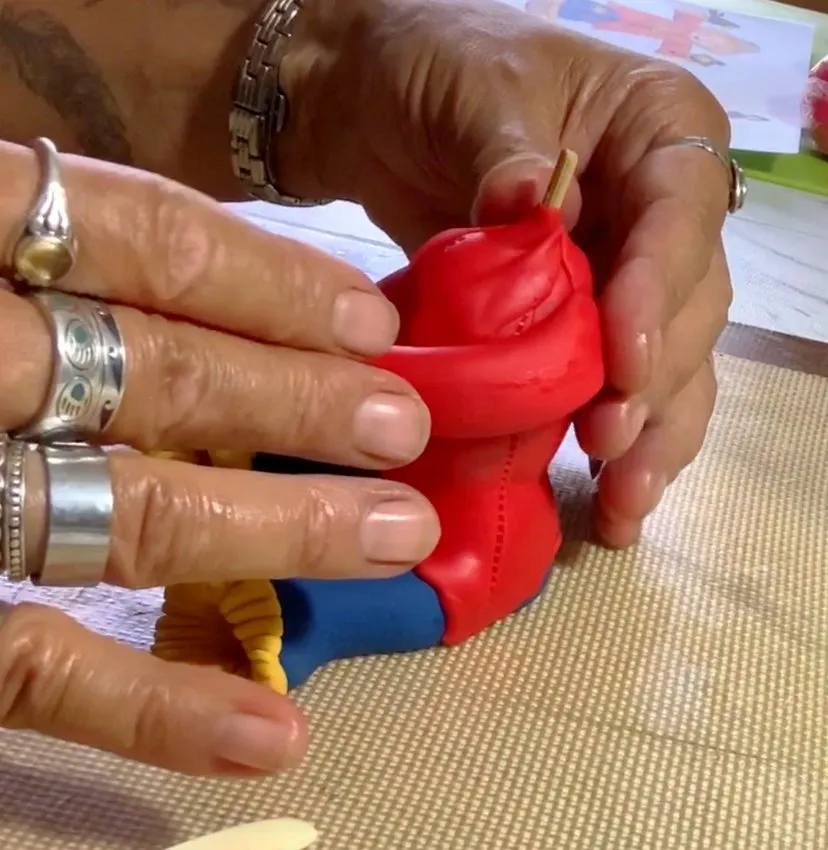
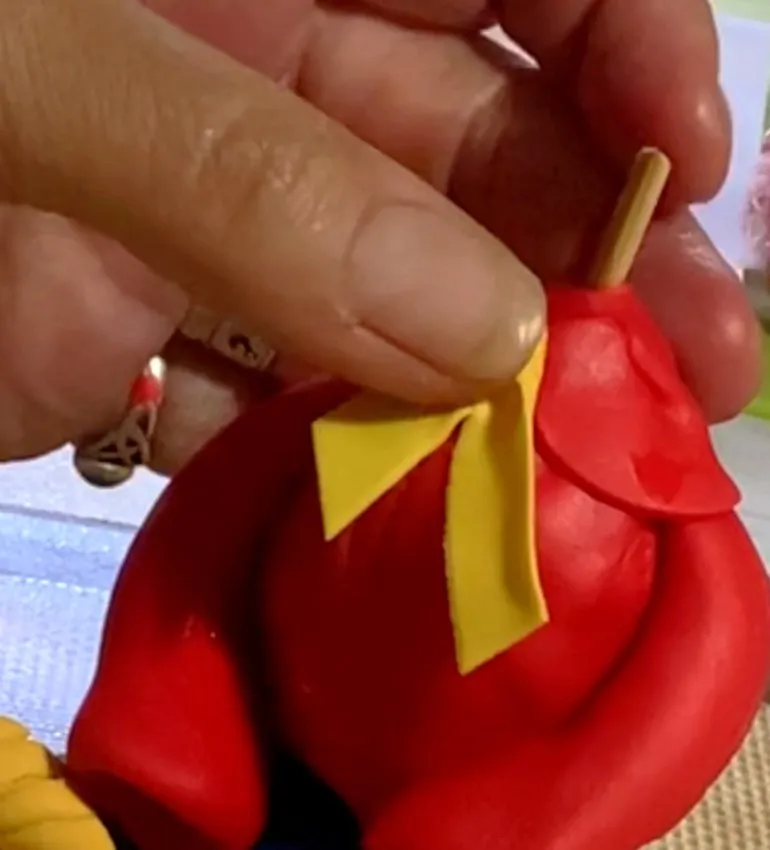
- Roll a thin piece of yellow fondant about a quarter-inch wide and 3 ½-inches long for the bow tie. Fold in half; cut bottom edges at an angle. Using a little water, add to body, then make a little yellow ball for the middle of the bow.
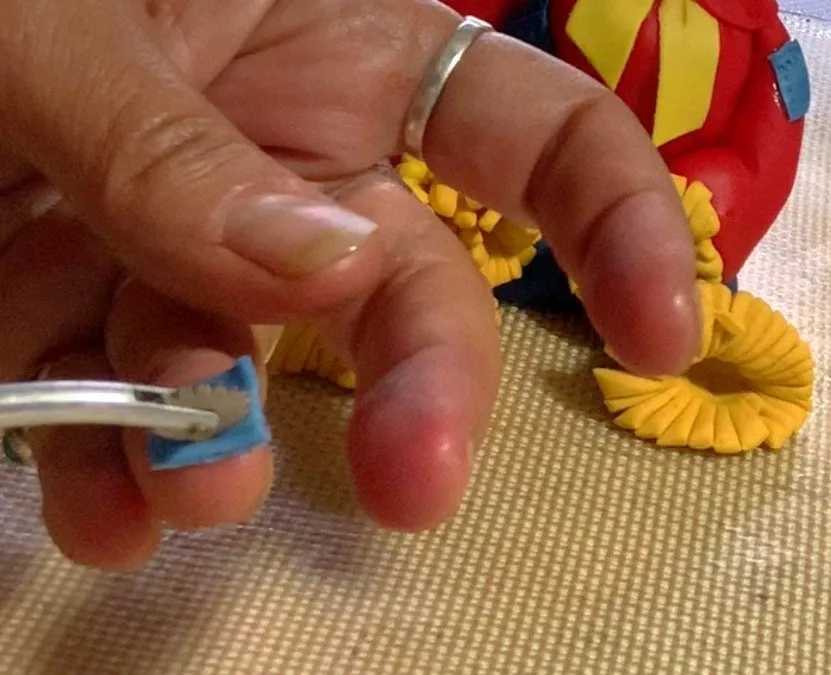
- Make patches by using differently colored fondant. Roll tiny squares and then texture to look like stitching; add to jacket with a little water.
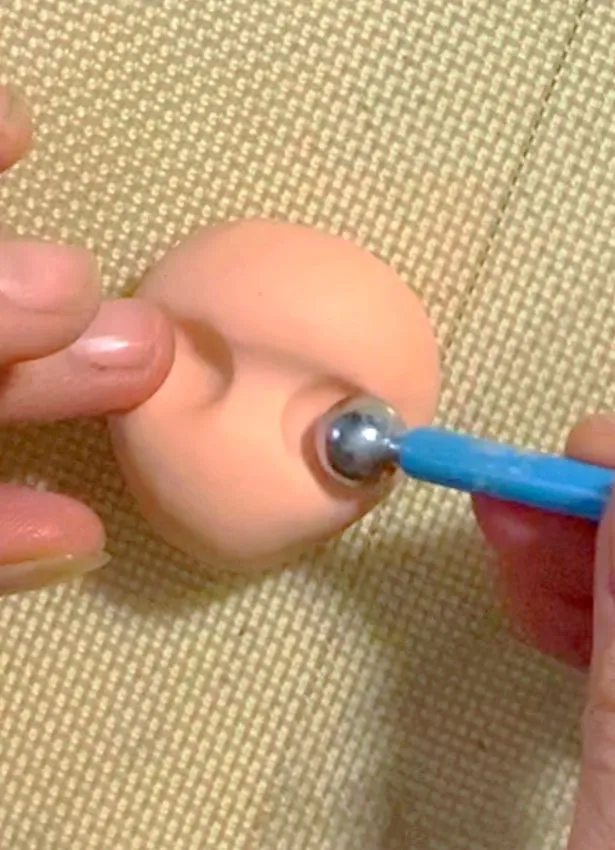
- Using a fondant of your choice, roll a ball about 2-inches for the head. Using a small ball tool, make indentations where the eyes will be and start shaping face. Using a clay tool, open up the mouth area; add a little bit of black fondant to the mouth area using clay tool and a little water.
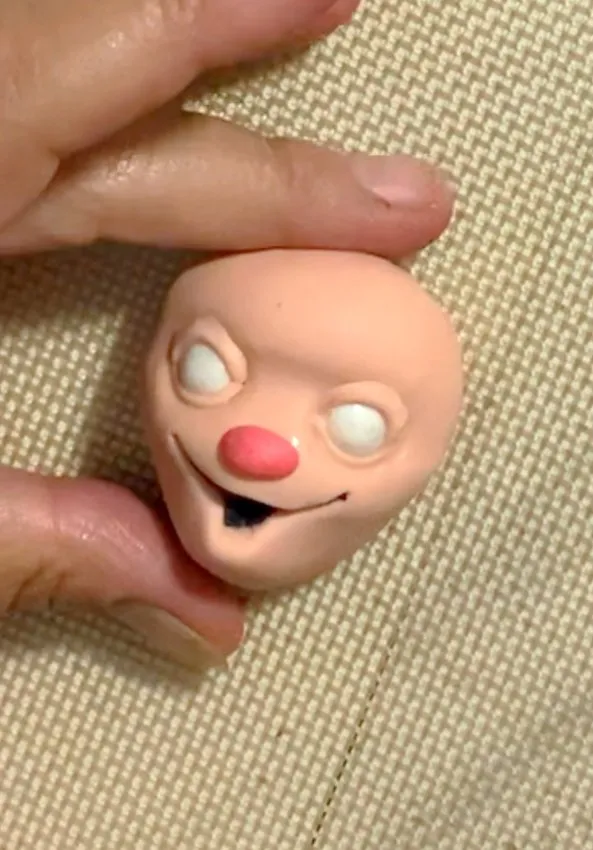
- Make two small balls to fit in the eye area out of white fondant; using a little water, add to the face. Using a little bit of deep pink fondant, make a small oval nose and add to the face. Place head onto body.
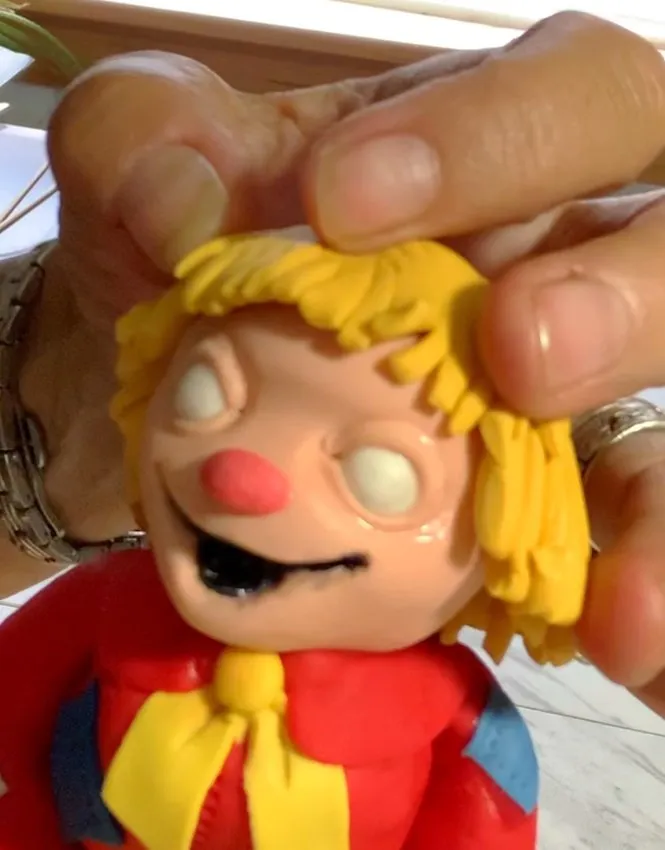
- Using some yellow fondant, make a 3-inch circle. Using scissors, cut all the way around with small cuts for the straw hair. Place on the head using a little water.
- Using brown fondant, roll out a 4-inch circle and place on head for hat. Using clay tool, add texture around the head.
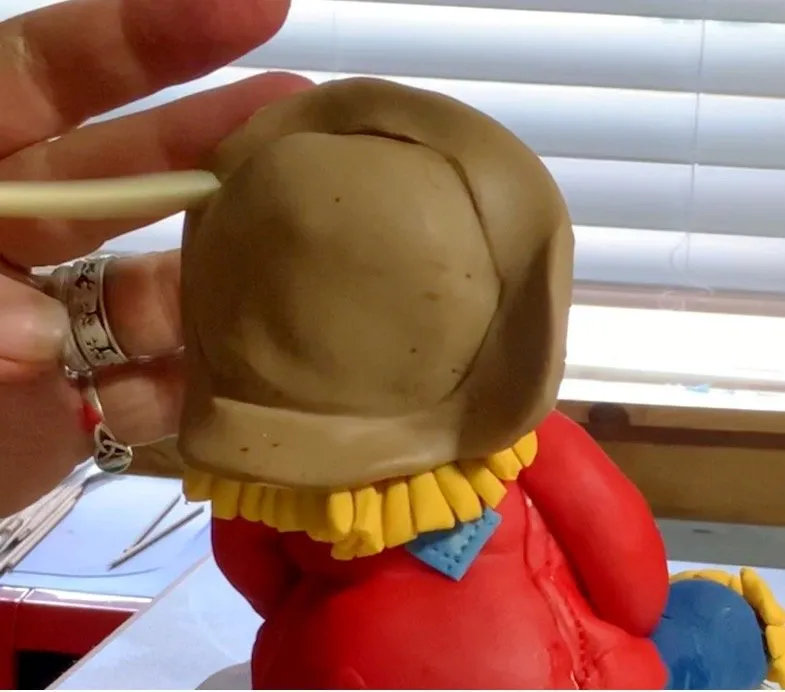
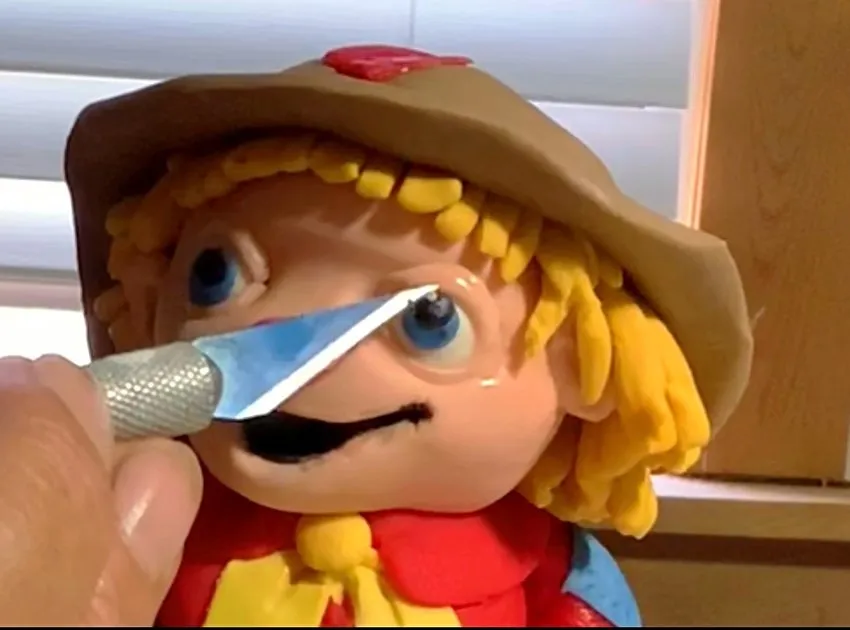
- Add details using fondant for the eyes and dust clothing with blue powdered edible paint, and dust straw and hat with brown.
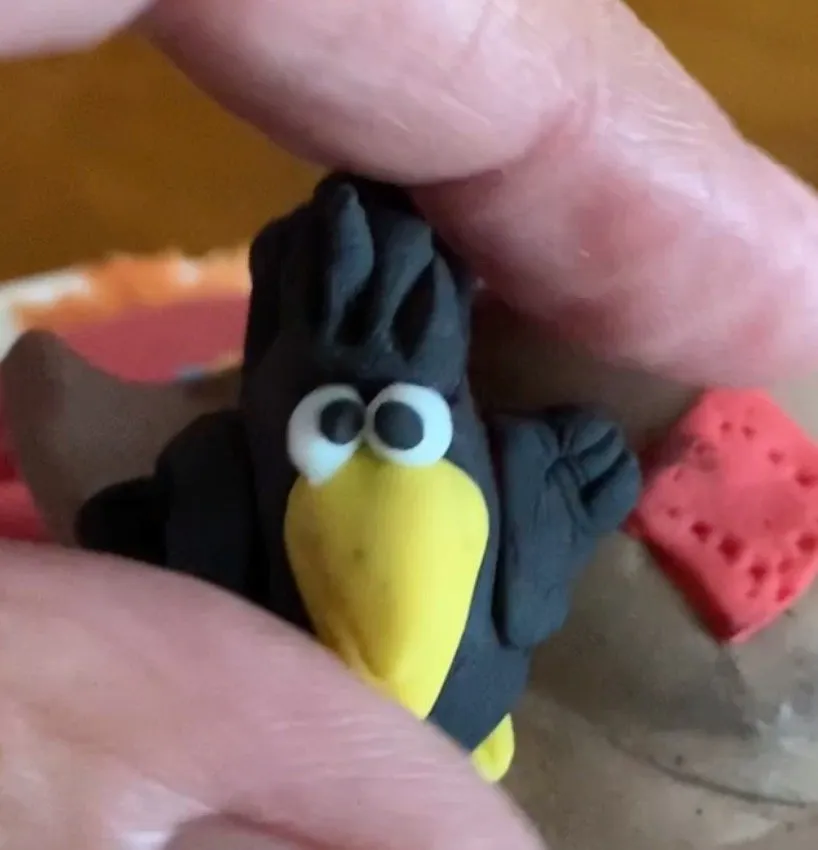
- Using some black and yellow fondant, make a small crow to sit on the top of the hat.
Notes
•
Fondant can be tricky at first, but once you master the tricks it opens up creative fun
•
Be as creative as you like with shapes and colors — this is one way, not the only way
Products Used
•
Satin Ice: Fondant
•
The Sugar Art: Powdered colors