Make this candle cake centerpiece
- Kim Simons
- November 27, 2024
- 4 mins
- Kim's Kitchen
- cake decorating holiday tutorial winter
Originally published at: https://www.riverreporter.com/stories/make-this-candle-cake-centerpiece,173418
Something happened while I snuck up on people as part of Burn Brae Mansion’s Dark Forest Fright Walk in Glen Spey, NY this past October…
The holiday season snuck up on me!
That’s right: While I was creepily approaching unsuspecting visitors to the Dark Forest in my role as a demented nurse (seeking the right body parts, of course), time was quietly lurking in the background, relentlessly ticking away.
And when I finally turned around, I found myself knee deep in the holiday season once more. How did that happen?
And where did the light go? I thought I’d heard something about the Powers That Be deciding to keep us on Daylight Savings Time from now on—what happened there? Ah, well.
In any case—like it or not—the holidays have indeed arrived, and it’s no good pretending they haven’t—no matter how kind that might actually be on our wallets.
Still, I have to say, one thing about this time of year that brings me joy is the abundance of beautiful, multi-colored lights.
Growing up, my holiday decorating centered on lights. And why not? My mother was born on Christmas Day, so the tree always sparkled brightly—and was forever topped with her favorite angel.
And though my dad was Jewish, he loved Christmas as well. Plus, we decorated for Hanukkah—which is, after all, the Festival of Lights—so there was barely a spot in the house that wasn’t illuminated to the nines, radiating a holiday joy that pierced the darkness of 4:30 p.m.
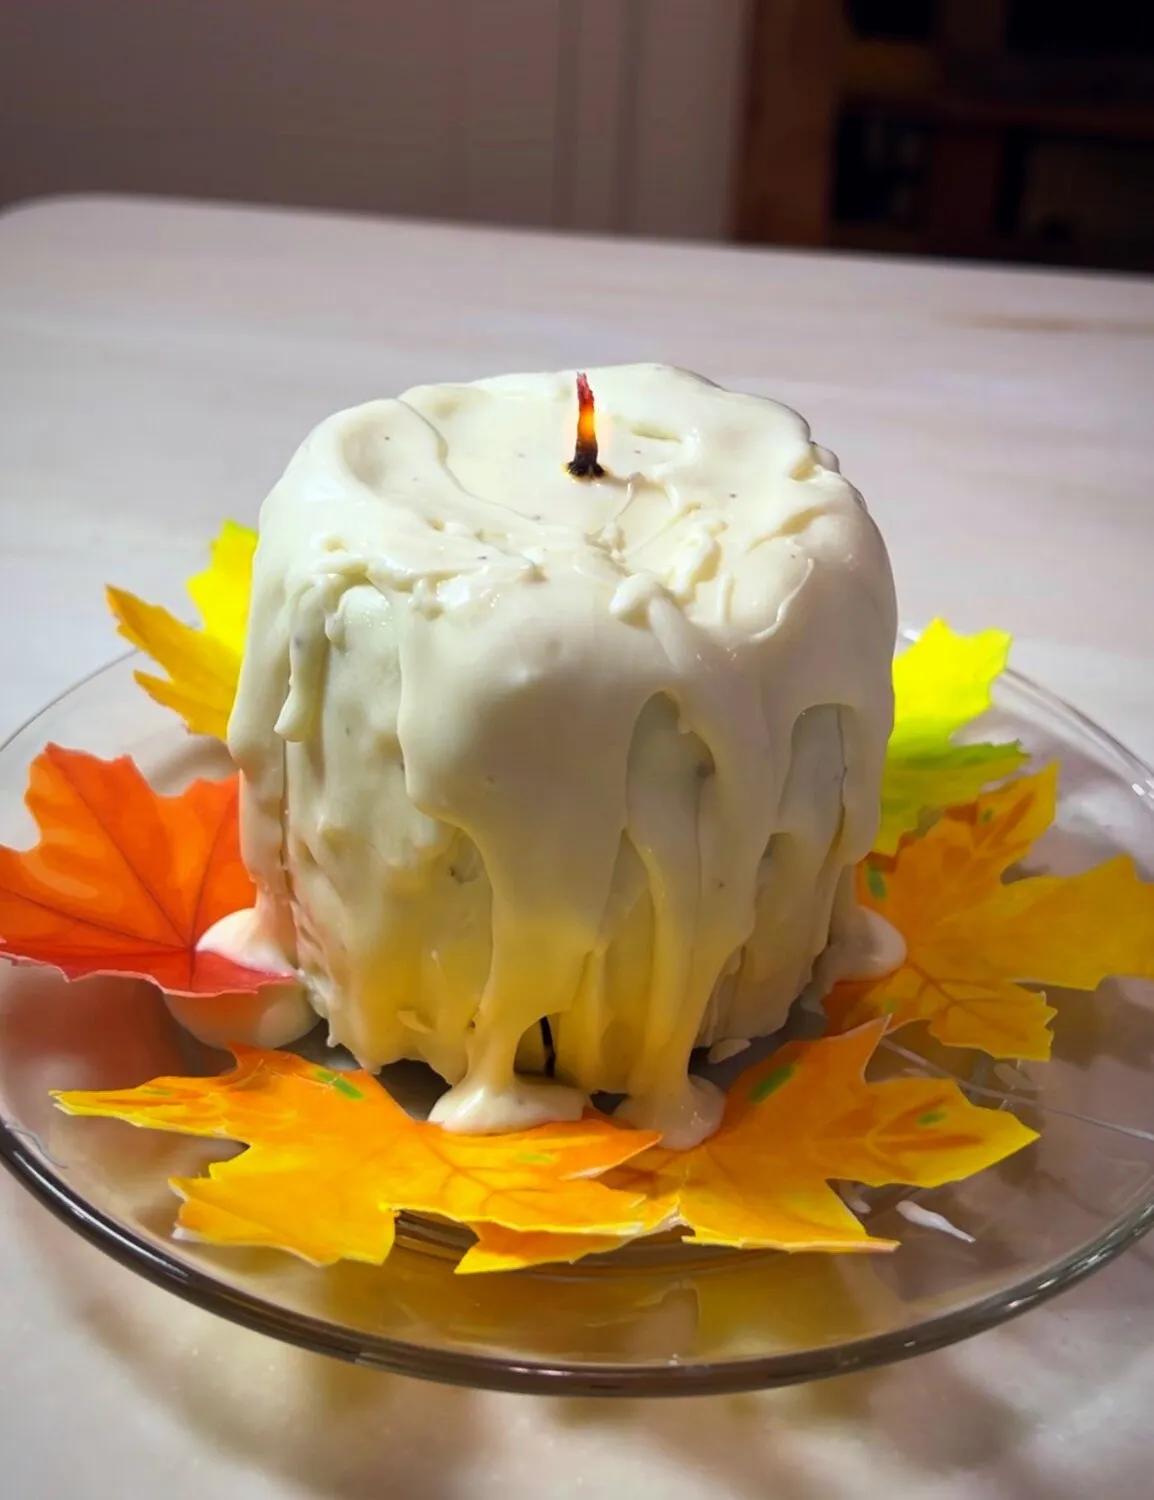
This is why our project this month is a candle cake centerpiece. I thought it would be really great if we could have a candle to brighten up our holiday table for family and friends—and then be able to eat it, too.
This project is inspired by my love of decorative lights and my happiness in being around candles in general. Who doesn’t love the comforting aroma of an apple-scented candle? Or a cinnamon one? Now we can take it one step extra and actually taste it, too (just remember to blow out the wick).
It’s also interesting that our candle cake centerpiece taps into a very real connection between us as humans and candlelight. Let’s face it—candles as symbols are present everywhere we turn, promising hope, warmth, mystery, romance and spirituality. This, I think, is why practically everyone loves how they look.
And at this time of year—as the Winter Solstice approaches—candles radiate even more meaning and charm. A quick internet search reveals that folks as long ago as the 16th century lit up candles to symbolize the light and warmth of the sun. The celebrations we participate in at this time of the year—whether Hanukkah, Christmas, Kwanzaa and/or Wiccan Solstice observances—all prominently feature the magic light of candles—and are more comforting to us because of them.
As always, I encourage you to be as creative as you would like to be with your candle cake centerpieces. Experiment with your favorite holiday flavors—pumpkin, candy cane, nutmeg, ginger, orange—and maybe even matzah. There is no right or wrong, and you should feel free to let your imagination run wild.
And that holds for the wicks, too. Though I used an actual candle wick in my demonstration, you can replace that with LED tea lights and/or birthday candles. The sky is the limit.
And be prepared to experience your own “Is it cake?” moment when you announce to guests that, yes, they can eat the centerpiece! How many holiday gatherings have they attended where something like that has occurred?
It’s a holiday present all by itself!
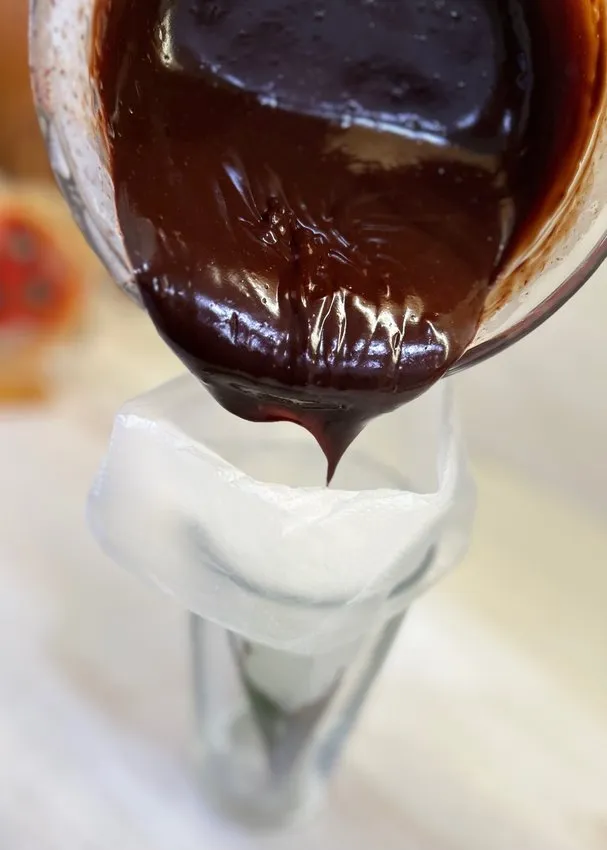
Chocolate Ganache
A rich, velvety chocolate ganache made with semi-sweet chocolate and heavy cream, perfect as a glaze or filling for cakes and pastries.
Ingredients
Instructions
- Heat the cream in a medium, microwave safe bowl for about 2 minutes until cream is very warm
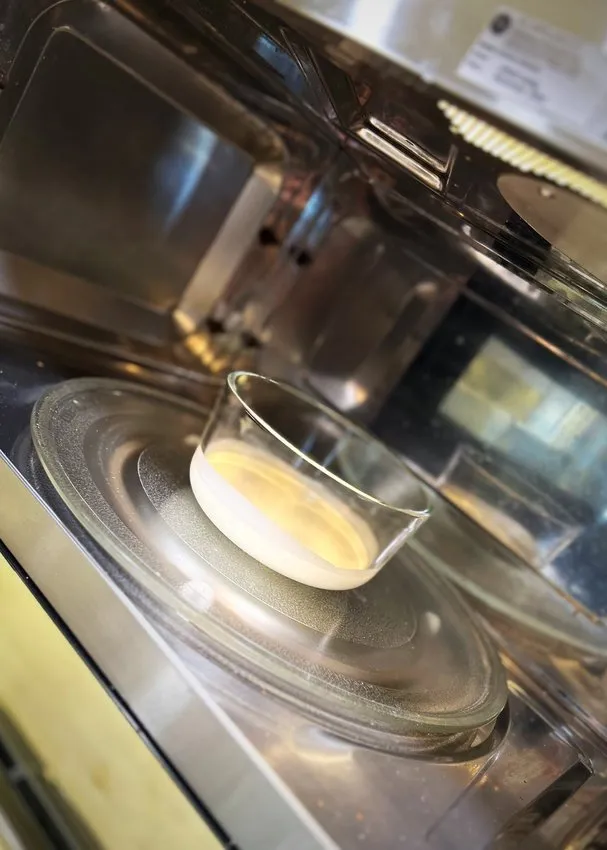
- Add chocolate.
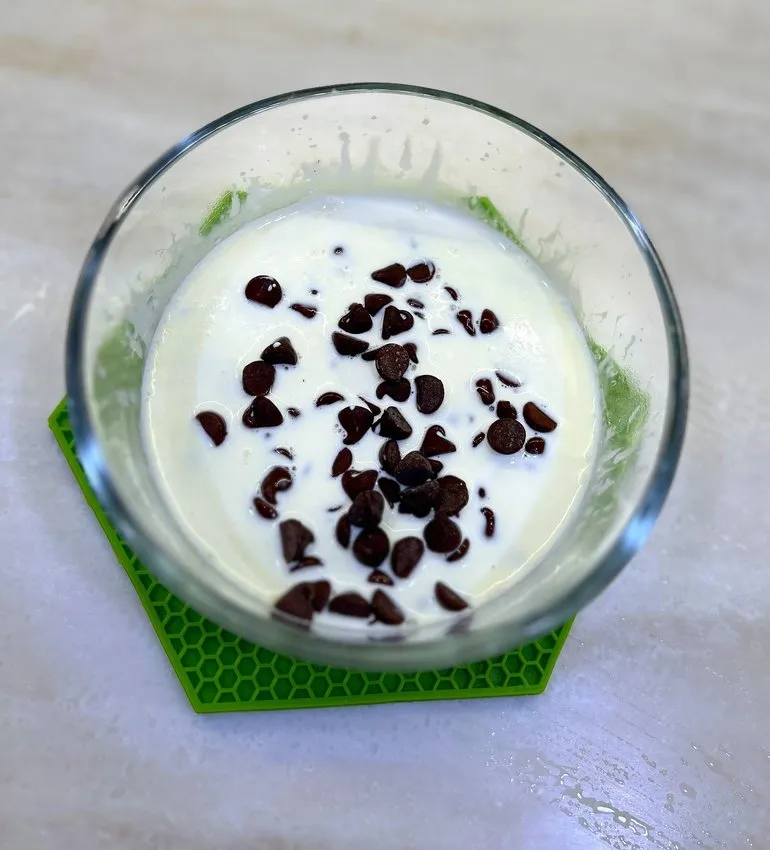
- Let sit for 2-3 minutes to gently soften the chocolate.
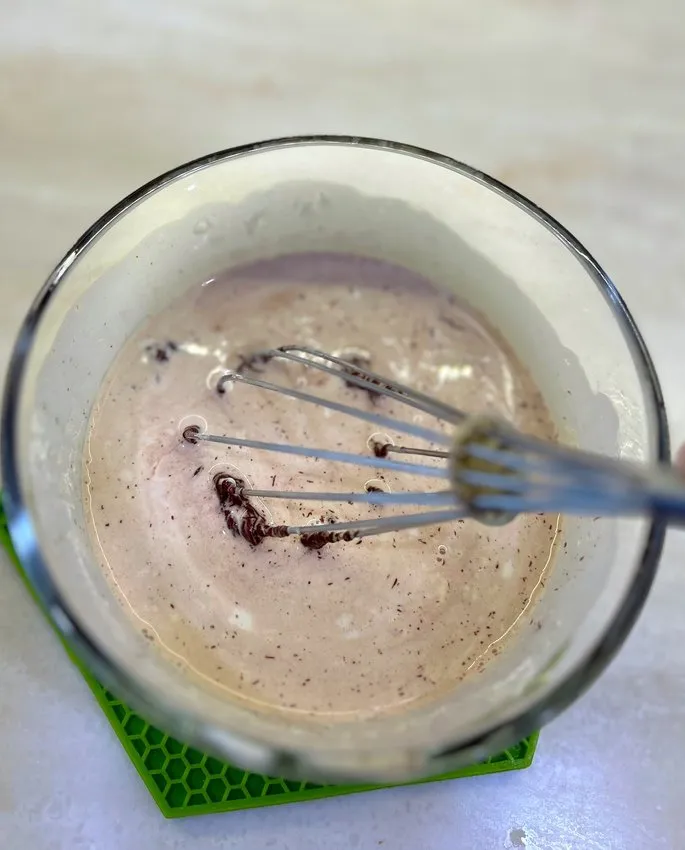
- With a metal whisk, stir until completely combined and chocolate is totally melted and smooth.
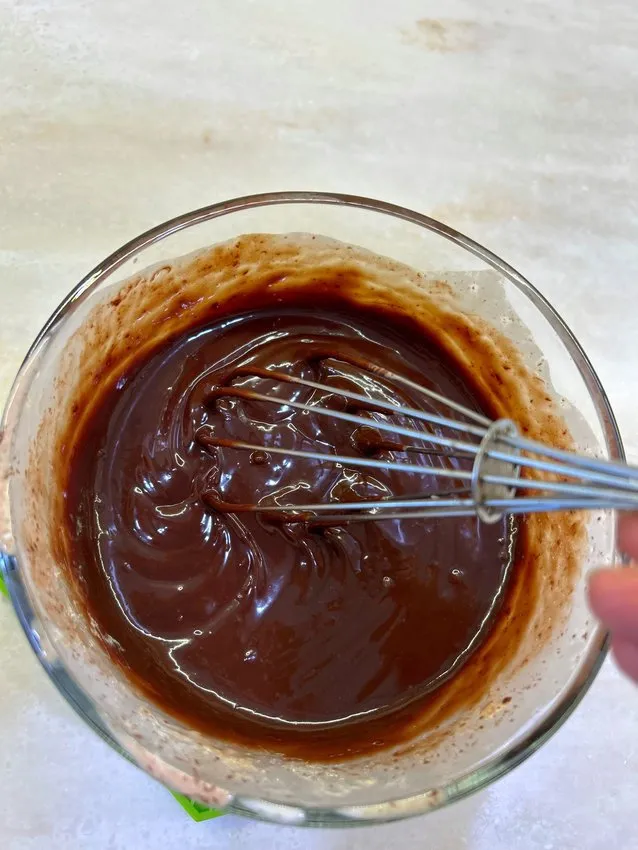
- Ganache is ready to use as a drizzle, or let it cool and thicken by letting it sit at room temperature (it will fully cool within 2 hours; refrigerating will speed this up).