Make this crystal amethyst cake topper
- Kim Simons
- January 27, 2021
- 2 mins
- Kim's Kitchen
- cake topper isomalt sculpting
Originally published at: https://www.riverreporter.com/stories/make-this-crystal-amethyst-cake-topper,41546
I’m often asked, “Who’s your favorite artist?”
“Mother Nature,” I always reply.
I’m very much in tune with nature and the elements. A lot of my artistic ideas are sparked by what I see in the natural world.
Stones, in particular, are fascinating to me. Beliefs about the spiritual properties of certain stones and minerals go back to the beginning of human history.
Amethyst is one of my favorites. I like crystals in general—I love the shapes and patterns and the way crystal catches light. An added benefit of amethyst has to do with its spiritual properties, which include healing and protection.
It also happens to be the birthstone for the month of February.
According to Mycrystals.com, “The eye-catching amethyst crystals have a long history of meanings and properties, all of which are positive, as they were known to bring forth the purest aspirations of humankind… It was also used in ancient China as a powerful tool to clear negative energy and drive away the hazards of everyday life.”
That’s why I thought this cake topper would be a perfect project for you to tackle this coming month.
Just a note of caution—the amethyst cake topper features the use of isomalt, which has to be heated to very high temperatures. If you’re not careful, you can burn yourself badly—as I was reminded a few weeks ago when I burned my own thumb building one of my pieces. Please take precautions and wear gloves.
Other than that, the project is user-friendly and results in something beautiful. As always, feel free to experiment with whatever shapes and colors express you!
Materials needed.
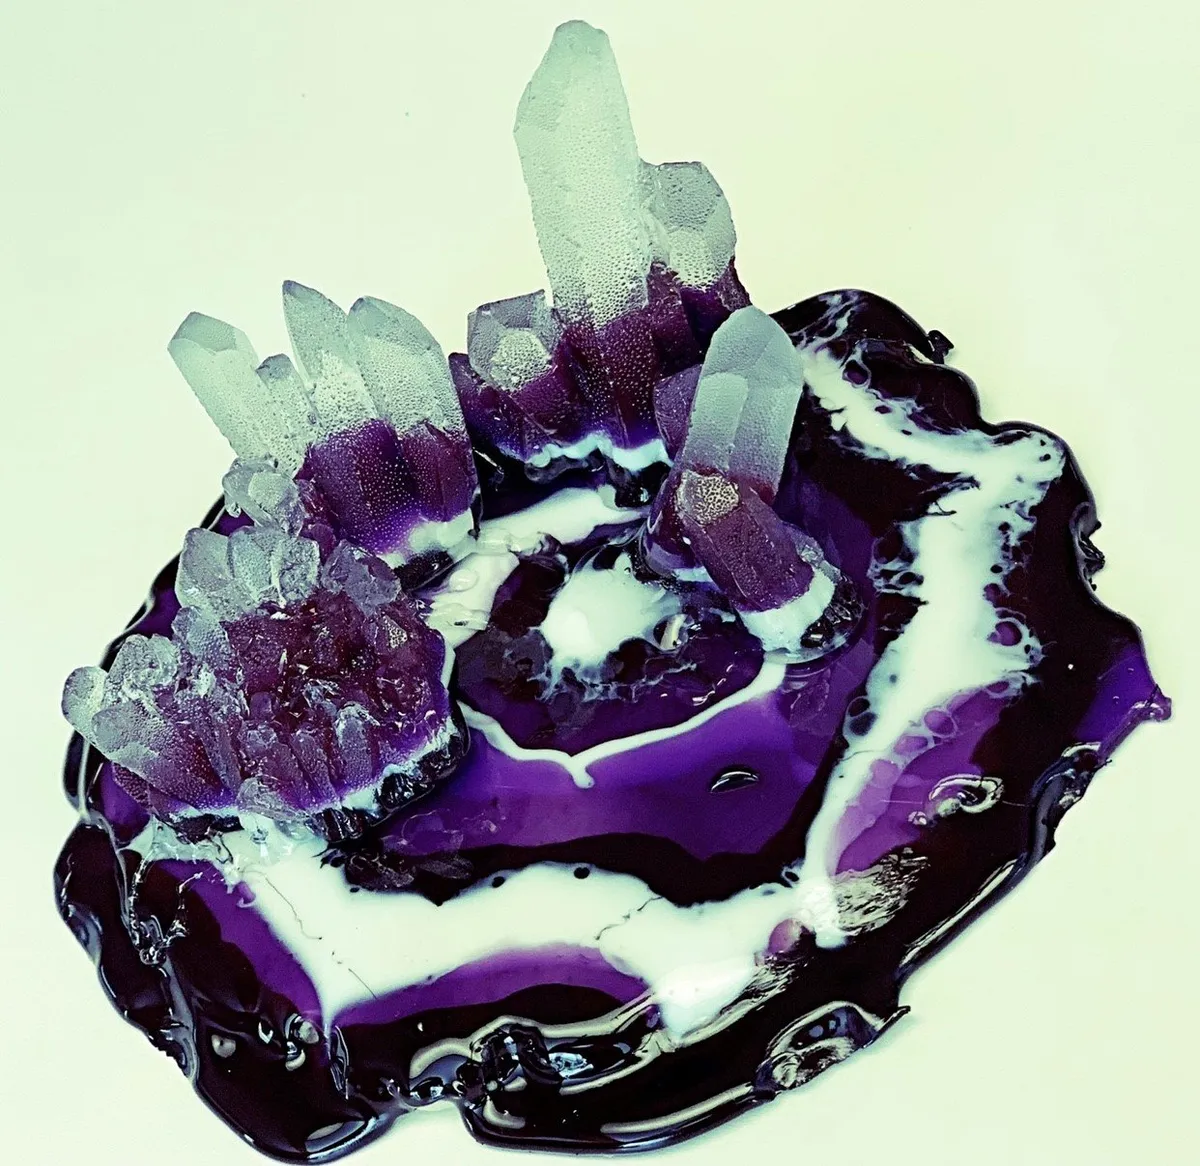
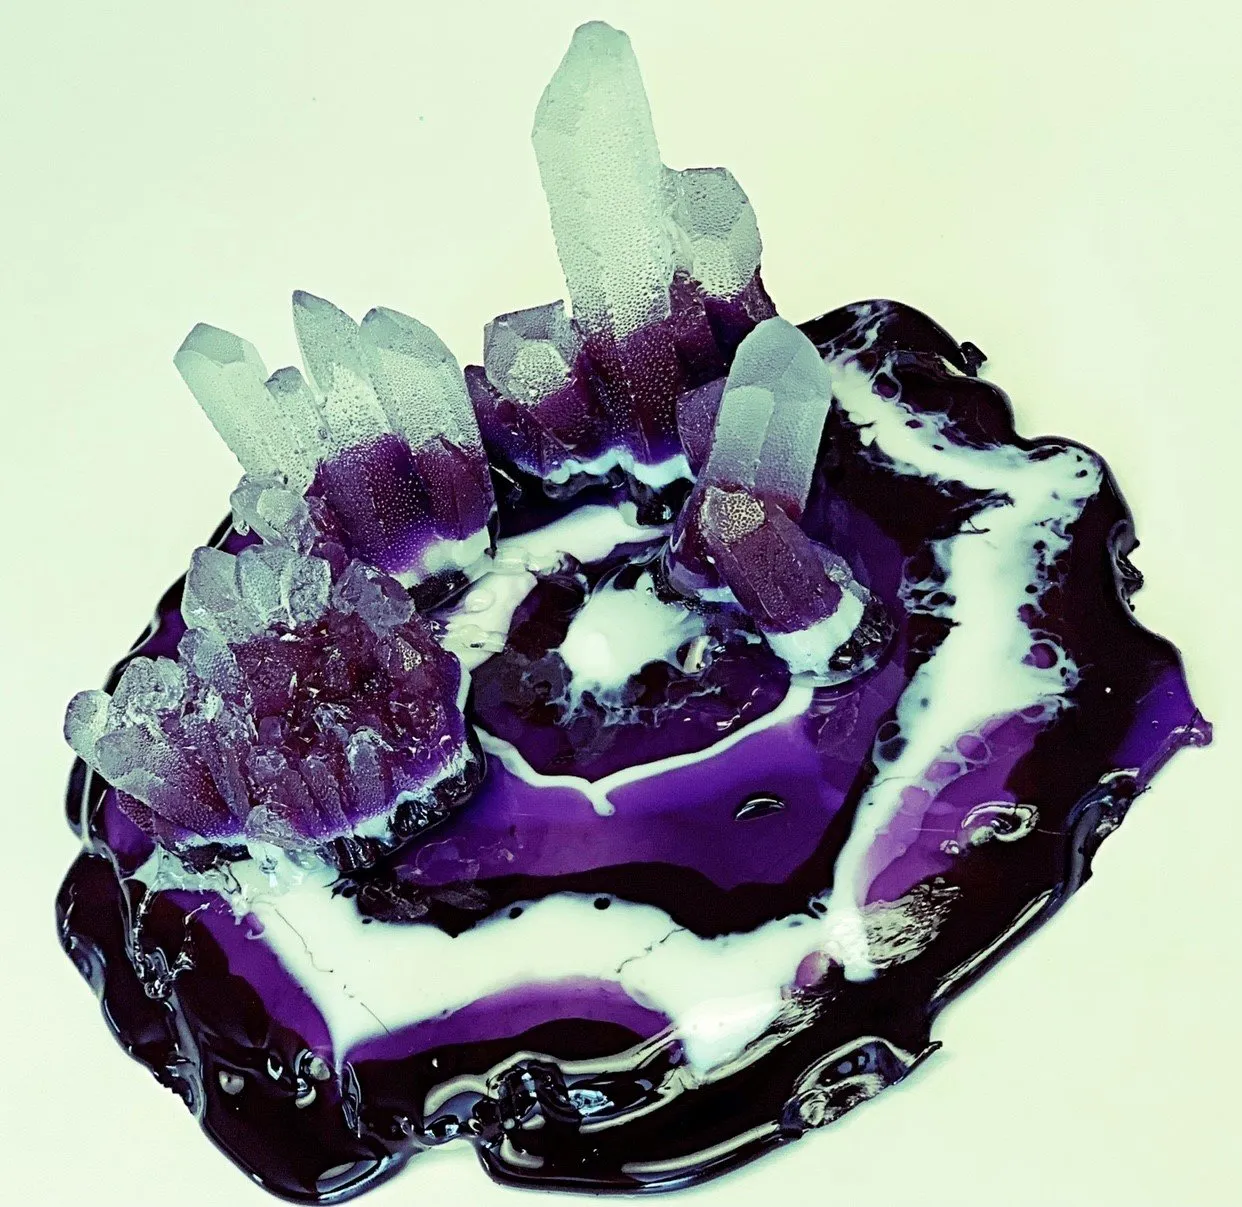
Crystal Amethyst Cake Topper
Create a stunning amethyst geode cake topper using colored isomalt poured in layers in gemstone silicone molds, then arranged on a sugar cookie geode base.
Supply List
Instructions
- Heat clear Isomalt in a silicone cup in the microwave at 15-second intervals until it bubbles. (Isomalt is very hot; gloves are recommended.)
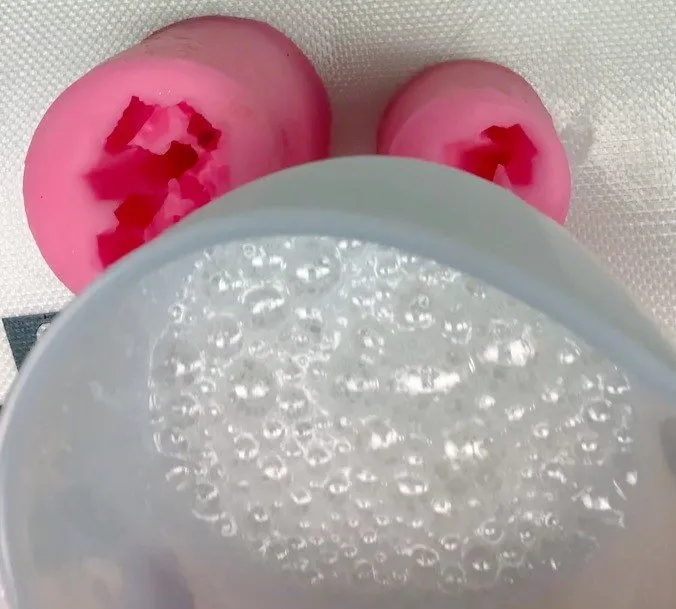
- When the bubbles dissipate, pour clear Isomalt a third of the way into the gemstone silicone molds, then roll it around so it coats the inside.
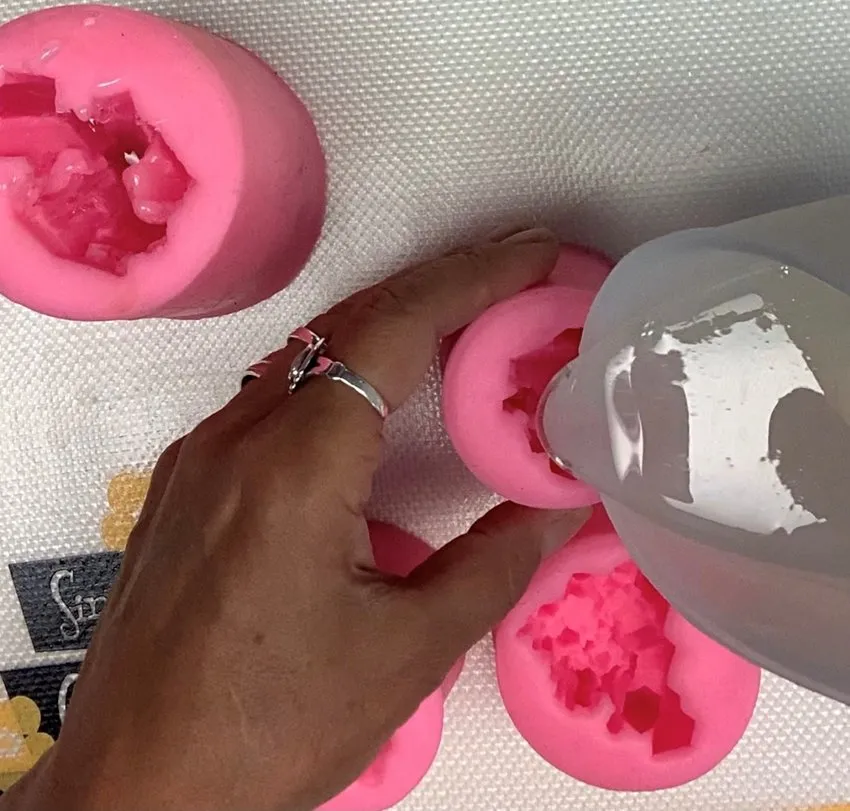
- Heat purple Isomalt at 15-second intervals until it bubbles. When bubbles dissipate, pour up to about halfway into the mold.
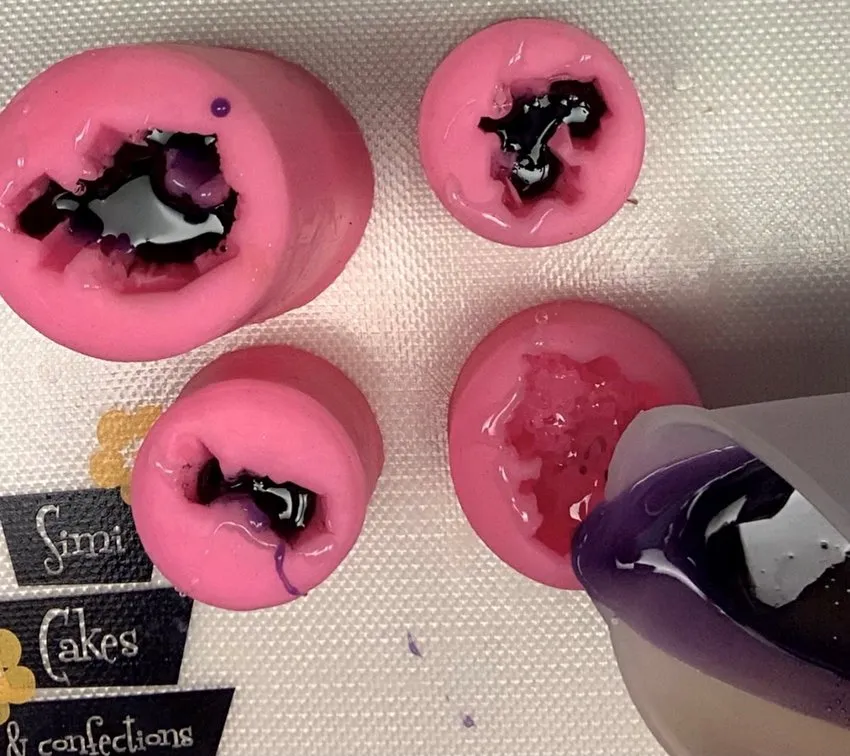
- Repeat with white Isomalt, pouring almost to the top.
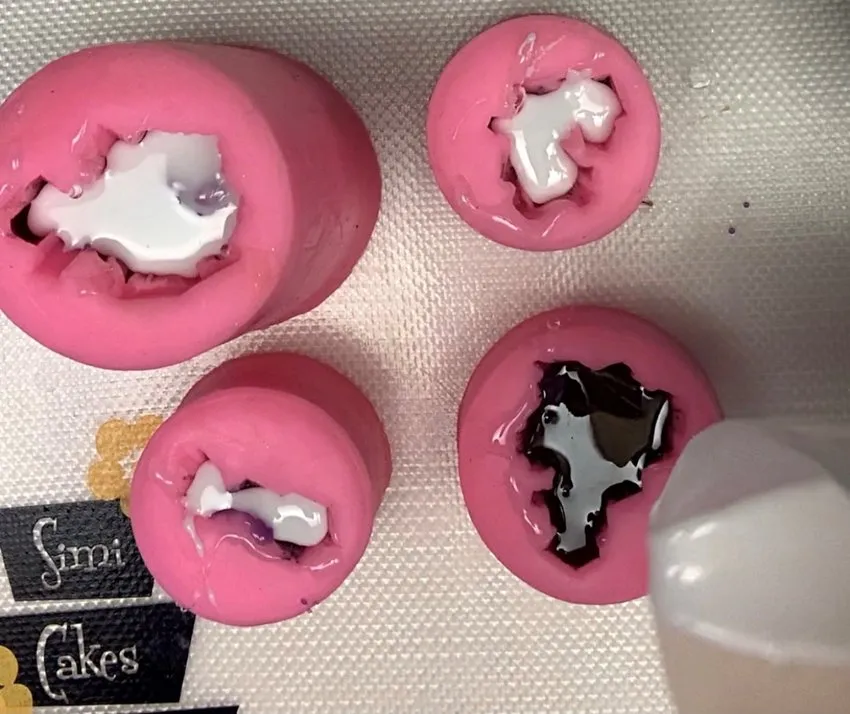
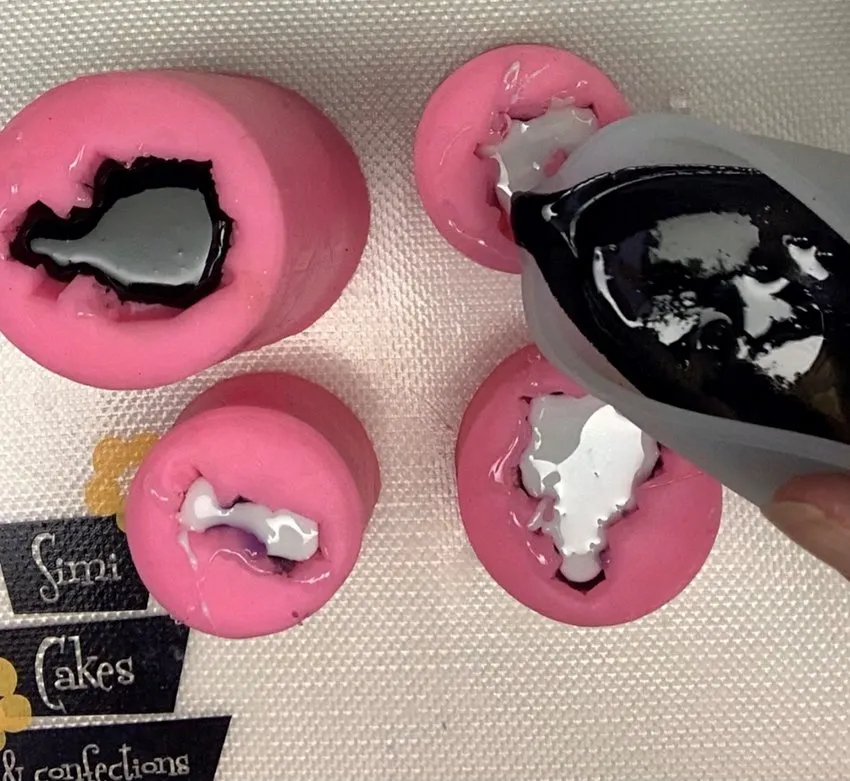
- Repeat with black Isomalt, pouring to the top. Let cool.
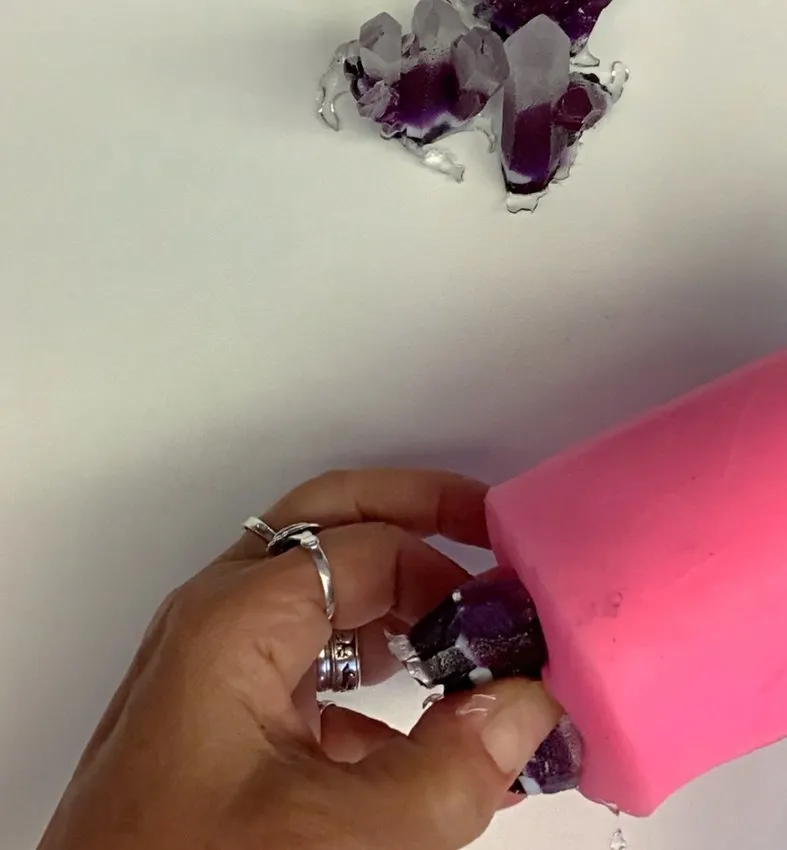
- Once the crystals are cold, remove them from the molds.
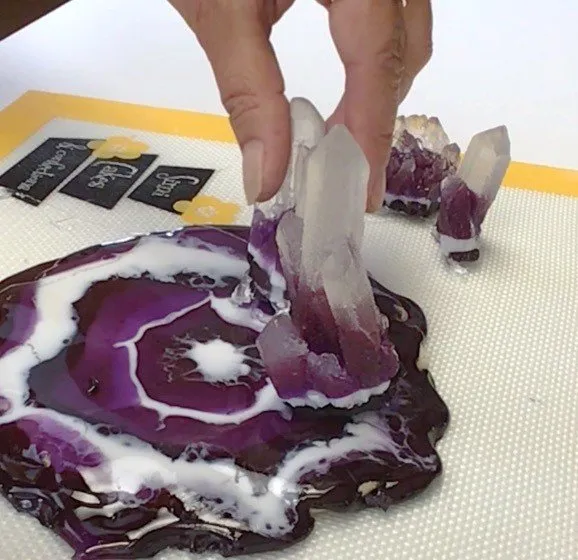
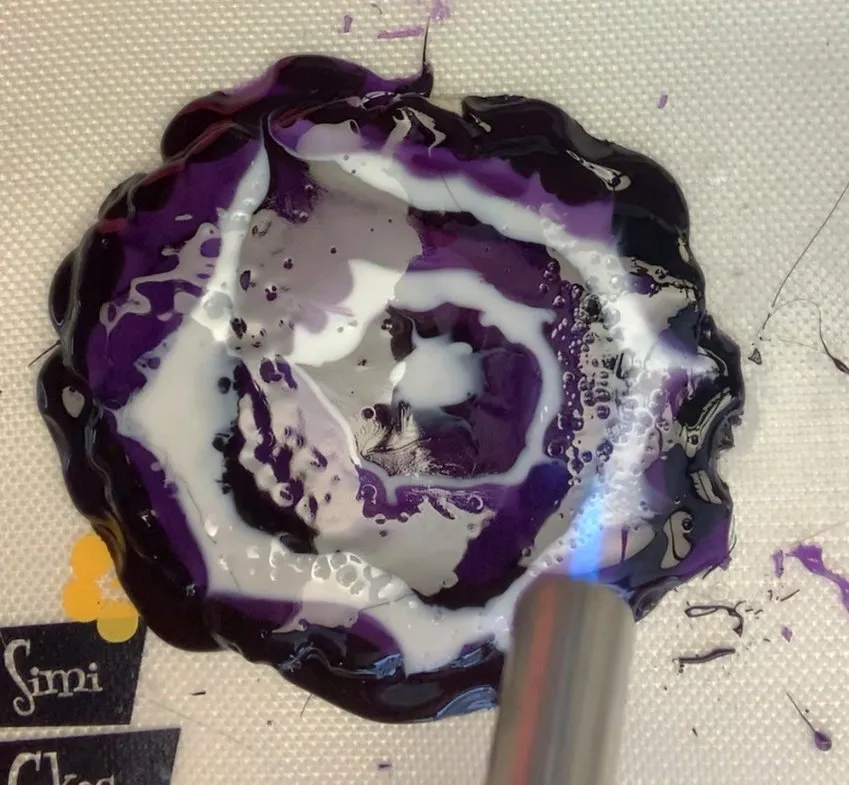
- Reheat all four colors and set aside. Starting with white Isomalt, pour a dot in the center of the sugar cookie. Continue pouring concentric rings around the white, alternating colors to develop the geode pattern. Cover the entire cookie.
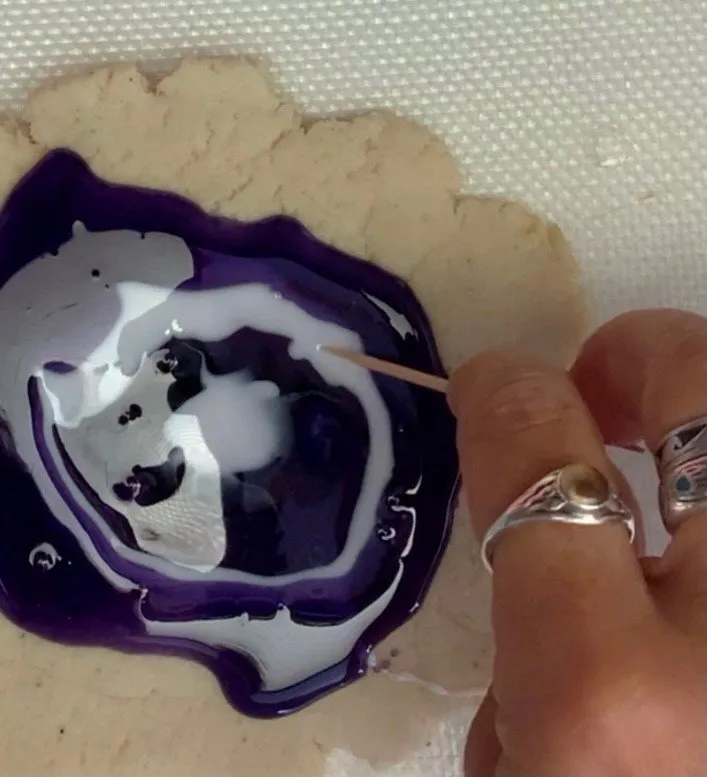
- Using a torch, burn out the excess bubbles, then set aside to cool.
- Using clear Isomalt as glue, pour or dip the crystal pieces and attach them to the geode cookie. Torch out any remaining excess bubbles. Enjoy your Amethyst Geo Cake Topper!