Make this Halloween shaker cookie
- Kim Simons
- September 23, 2020
- 2 mins
- Kim's Kitchen
- cookie decorating halloween royal icing
Originally published at: https://www.riverreporter.com/stories/make-this-halloween-shaker-cookie,39546
I’ve always loved Halloween.
Not only does it happen during my favorite season—fall—but it represents much of what I love about Mother Nature.
As a kid in Liberty, NY, I really looked forward to Halloween. My neighborhood definitely got into it—decorations were the rule rather than the exception. I loved the idea of masks and costumes. I could be anybody I wanted to be! And it was great to see my friends doing the same thing, expressing themselves completely for maybe the only time during the year.
Of course, there was the candy. Yes, in some places, local health officials recommended having candy x-rayed, but in my neighborhood, we knew everybody, so that wasn’t a problem.
For me, though, candy was never the draw; half the time, I wouldn’t even go up to the door with my bag. I was just thrilled to be outside at night. I remember walking through piles of fallen leaves on Halloween. I can still hear the rustling, and I can still smell that sharp but comforting scent.
And the colors! Halloween features orange, black, purple and green; these are some of my favorites because they are so powerful.
To this day, I enjoy getting out on Halloween, seeing the giggling kids in their costumes. I’m proud to say my old neighborhood still does Halloween right.
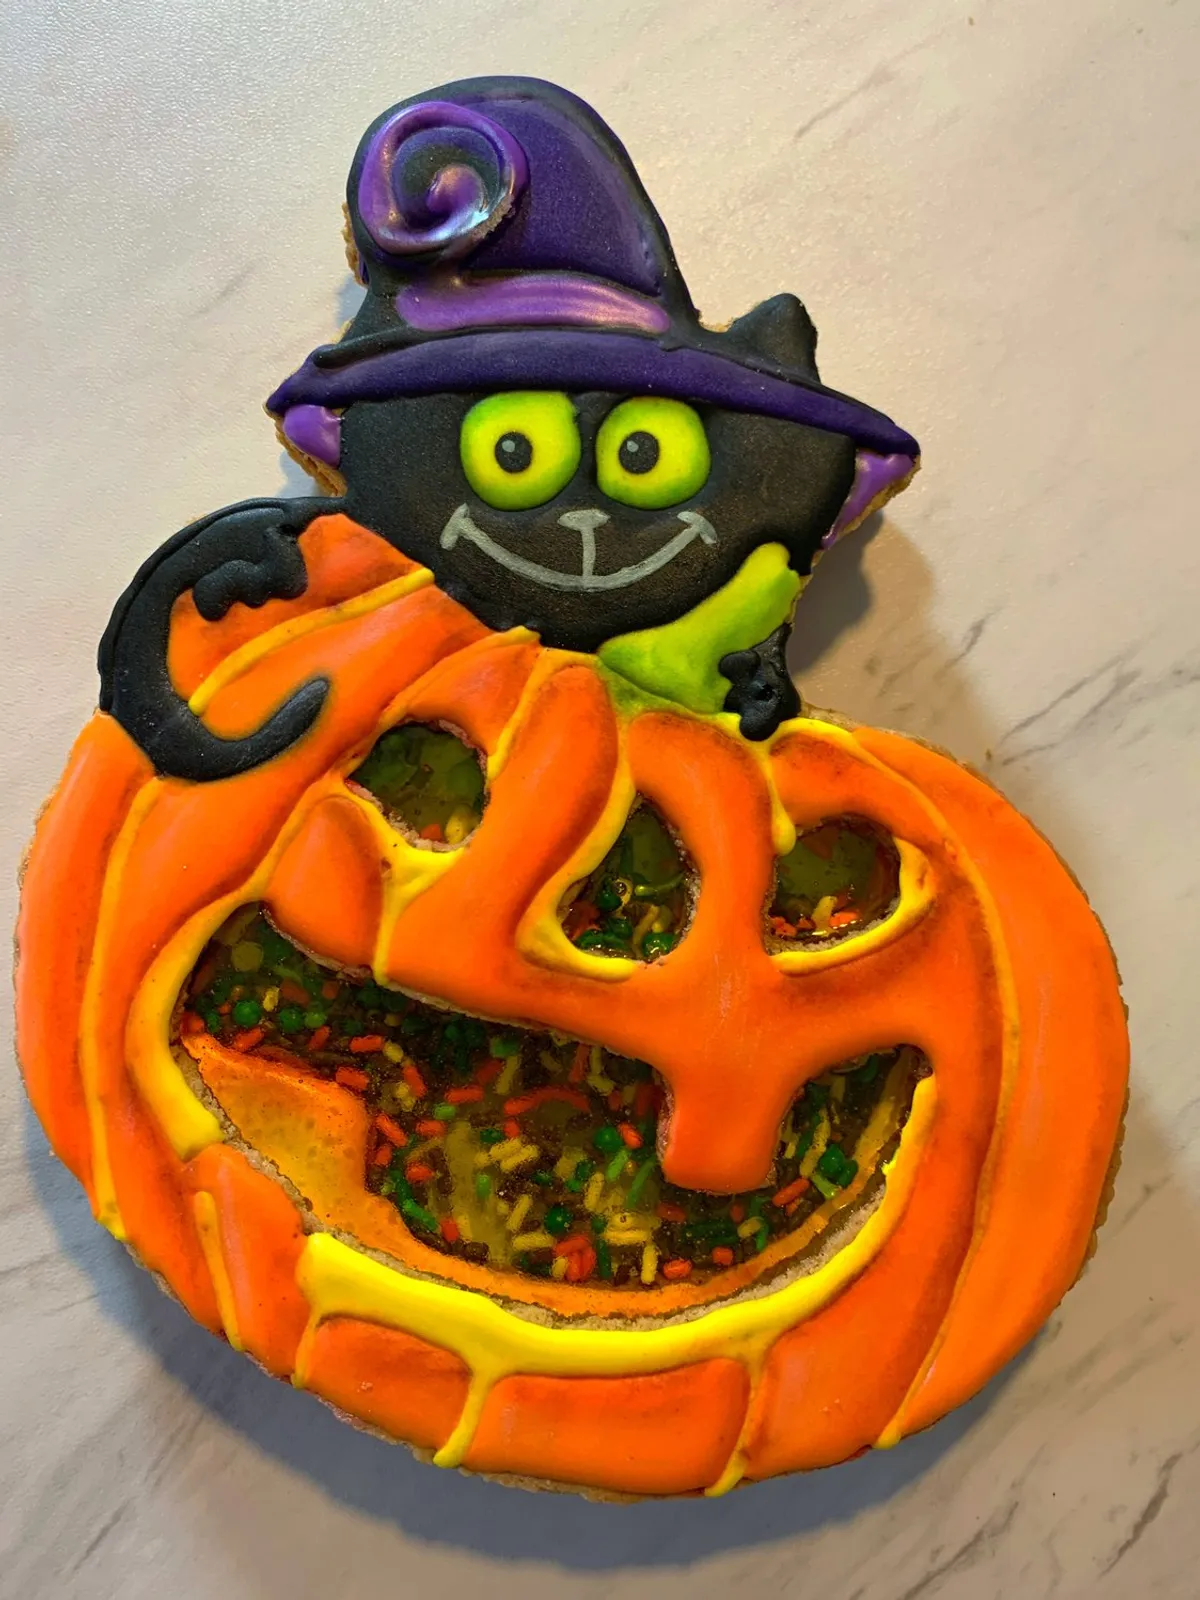
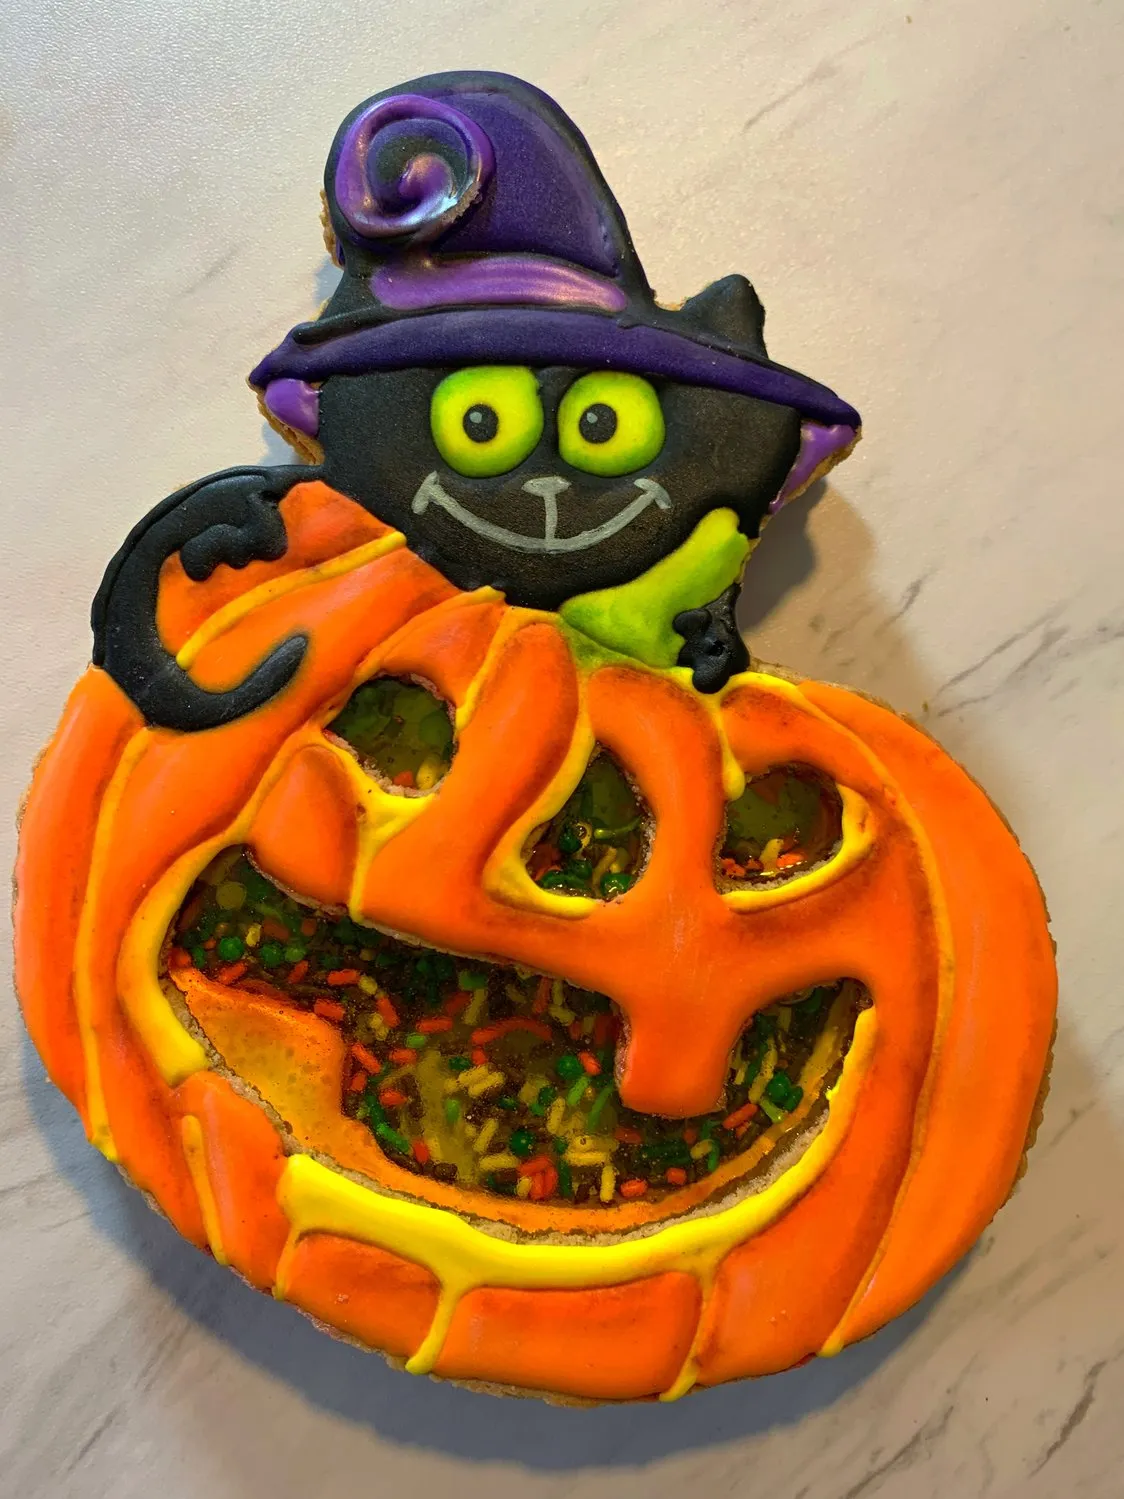
Hence, this fun Halloween Shaker cookie. The skill level required to do this project is slightly advanced, but if you’re patient, the results are well worth it.
Halloween Shaker Cookie
Learn how to make a fun Halloween shaker cookie with isomalt windows and royal icing decorations. This slightly advanced project produces a cookie that kids can shake!
Supply List
Instructions
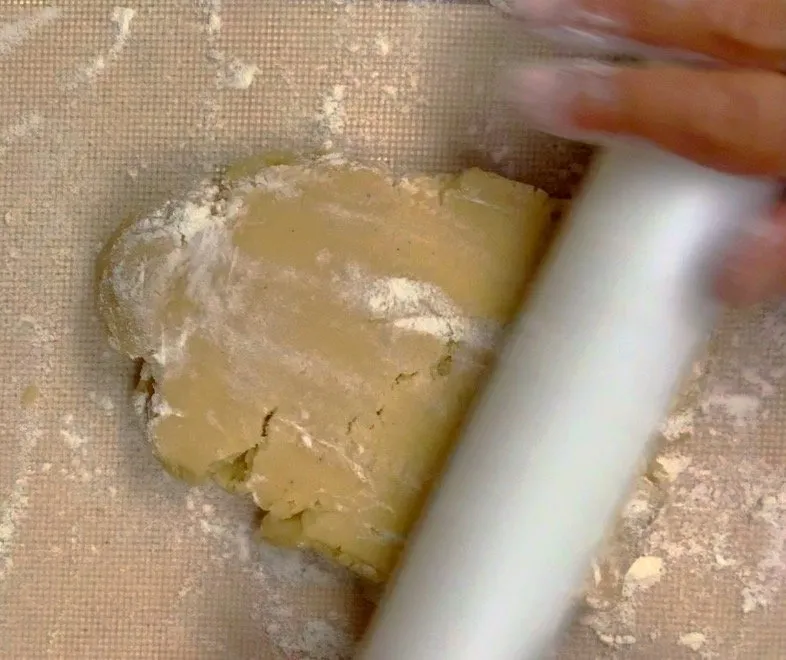
- Roll out sugar cookie dough about a quarter-inch thick.
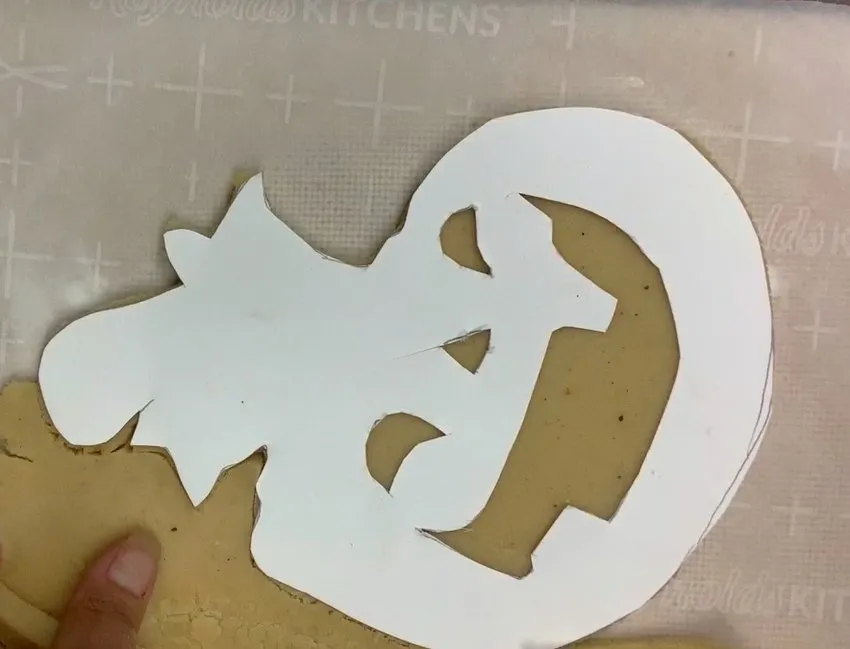
- Using a poster board template and a small precision knife, cut out designs. Make two opposite pieces.
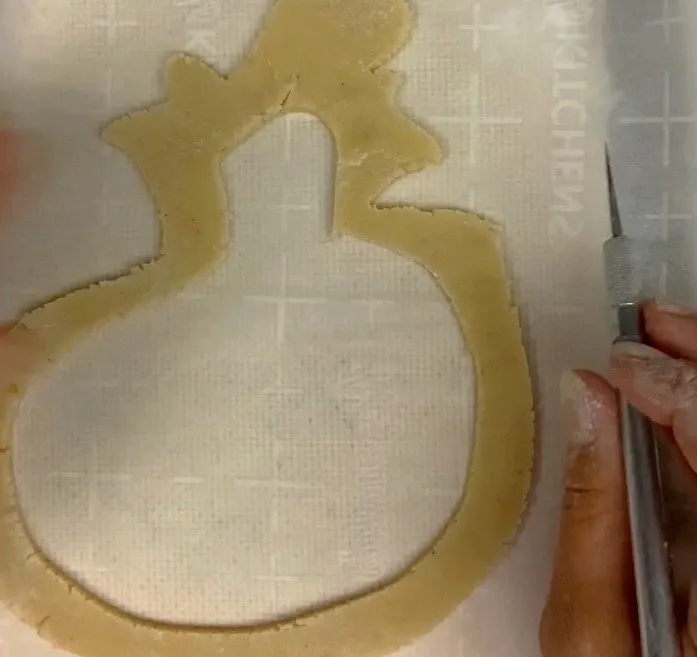
- Make the inner piece by cutting a border, about 3⁄4-inch all the way around.
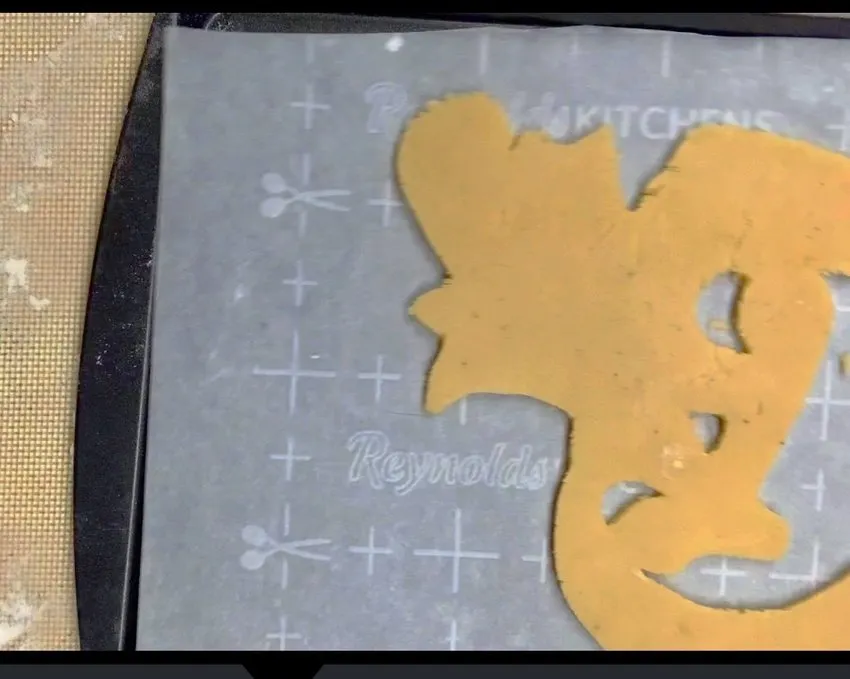
- Using parchment paper, put on baking sheet and bake cookie as directed in your recipe. Let cool.
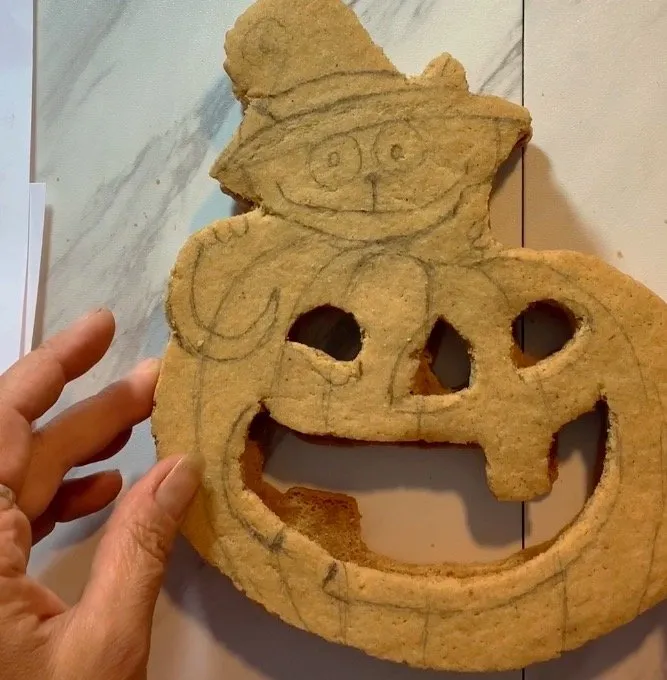
- Sketch out your design on the top piece.
- Using Royal Icing, decorate your top cookie.
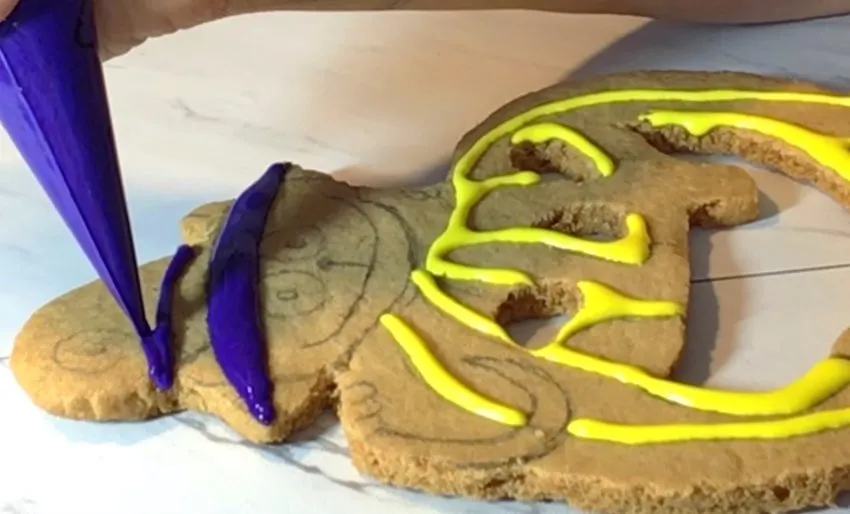
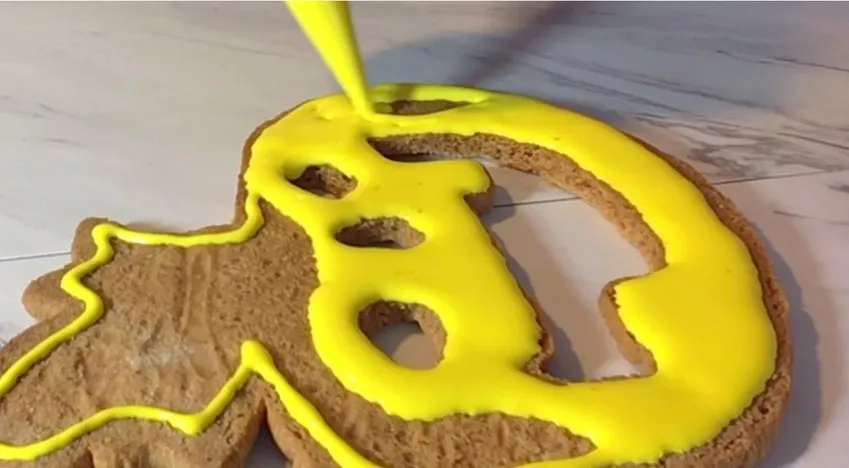
- On the opposite piece, use yellow Royal Icing to fill in to the edges.
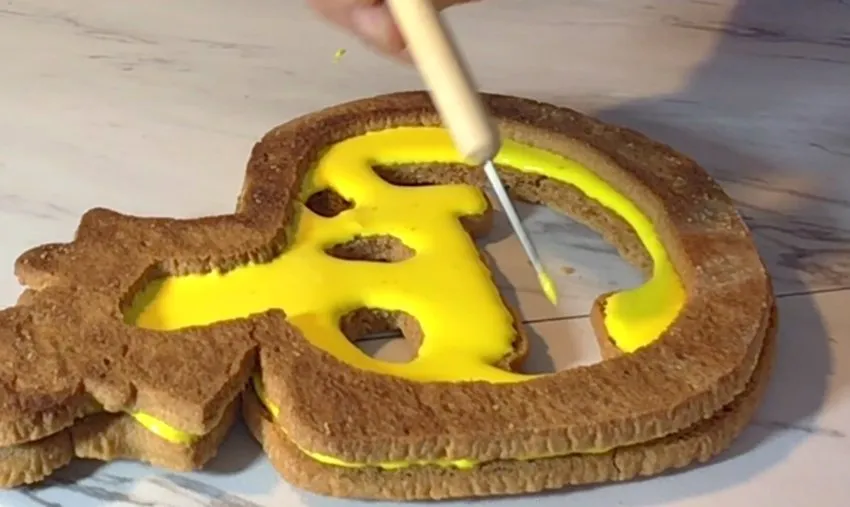
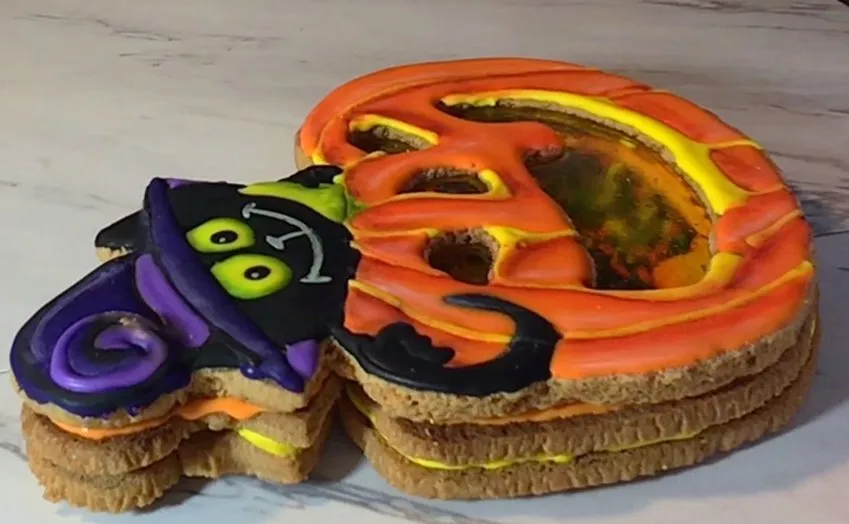
- Add border piece on top of back piece (to be sandwiched in the middle); set aside to let dry.
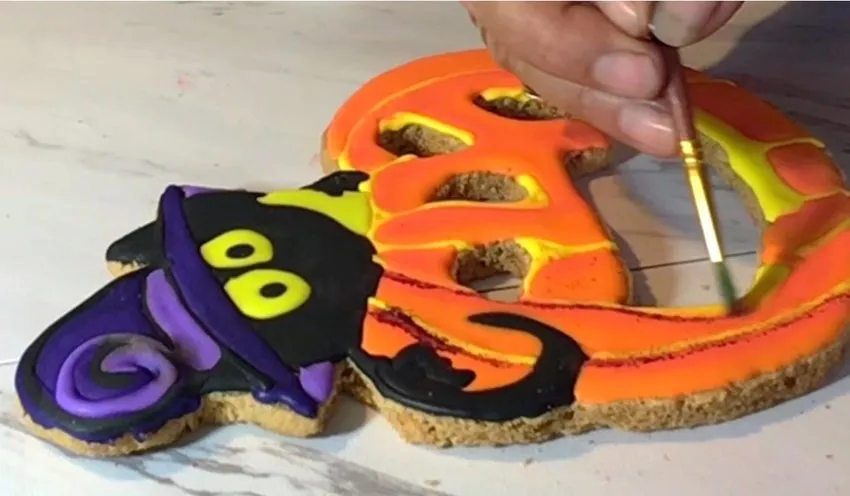
- Add highlights and shadows by dusting with edible powder color.
- When cookie is totally dry and hardened, heat up your isomalt. Pour a thin layer of isomalt into the mouth, eyes, and nose areas of both cookies (wear gloves — isomalt is very hot!). Let cool.
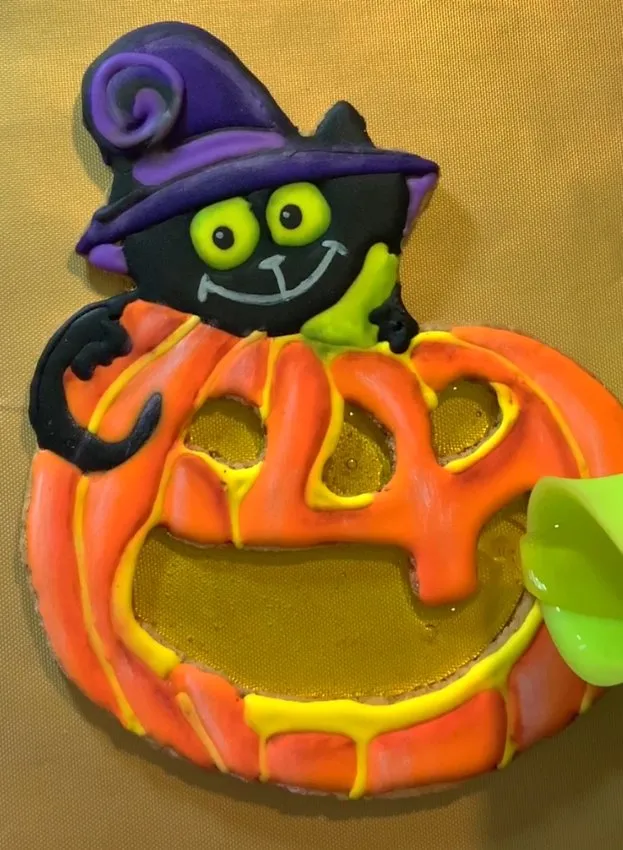
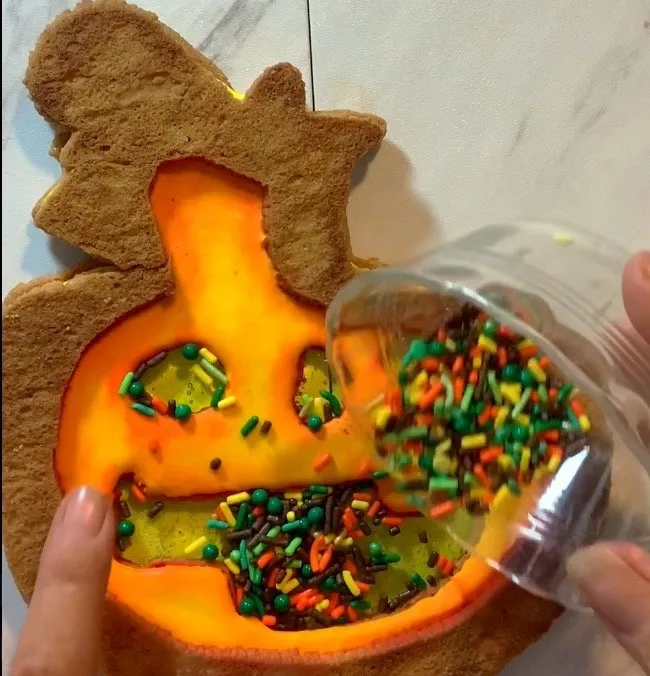
- Take bottom cookie piece and add Halloween sprinkles.
- Using some more Royal Icing on the outer ridge of the bottom cookie, glue the top cookie. Let dry, and shake!
Notes
Products Used
I do want to caution you a little bit about working with isomalt (which this cookie requires). It needs to be heated to very high temperatures, so you should take care not to get burned. I recommend wearing gloves, even though in the video I don’t—do as I say, not as I do!
But that’s really the only difficulty in doing this project. And the smiles you’ll see on the faces of children who get to shake their Halloween cookie will live in your memory forever.