Make a beautiful rose out of modeling chocolate
- Kim Simons
- April 21, 2020
- 2 mins
- Kim's Kitchen
- cake decorating modeling chocolate tutorial
Originally published at: https://www.riverreporter.com/stories/make-a-beautiful-rose-out-of-modeling-chocolate,37079
It’s safe to say that this past month has been a challenge. I hope everyone reading this is safe and making the best of the situation.
If you’re one of those people who is considered an essential worker, you have my thanks… especially if you’re in healthcare! If you’ve been laid off because of this crisis, I can only hope that better days are to come.
Being my own boss, I fall into the work-from-home category, which isn’t much different from my norm. I did have a bunch of public events canceled—cake shows in Virginia and Florida, a slew of private classes and my monthly Sip-and-Paints at Hector’s Inn over in Bethel, NY. But I’ve been lucky enough to have jobs still coming in.
Just before writing this column, I was walking outside in my yard. In spite of how wiggy the weather has been, some of the plants are starting to bud. Nothing, it seems, can stop them. Seeing this gave me a moment of hope.
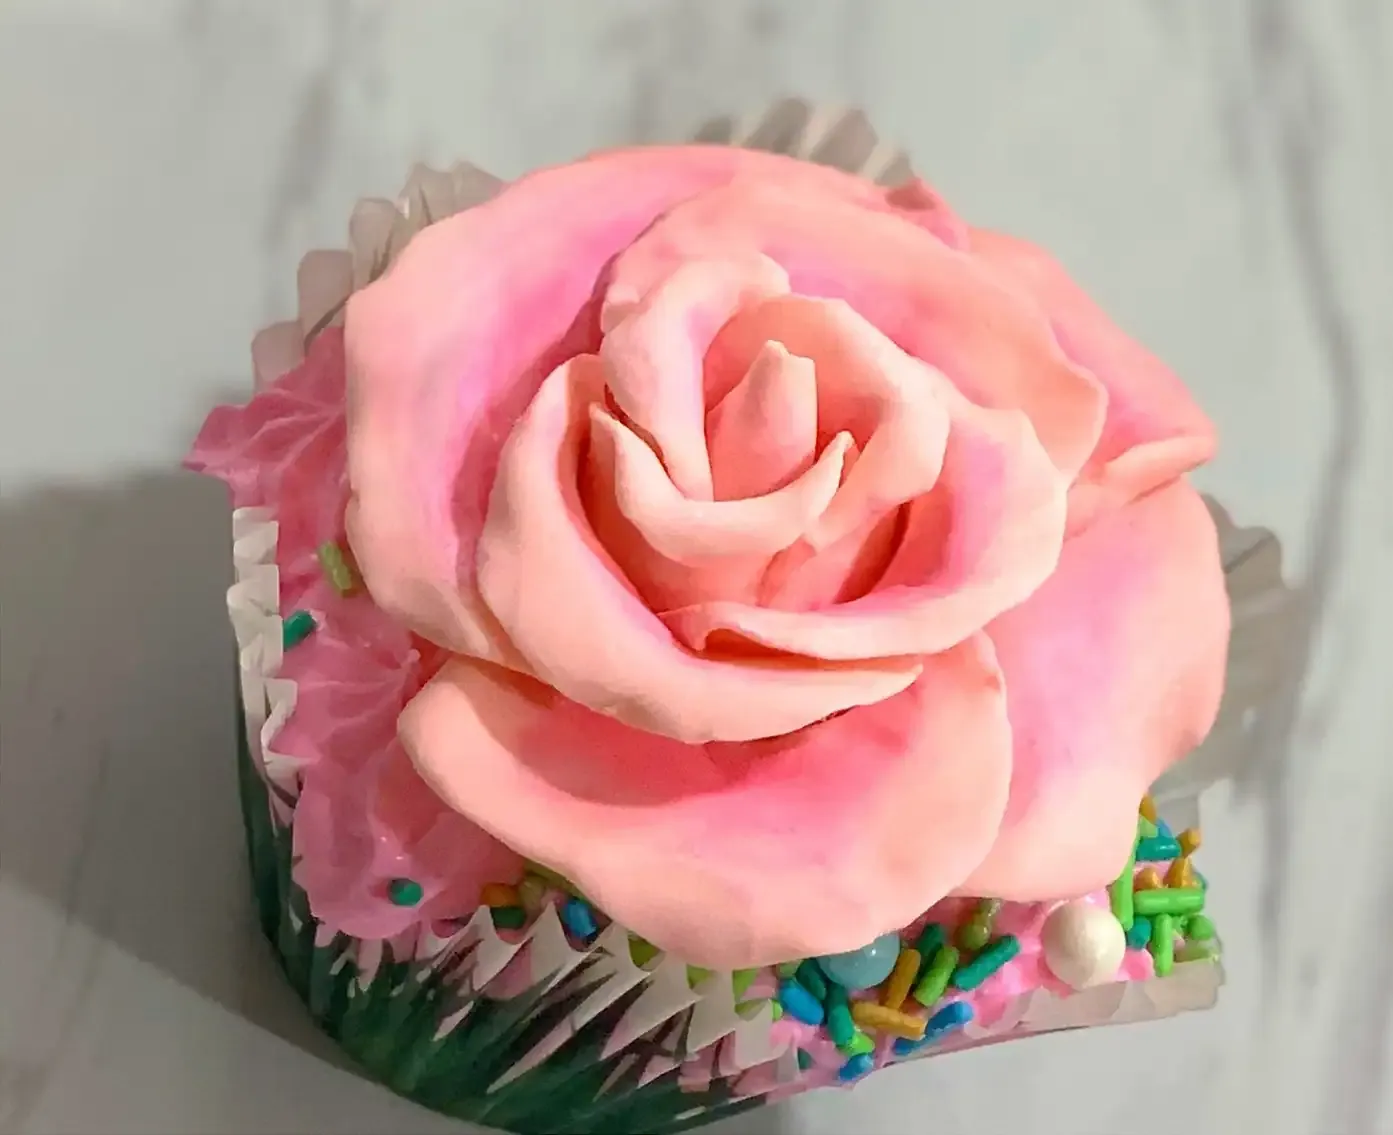
That’s why this month’s Kim’s Kitchen features a rose. Roses carry a lot of symbolic power in our culture, including the concepts of friendship and love. Now is certainly a good time to try to focus on those ideas.
Modeling Chocolate Rose
Sculpt a multi-layered rose from modeling chocolate by shaping and layering graduated balls of chocolate into petals, then dust and place on a cupcake.
Supply List
Instructions
- Soften modeling chocolate by kneading until smooth.
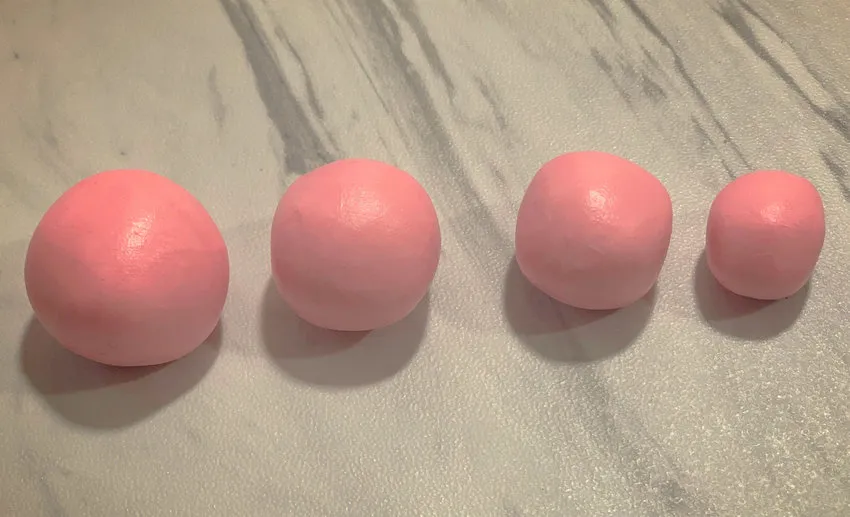
- Make a ball (about 1-inch diameter) for the base of the rose.
- Make four 1⁄4-inch balls for the first set of petals, three 1⁄2-inch balls for the second set, and five 3⁄4-inch balls for the third set.
- Pinch the 1⁄4-inch balls until flat, then pinch the edges to add texture.
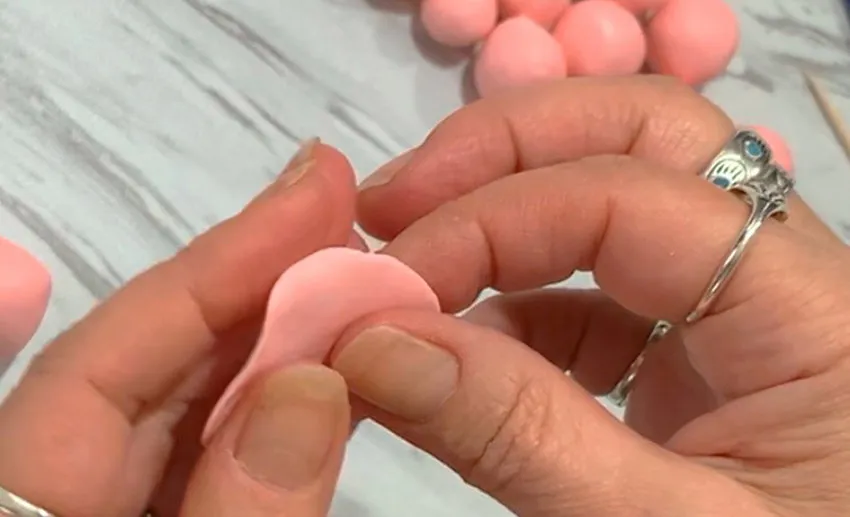
- Take the first petal, attach to the 1-inch ball, and form a cone (may require a little water).
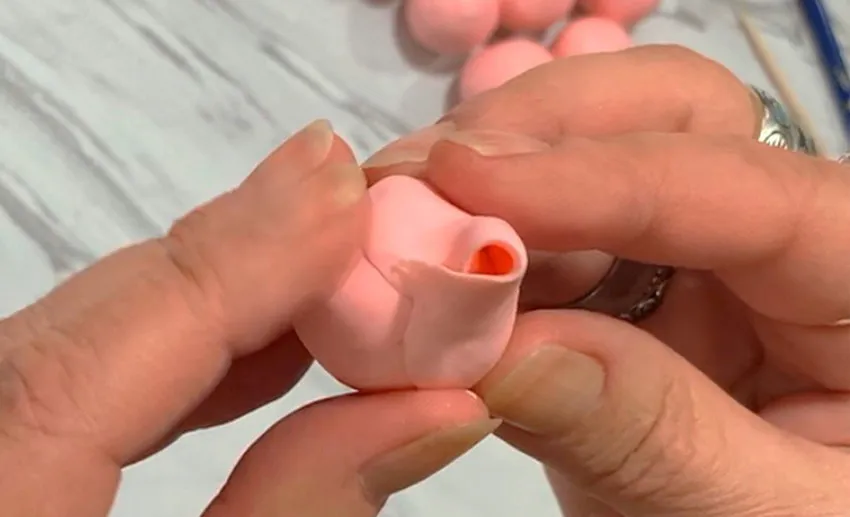
- Flip the petal over and press your thumb into the center to shape it.
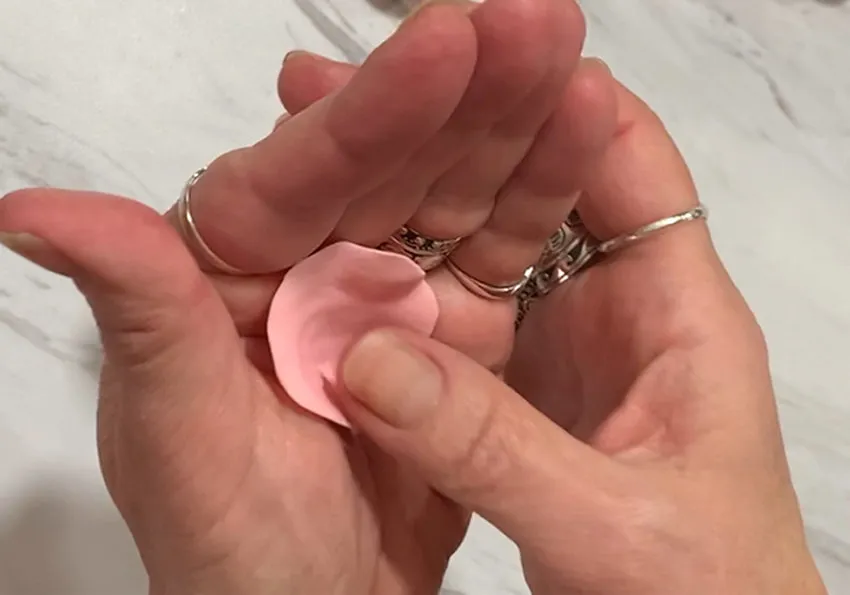
- Take a flattened petal, curve it, and roll the opposite edges with a toothpick.
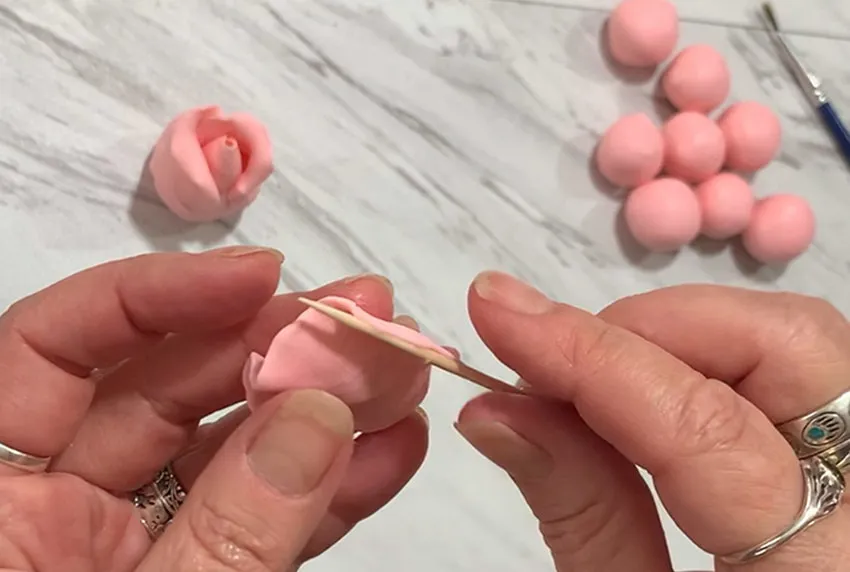
- Add petals one at a time, keeping the height slightly higher than the center cone. Overlap each petal. Use a smoothing tool to attach. Curl back the tips with your fingers.
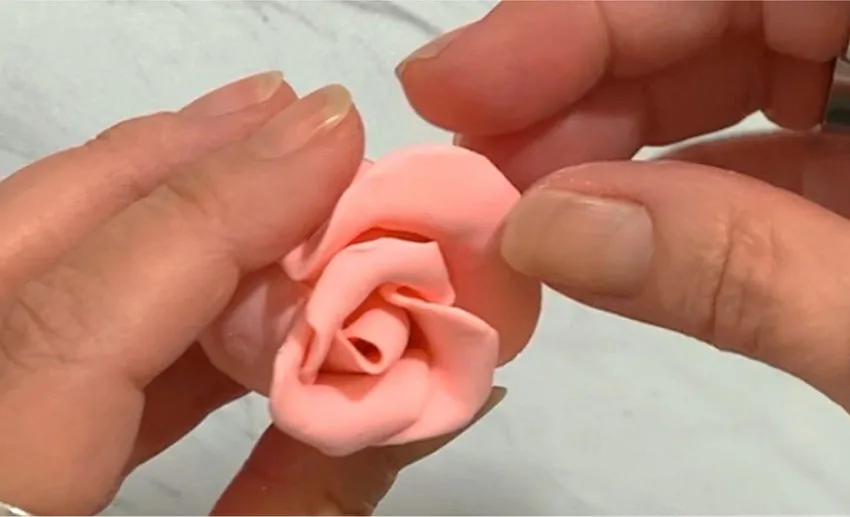
- Repeat with the three 1⁄2-inch balls for the second set and five 3⁄4-inch balls for the third set. Continue until the rose is the desired size.
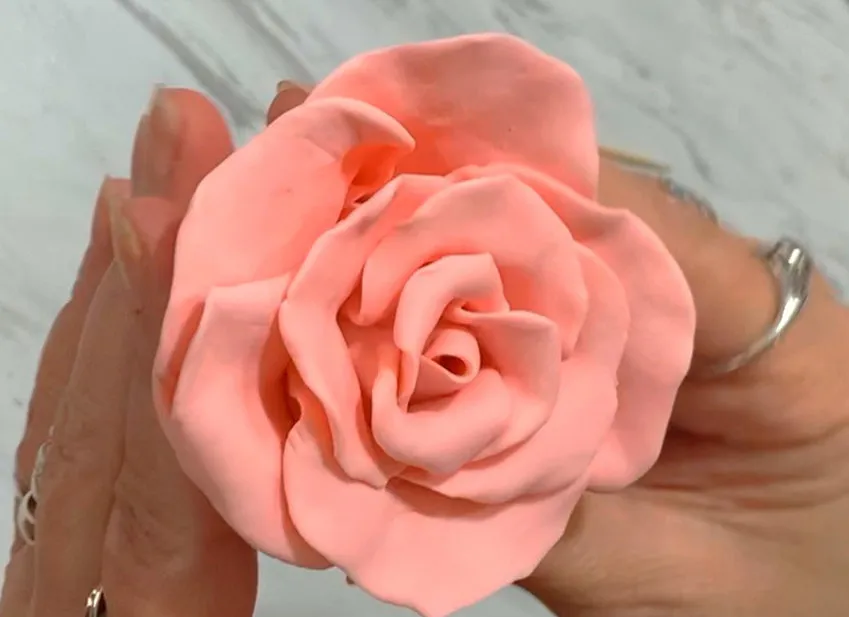
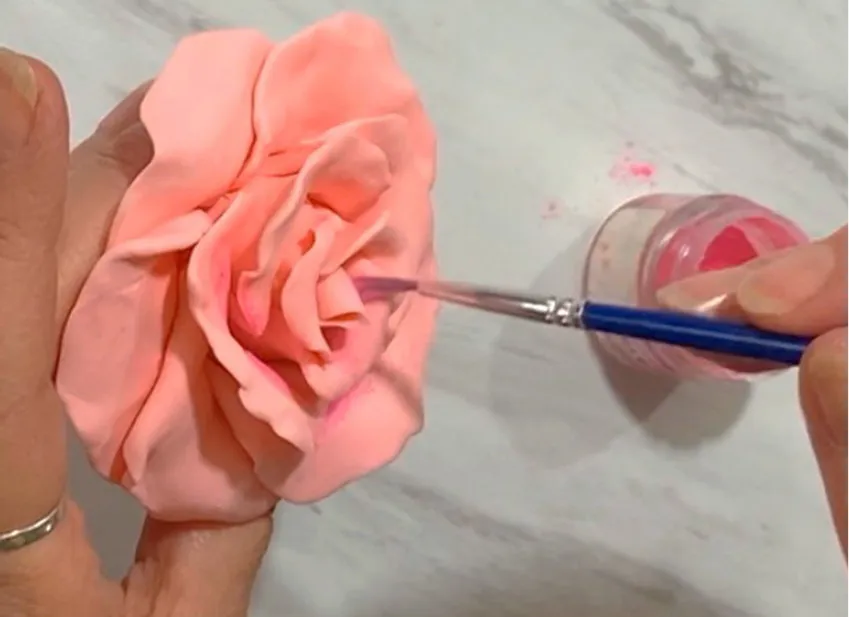
- Dust the rose with petal dust to add dimension.
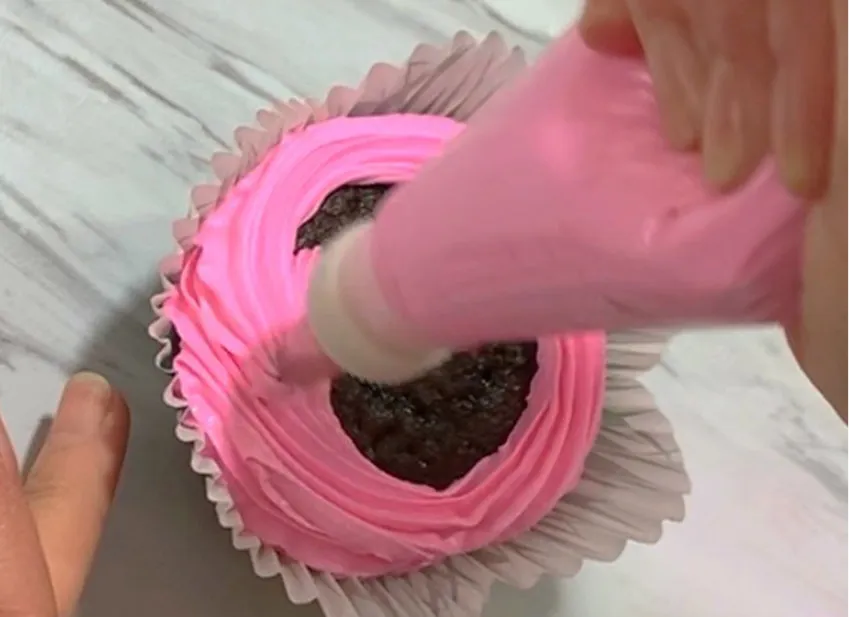
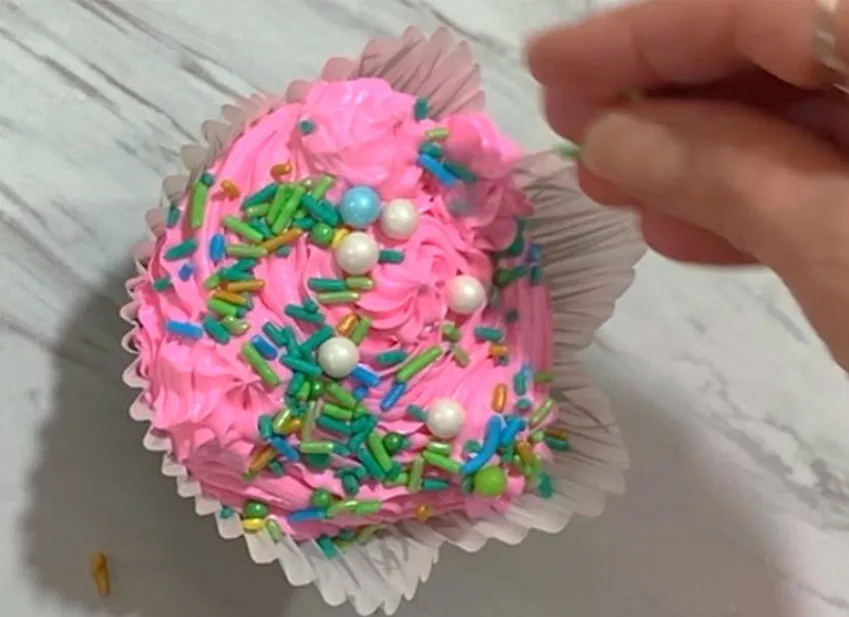
- Pipe buttercream onto the cupcake.
- Add sprinkles.
- Add the rose to the cupcake.
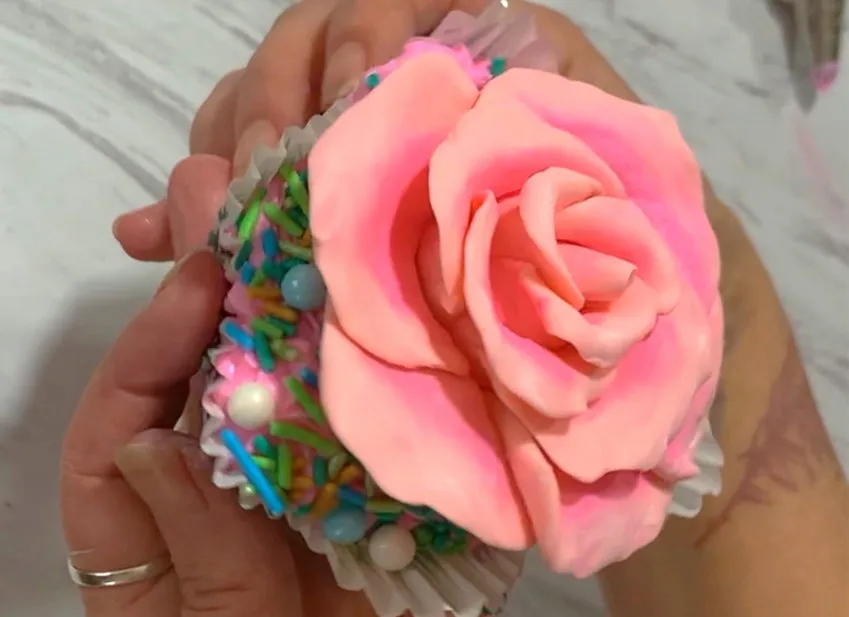
Also, making a rose—and topping a delicious cupcake with it—is an ideal project to do as a family when you’re pretty much staying home. All the materials can be ordered online, and the smell of cupcakes baking is one of the best there is.
Please stay hopeful and strong.