Make this candy surprise bunny
- Kim Simons
- March 22, 2023
- 3 mins
- Kim's Kitchen
- easter seasonal tutorial
Originally published at: https://www.riverreporter.com/stories/make-this-candy-surprise-bunny,88931
Anybody who knows me knows that I love animals.
True, a few of them don’t love me—I have really bad allergies to most dogs. And don’t let me get anywhere near a cat—I respect them from afar, but no amount of allergy meds on earth will help me weather that storm!
Over the years, I’ve spent my time with a wide variety of animal friends. I’ve lived with reptiles. I’ve lived with hamsters. I lived with a cardinal I rescued that I named Freedom. Currently, I have four hens, three roosters and seven guinea hens. Eggs for days, and no ticks allowed on our portion of Wurtsboro Mountain!
Our friends Yvonne and Jim Housman have also recently gifted us with a hypoallergenic Maltese pup whom I’ve named Ozzy (yes, after Ozzy Osbourne—he even has a chew toy in the shape of a bat). Ozzy is coming up on 10 weeks old, and may weigh all of two pounds. Of course, he thinks he’s a lion.
Given that we’re coming up on the Passover-Easter season, my thoughts have recently dropped back yet again to my younger years, particularly the days when one of my animal friends was a rabbit—a female with pure-white fur. As it happens, I was babysitting a friend’s rabbit, which happened to be male. Well, somehow, those stealthy bunnies got together because—about 30 days later—she was burrowing into our couch in the back room and giving birth! You know my kids enjoyed playing with those six little fur balls. My daughter Kayliegh was even singing to them.
Now, someone who knows about these things will point out that rabbits and eggs are symbolic of spring, a time when the planet becomes fertile again. (Rabbits and chickens are certainly fertile!)
Me? I just like how cute they are—almost as cute as Ozzy. (Have I mentioned Ozzy?)
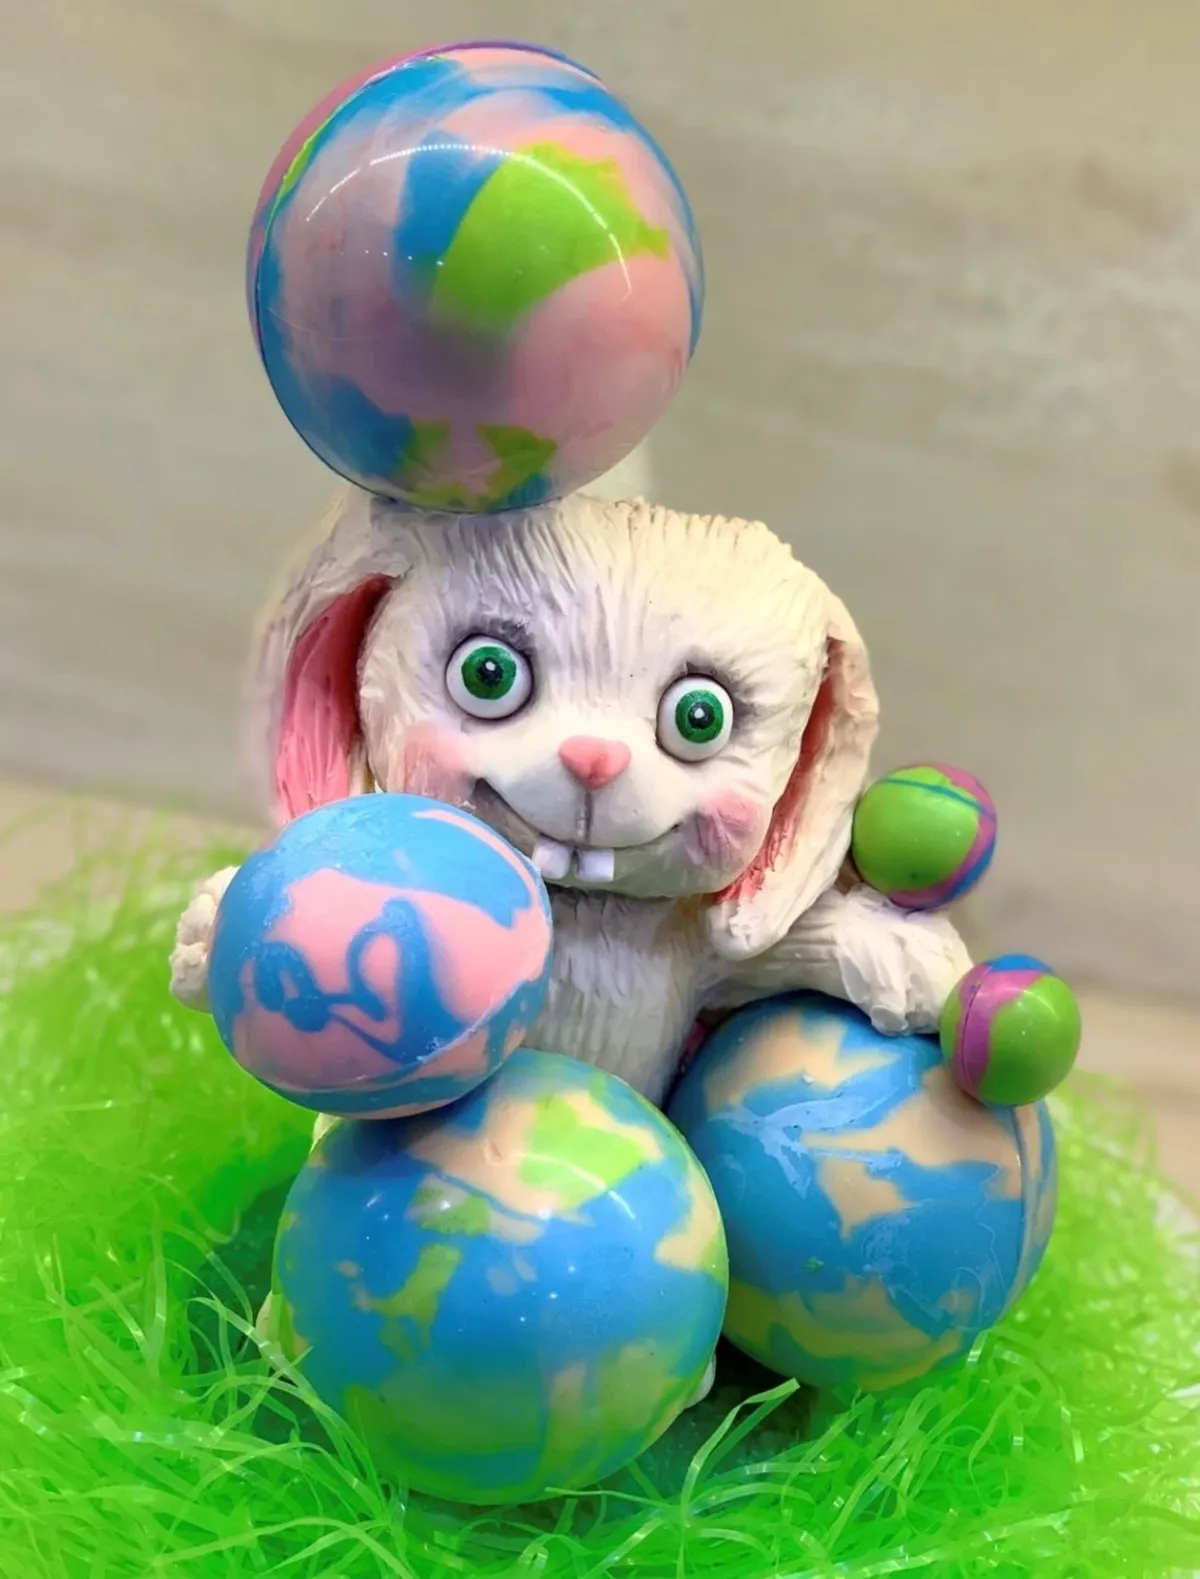
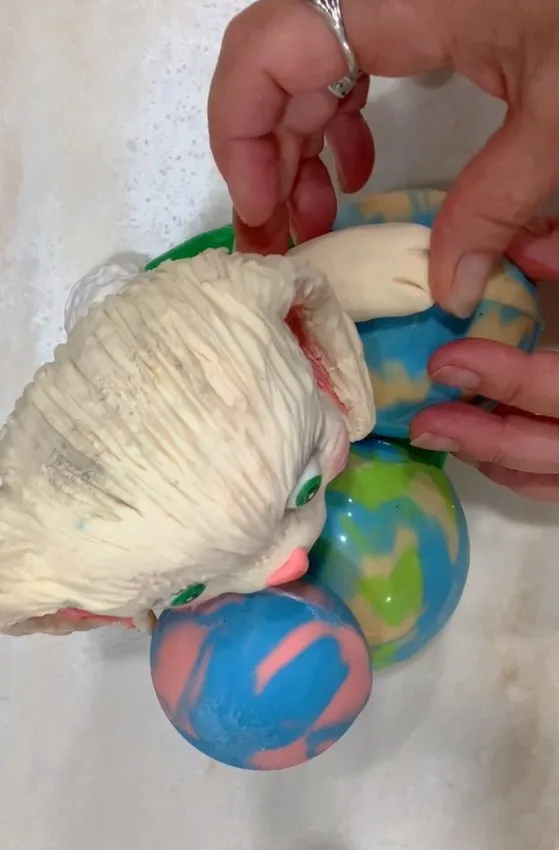
That’s why I chose this candy surprise bunny as this month’s project. It’s a little more difficult than some you might have worked through with me here, and it involves some heating with a blow torch, so please be careful. But the results will be well worth it. If there are little kids in your life, wait until you see their smiles when they crack open those chocolate spheres and find candy in them.
Candy Surprise Bunny
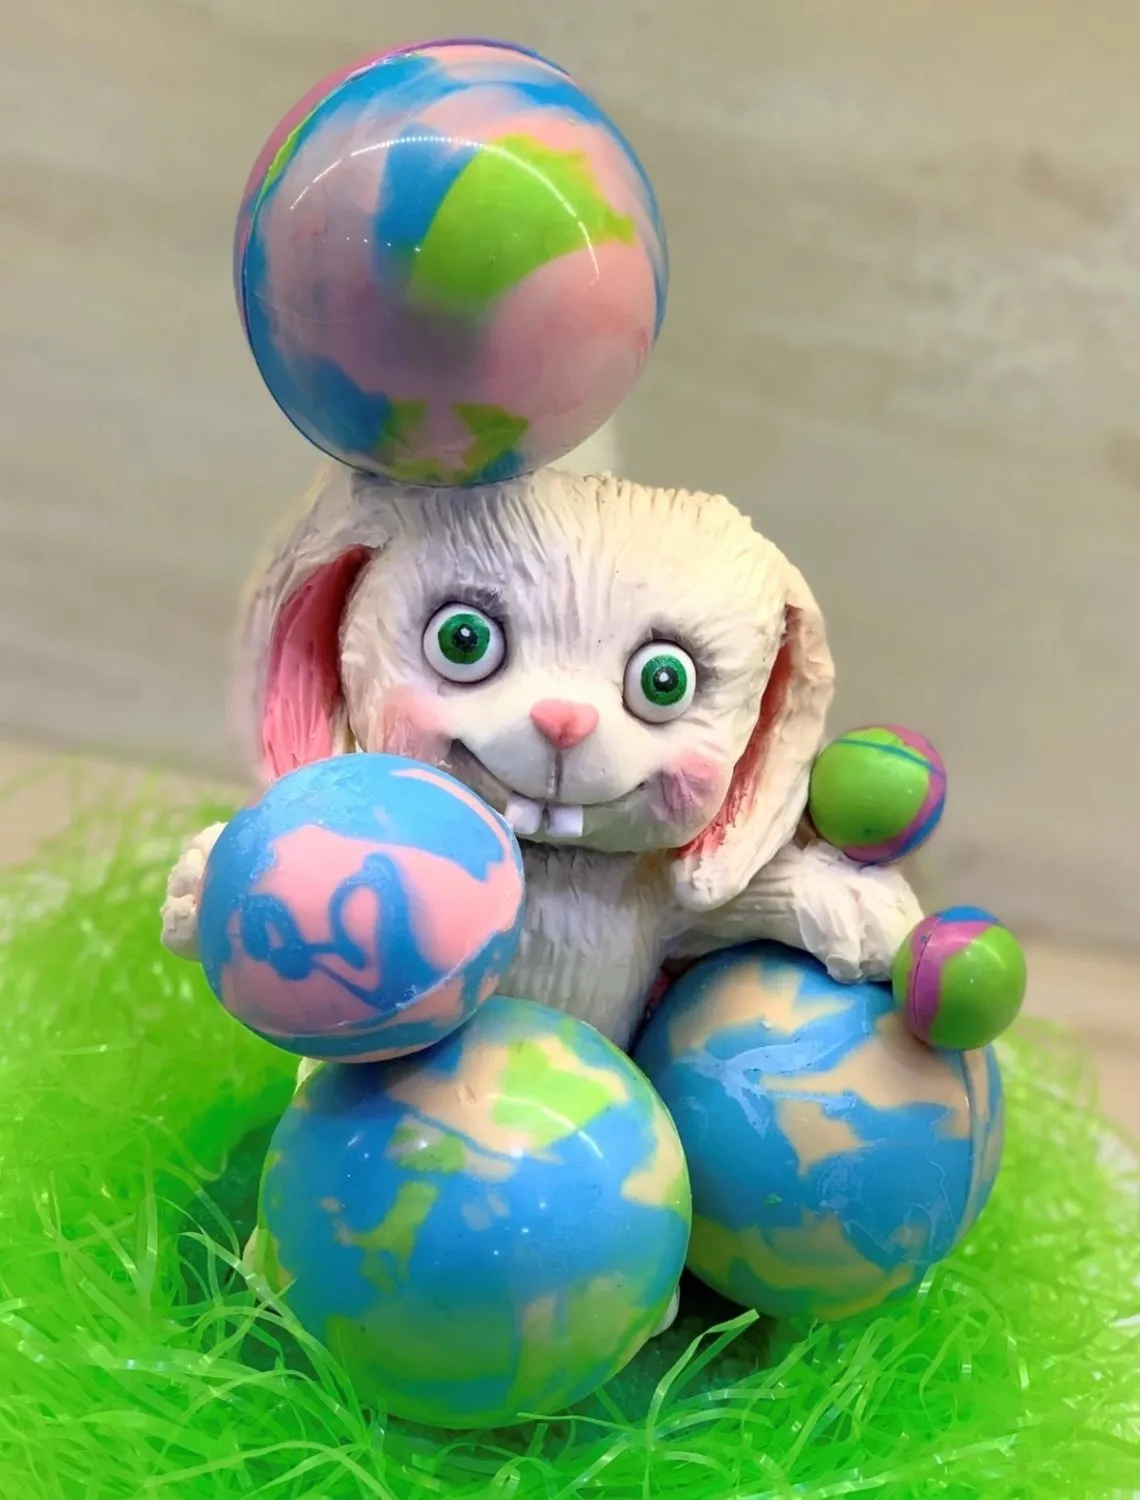
Make an adorable Easter bunny from rice-cereal treats and fondant, complete with a hollow chocolate body filled with candy.
Supply List
Instructions
- Sculpt the body out of rice-cereal treats.
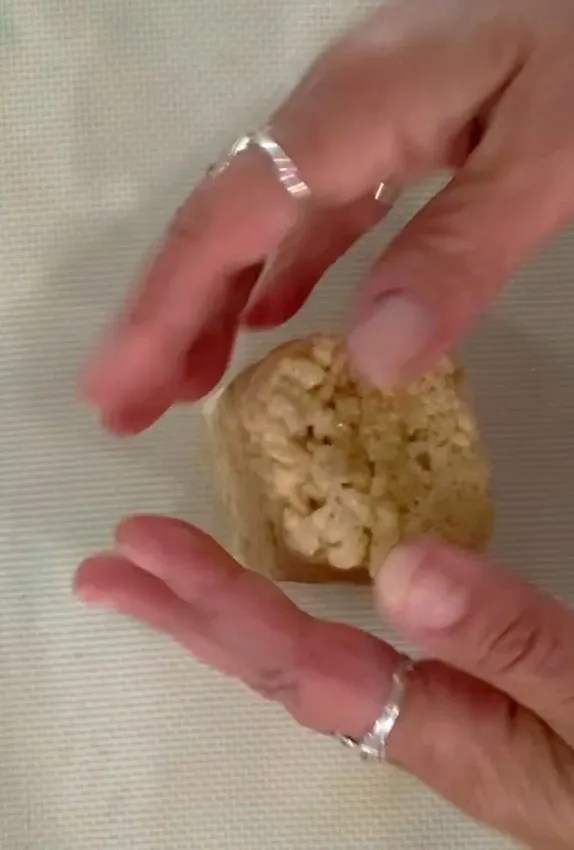
- Roll out fondant in the color of your choice.
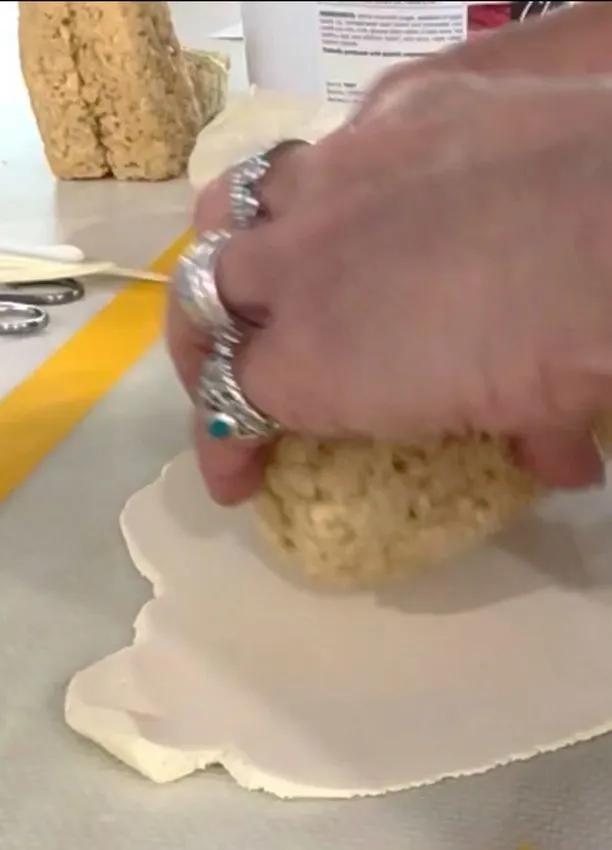
- Cover the body in the fondant. Trim away the excess. Smooth with hands.
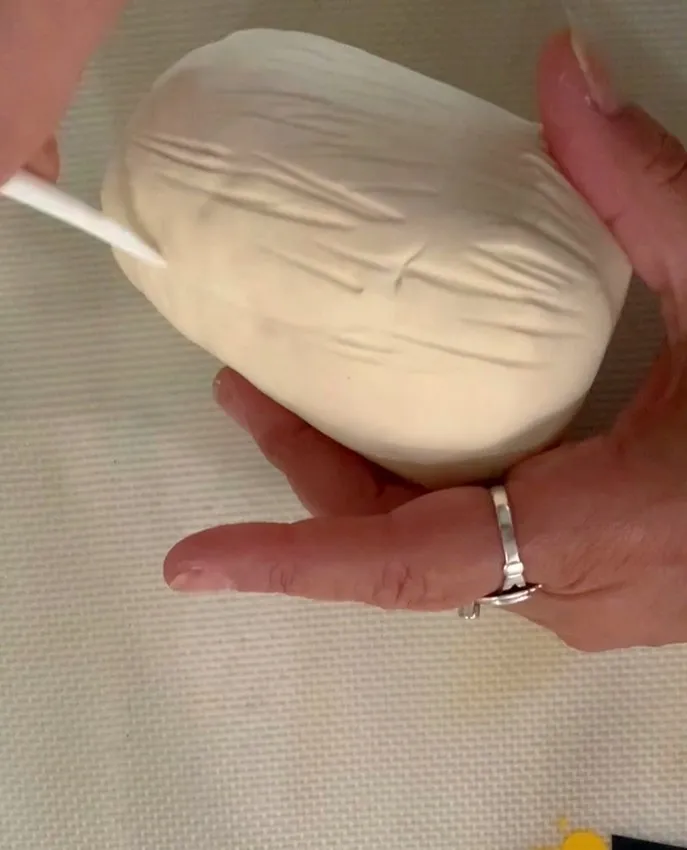
- Add detail (fur) to the body with a cake tool.
- Sculpt a head out of rice treats. Add some lumps of fondant for the face and smooth out. Cover with thinly-rolled fondant. Trim away the excess. Smooth with hands. Sculpt out eye sockets with a ball tool.
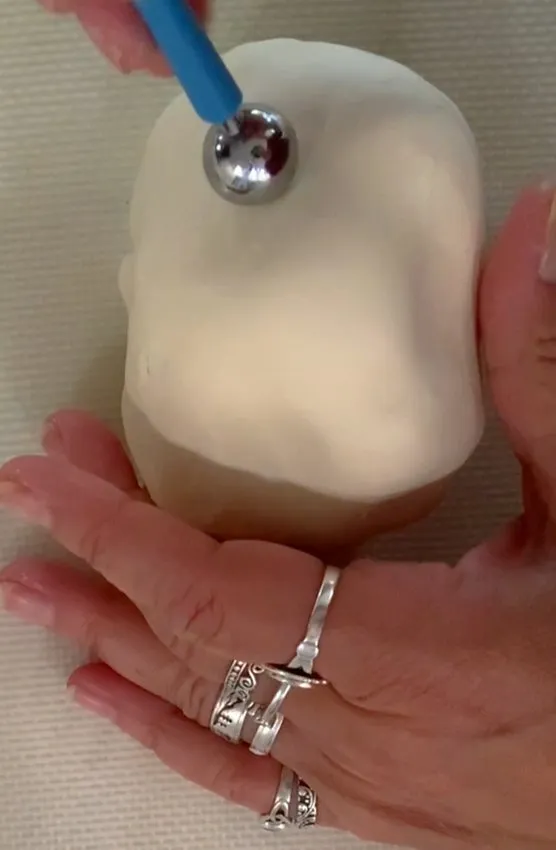
- Add a smile with a cake tool. Detail fur using a cake tool.
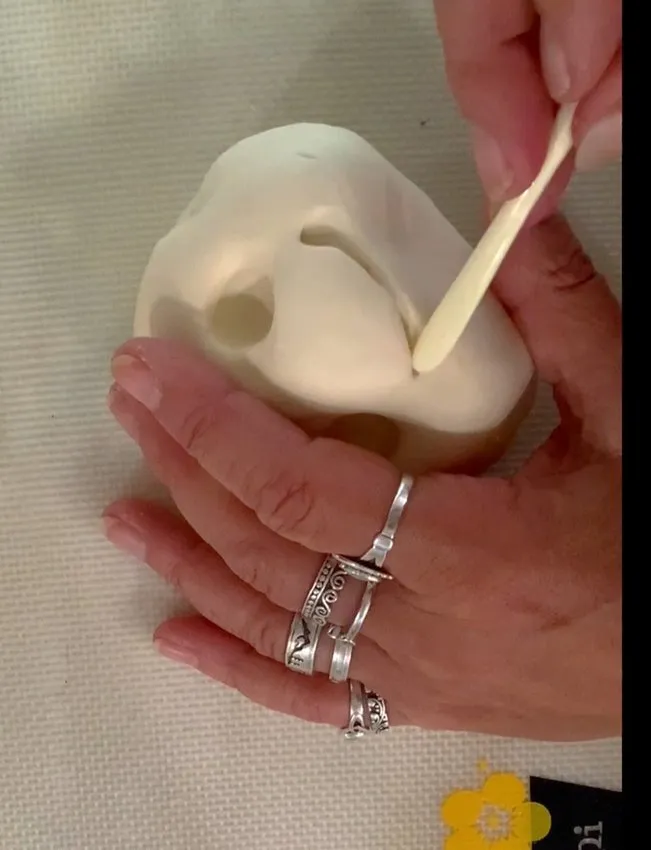
- Attach head to body using a wooden dowel. Smooth in fondant on the neck to solidify.
- Attach body to FoamCore board with piping gel. Cover the rest of the board in green fondant to look like grass.
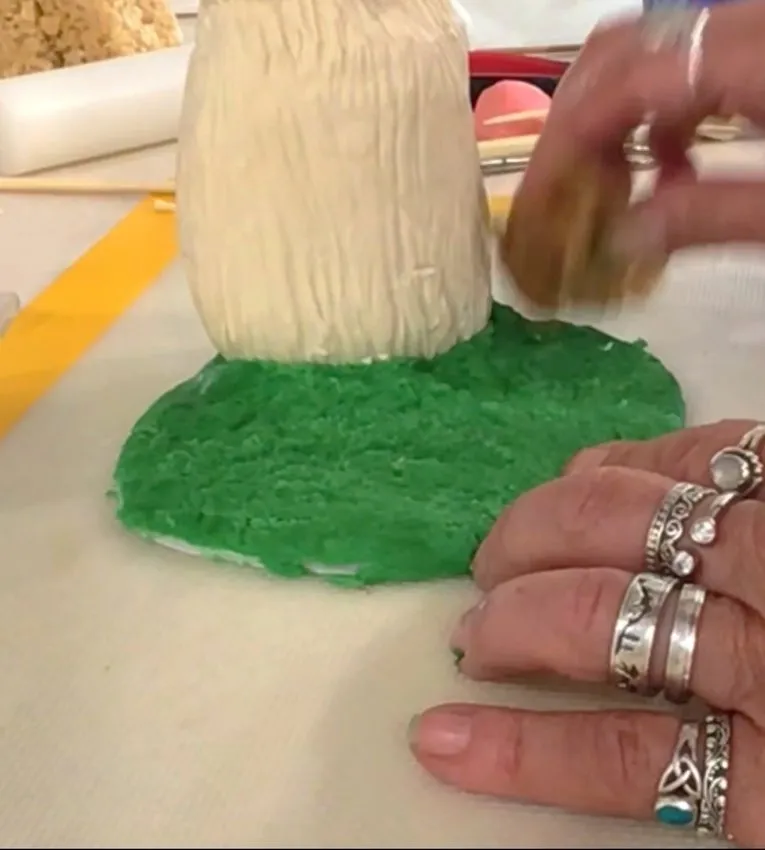
- Roll two small cylinders of fondant for feet. Sculpt toes with a cake tool. Attach to body by smoothing in fondant.
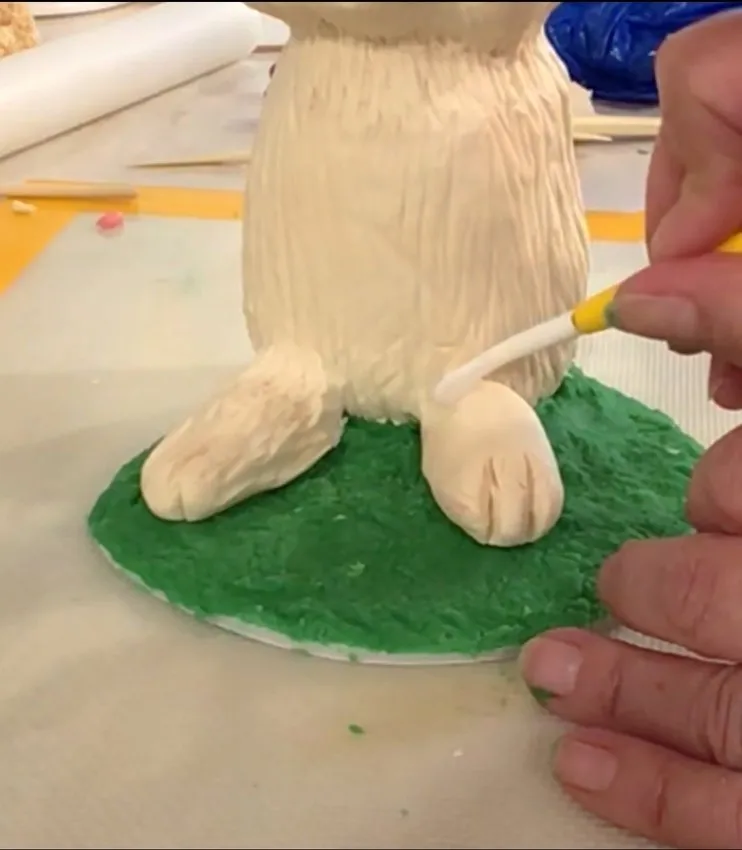
- Shape ears out of fondant and attach to head. Roll two balls of fondant for eyes and add to sockets. Sculpt nose out of fondant of your choice and add to face. Do the same for bucked teeth. Roll another ball of fondant and attach to the backside for a cotton tail.
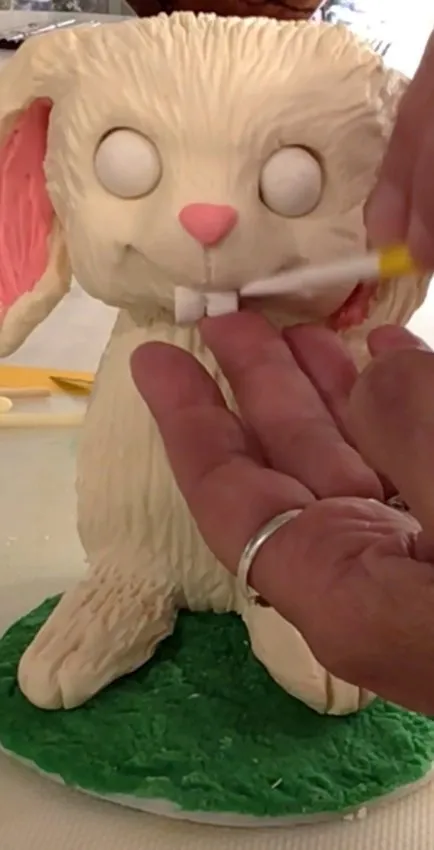
- Add and color irises with an edible marker. Brush head and body with edible powder to add shade and depth.
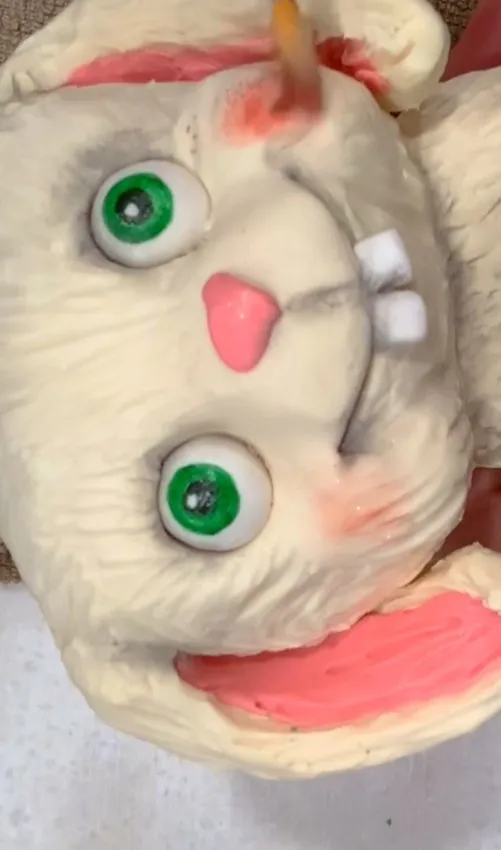
- Melt vanilla chocolate wafers. Add edible colors of your choice. Stir.
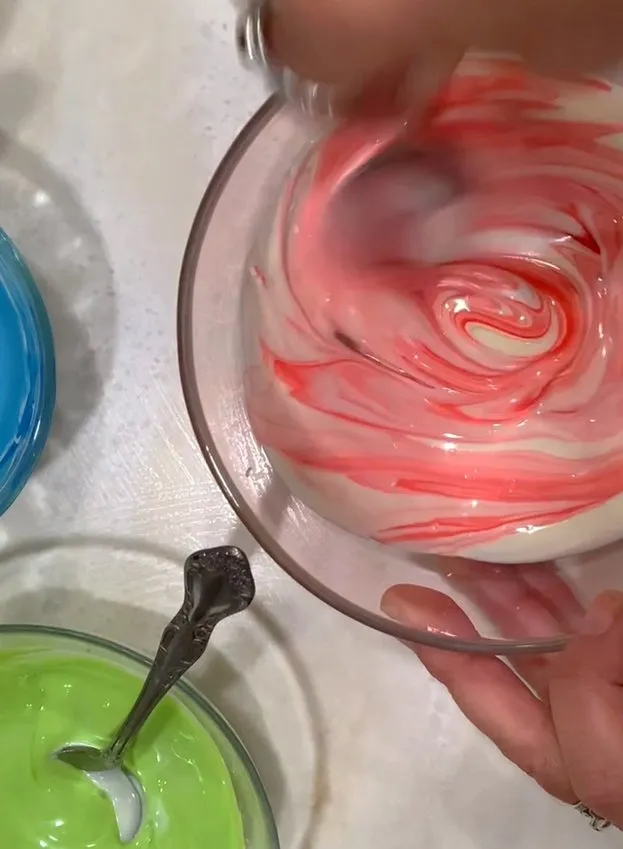
- Add the mixture to ball-half molds and coat the inside. Let harden.
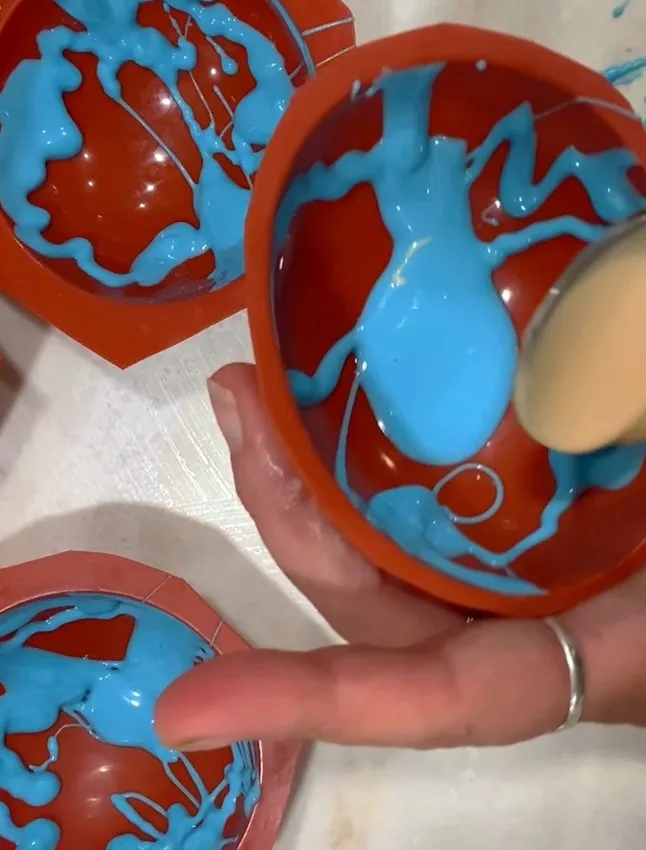
- Pop the hardened chocolate out of the molds. Fill half of the chocolate spheres with candy of your choice.
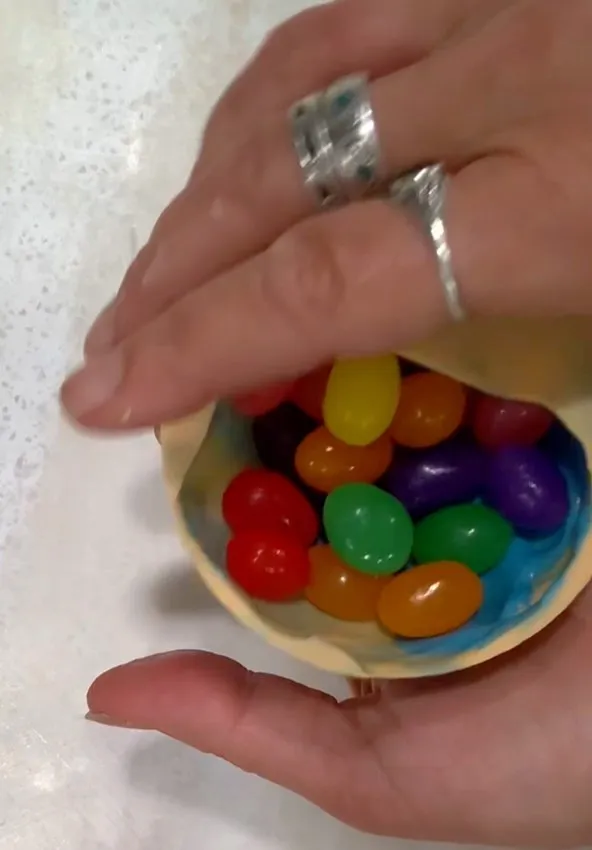
- Roll out two cylinders for arms. Detail fingers using a cake tool. Attach to body and add further detail with a cake tool.
Notes
Products Used
As always, make your candy surprise bunny look any way you choose. Experiment with different colors of fondant. Use your favorite candy. Tap into the creative juice that makes you, well, you.
Ozzy would expect nothing less.