Make this chocolate bomb snowman
- Kim Simons
- January 26, 2022
- 2 mins
- Kim's Kitchen
- chocolate holiday winter
Originally published at: https://www.riverreporter.com/stories/make-this-chocolate-bomb-snowman,51548
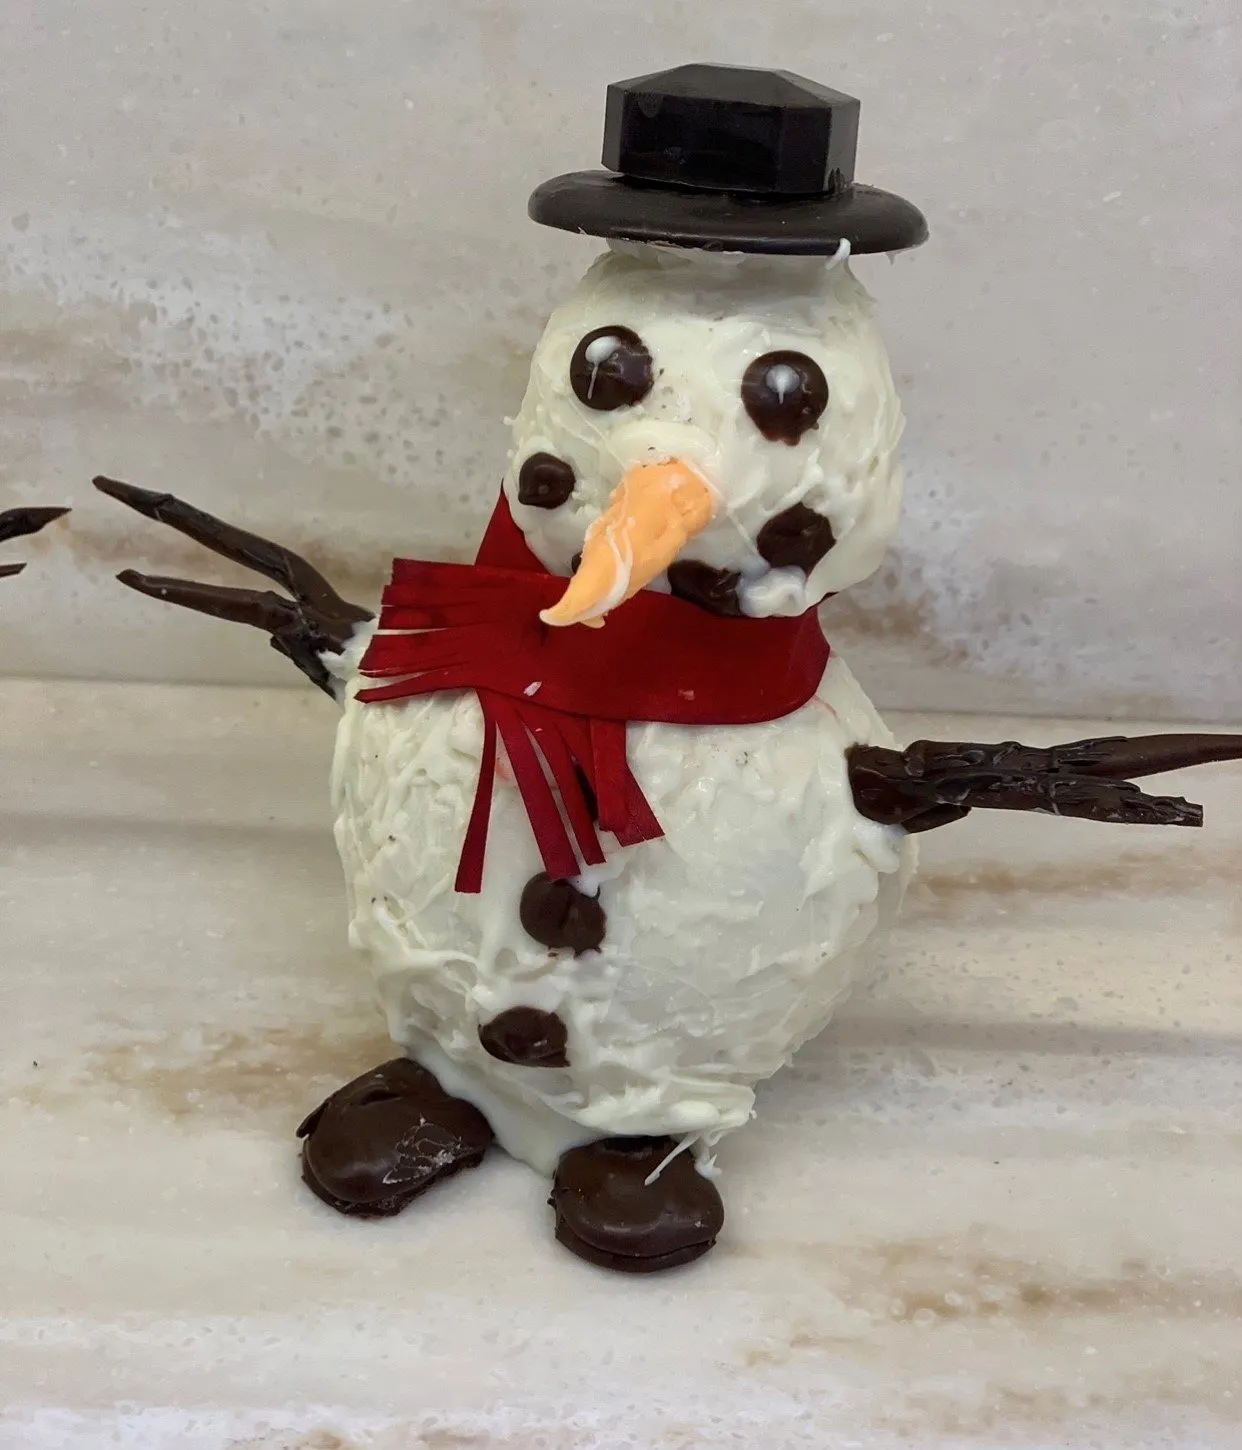
The completed Chocolate Bomb Snowman, before he goes in the mug.
Maybe it was a coincidence that we experienced our first significant snowfall of the season as I began to write this column (January 7, to be exact—Russian Orthodox Christmas). And it’s about time, because I’m a big fan of snow people!
I mean, who doesn’t love Sam the Snowman of “Rudolph the Red-Nosed Reindeer” from 1964?
What might be surprising is how long people have been sculpting figures out of snow. It turns out that we’ve been turning snow into freezing art since the Middle Ages. In 1494, even Michelangelo got in the game when he was paid to make a snowman for the ruler of Florence. (The source is Bob Eckstein’s “The Fascinating History of the Snowman” from the internet.) And what is the very best thing to do after sculpting a frozen masterpiece of your own? Why, having a cup of delicious hot chocolate, of course.
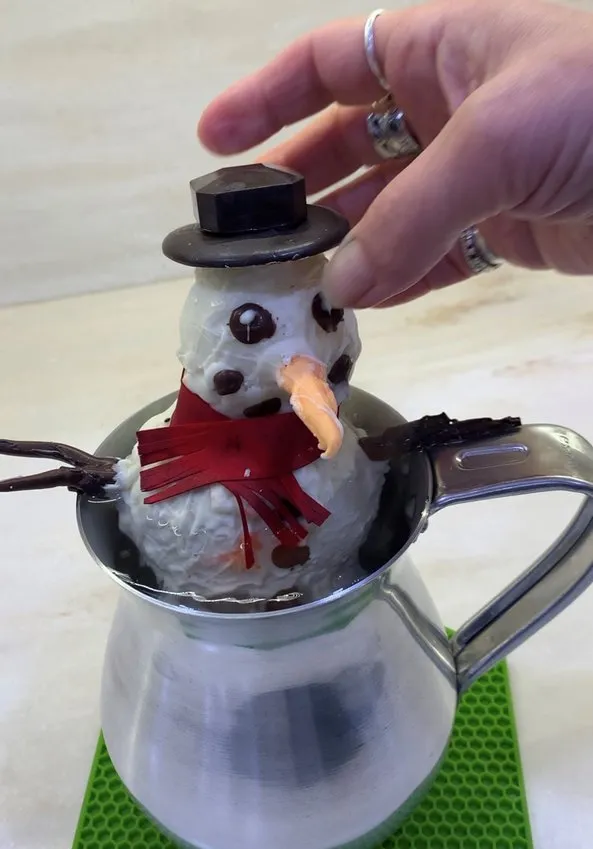
That’s why this chocolate bomb snowman is a great project for this month. You get to make a snowman—inside, so your teeth don’t chatter—and then melt him in hot water for a delicious hot chocolate treat.
See, the secret is creating a chocolate shell in the form of a snowman… and filling it with your favorite hot chocolate. Then drop him in a mug of boiling water big enough to hold him and watch the magic happen.
While this project may be a little more difficult than some of the others we’ve featured in Kim’s Kitchen, the results are well worth it.
Stay warm!
Chocolate Bomb Snowman
Learn how to make a chocolate bomb snowman — a hollow chocolate shell filled with hot chocolate mix and marshmallows. Drop him in boiling water for a delicious winter treat.
Supply List
Instructions
- Pour white chocolate wafers into a glass bowl.
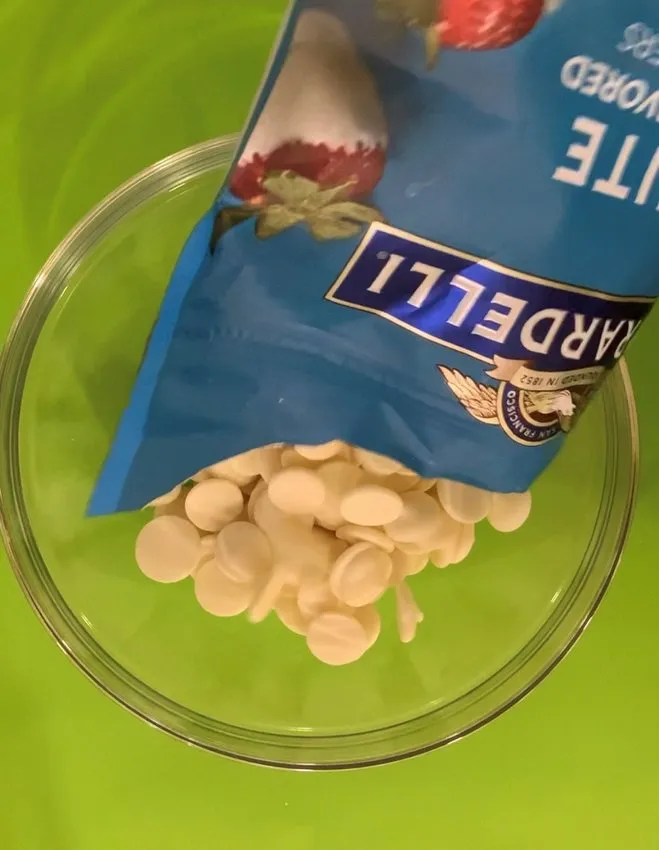
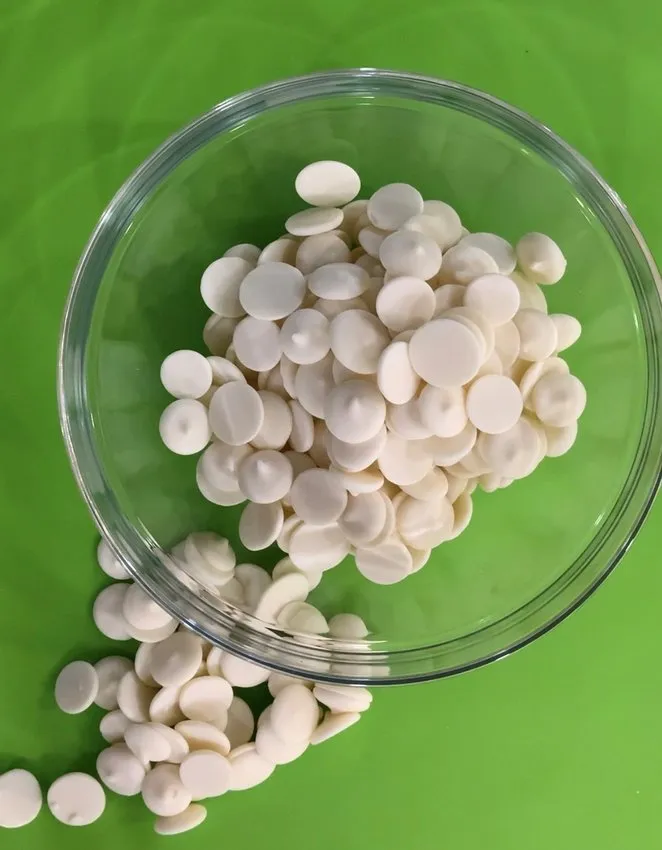
- Reserve a handful on the side.
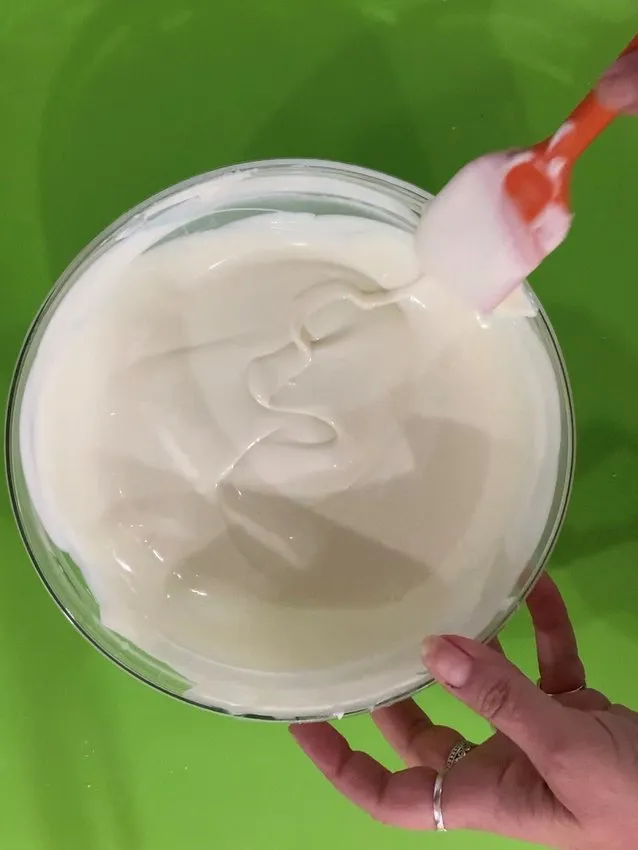
- Heat wafers for 30 seconds in microwave, then at 15-second intervals until it reaches about 83 degrees F. Mix.
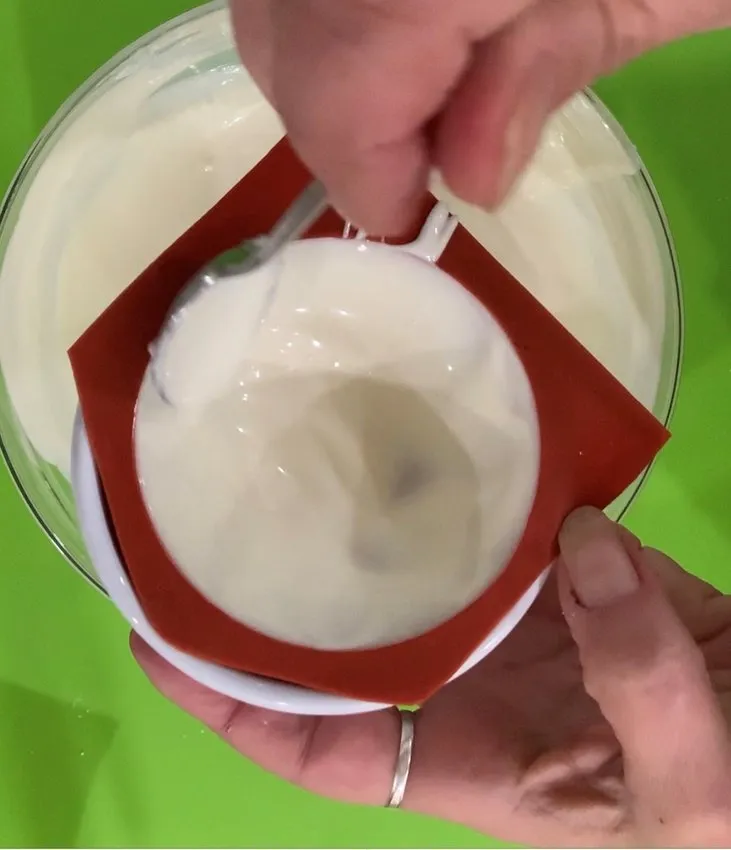
- Stir in reserve wafers to temper.
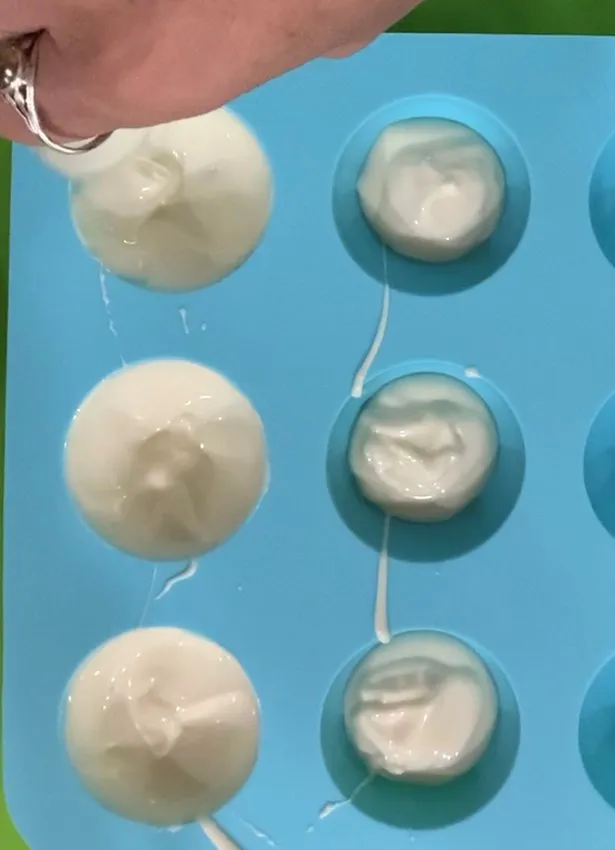
- Coat the interior of two 3” silicone molds with white chocolate; allow to harden.
- Coat the interior of two 1 3⁄4” silicone molds with white chocolate; allow to harden.
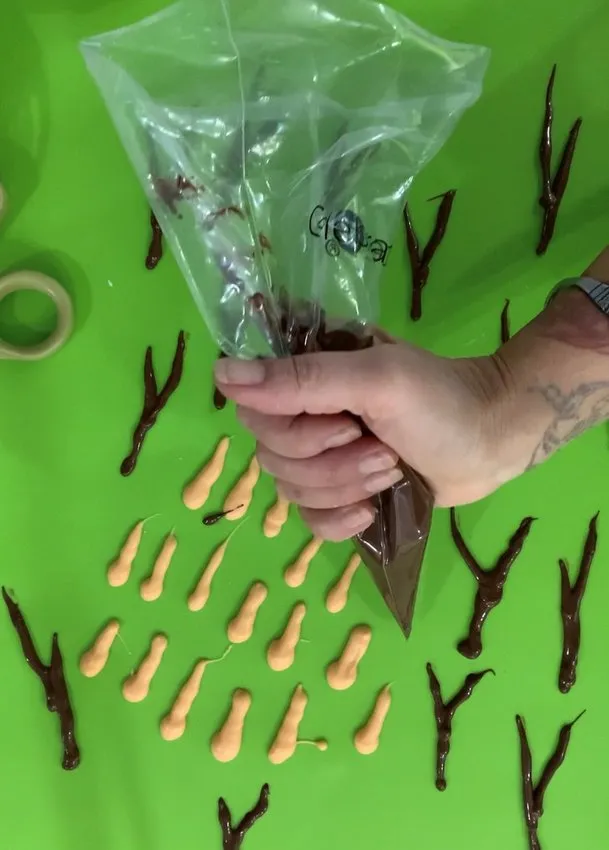
- Using a piping bag, create stick arms from melted dark chocolate wafers. Do the same for the nose. Once hardened, color with peach.
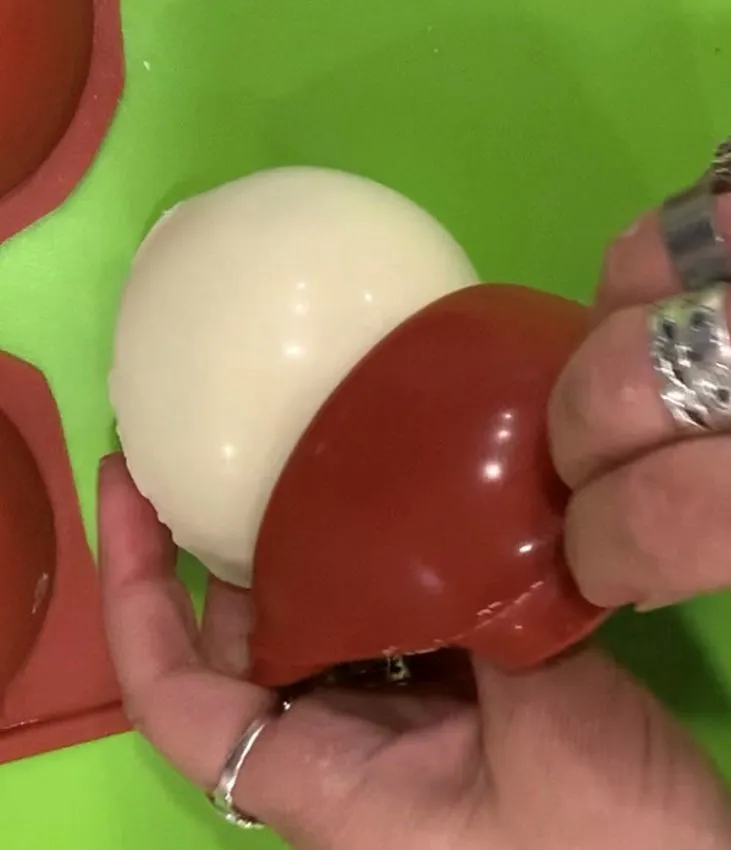
- Remove 3” spheres from mold.
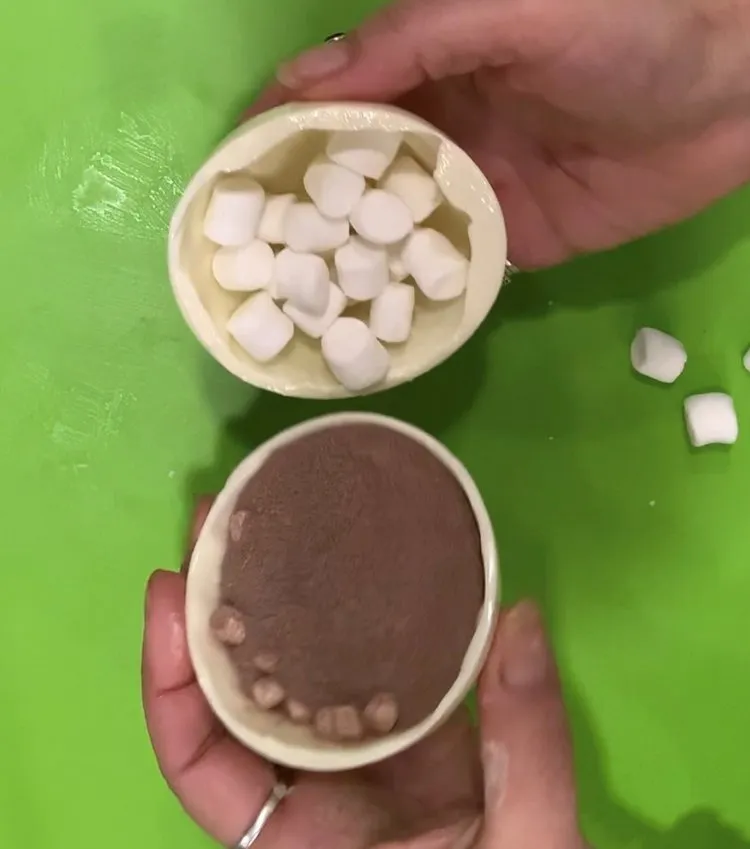
- Fill one sphere with hot chocolate, and the other with mini marshmallows. Heat the edge of a sphere and assemble.
- Using melted white chocolate and paint brushes, add detail to the 3” sphere.
- Assemble 1 3⁄4” sphere into head. Attach to body with melted chocolate. Add details with brush.
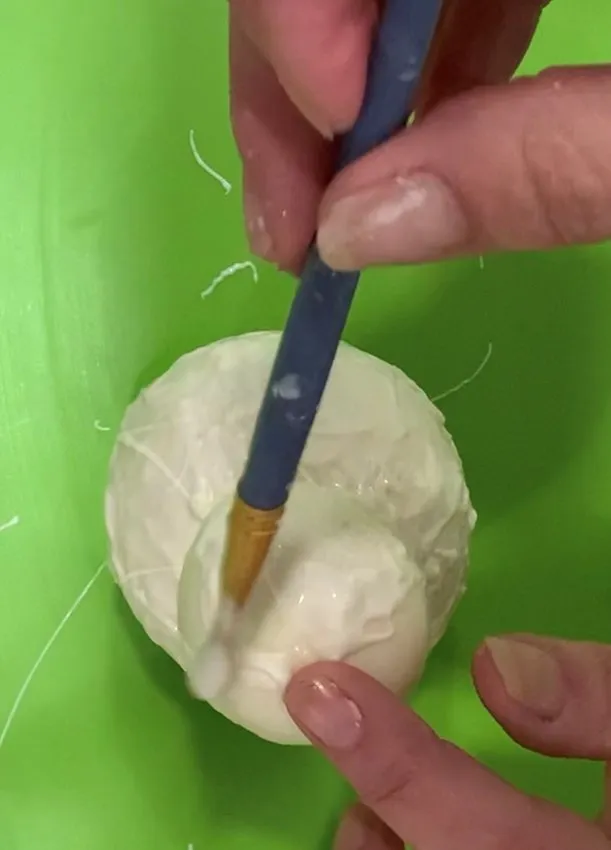
- Attach nose and arms with melted chocolate.
- Paint eyes, mouth, and buttons with melted dark chocolate.
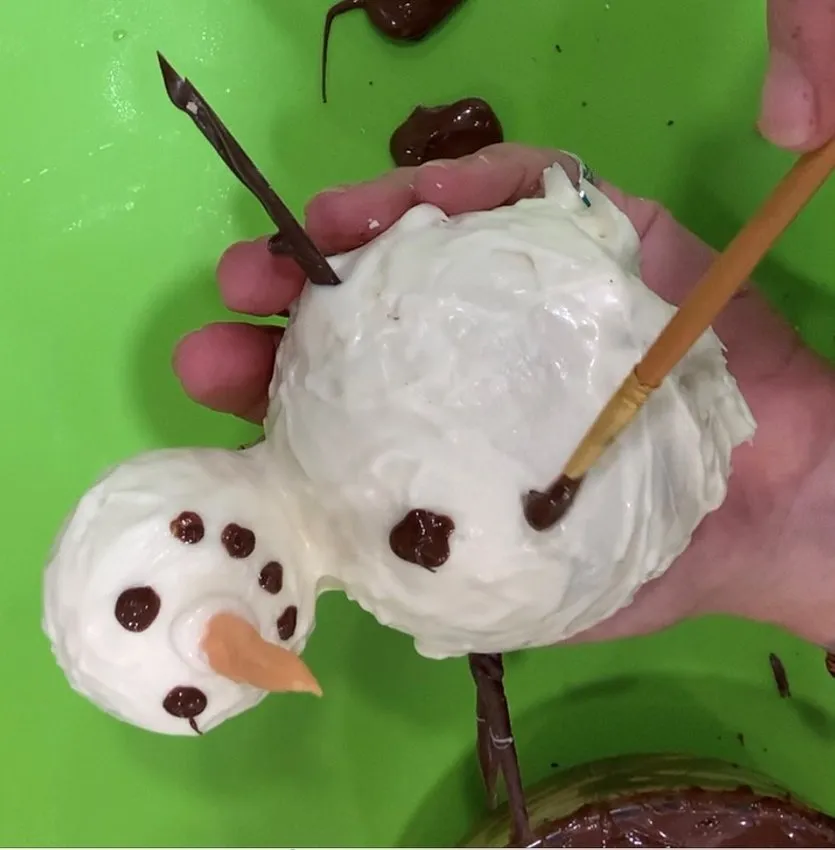
- Shape feet out of dark chocolate. Attach to body once hardened.
- Pour dark chocolate into square or round mold. Allow to harden.
- Pour dark chocolate circle about 2” in diameter to form hat brim. Allow to harden.
- Attach brim to head with melted chocolate.
- Remove square or circle from mold. Attach to brim with melted chocolate.
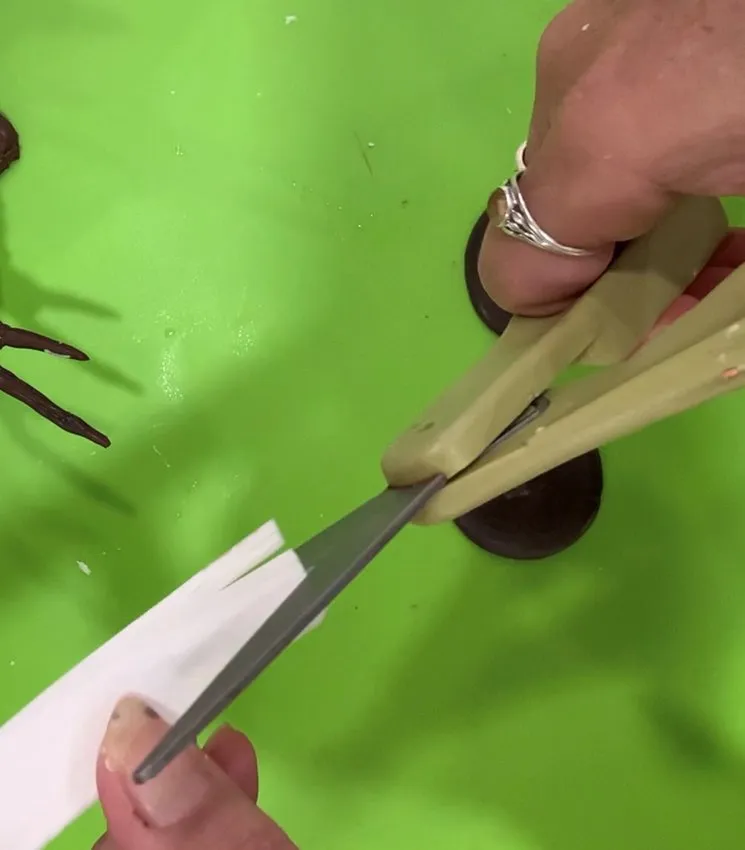
- Cut edible paper into strip for scarf. Paint with hot rod red gel. Wrap around snowman’s neck.
- Pour boiling water into large mug. Drop snowman in. Stir and enjoy!