Make this chocolate surprise pumpkin
- Kim Simons
- October 27, 2021
- 2 mins
- Kim's Kitchen
- chocolate halloween seasonal
Originally published at: https://www.riverreporter.com/stories/make-this-chocolate-surprise-pumpkin,49345
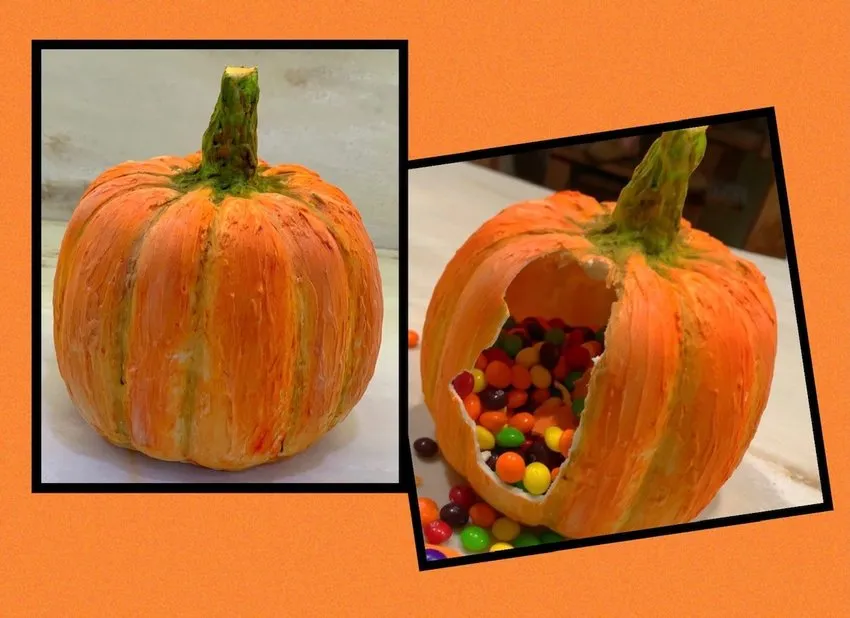
The finished pumpkin and a glimpse of the sweet contents.
“Trick or treat!”
It’s Halloween time again, and after the “trick” of 2020, we can certainly hope that Halloween 2021 is a “treat.”
Of course, this Halloween is extra-special for me since I can currently be seen competing on the 11th season of Food Network’s “Halloween Wars” (Sundays at 9 p.m., EDT). Make sure you tune in—all of the teams on the show really stepped up and created some cake art that will blow your mind!
In keeping with the “treat” theme, this month’s project is a fun one: a hollowed-out chocolate pumpkin complete with a surprise! It’s a joyful variation of the classic piñata… and if there are little kids in your life—or fun-loving adults—they will be thrilled!
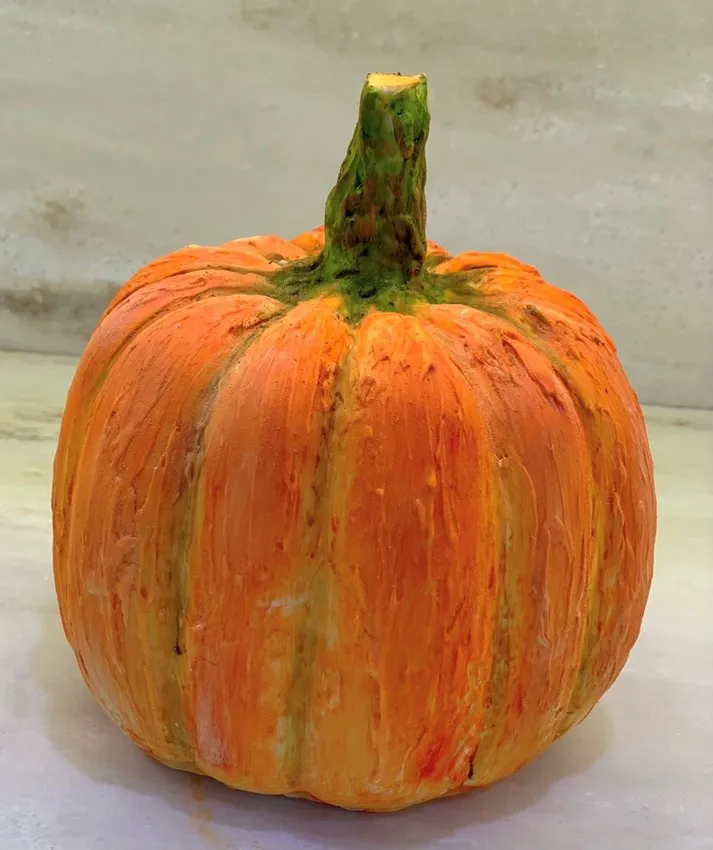
The key element is the pumpkin mold. These aren’t hard to find—check baker’s supply stores or search online. A little effort finding the right mold now will pay off in many surprise pumpkins in the future.
Enjoy the project and have a Happy Halloween!
Chocolate Surprise Pumpkin
Learn how to make a hollow chocolate pumpkin filled with candy — a fun twist on the classic piñata for Halloween.
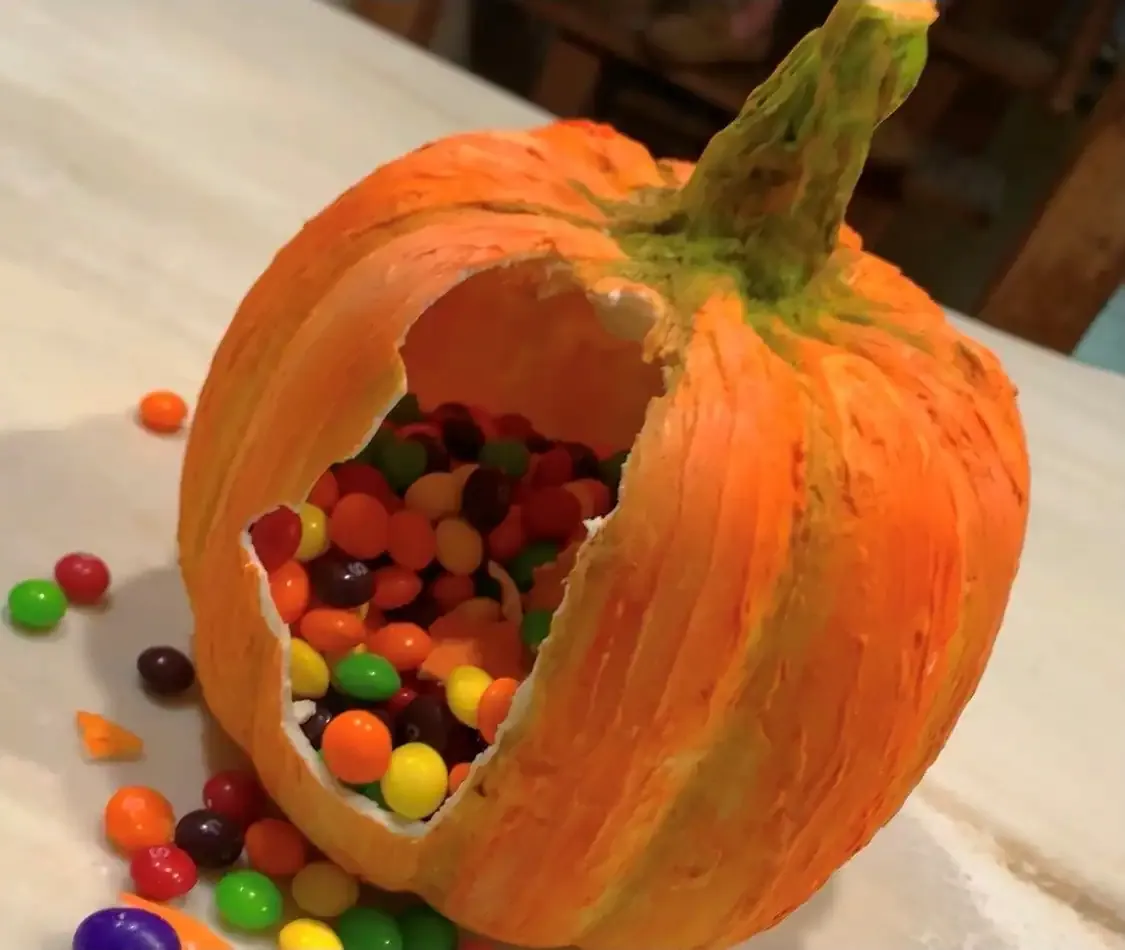
Supply List
Instructions
Using a microwave, temper white chocolate wafers.
- Heat for 30 seconds.
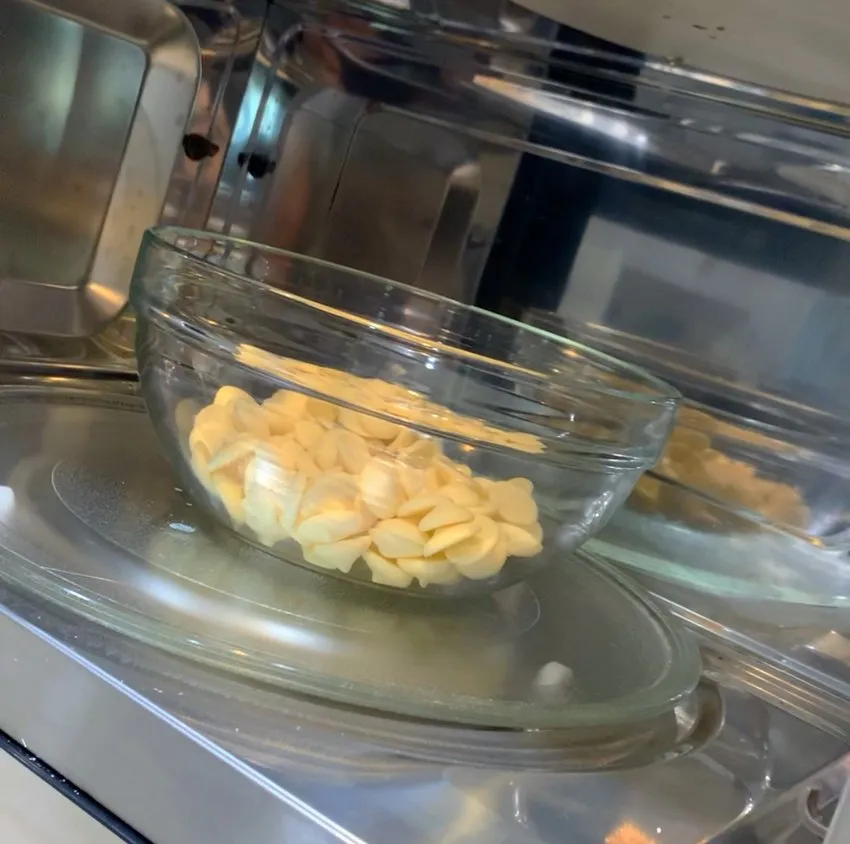
- Then continue heating for 15-second intervals.
- Stir the chocolate in between bursts to ensure it melts evenly.
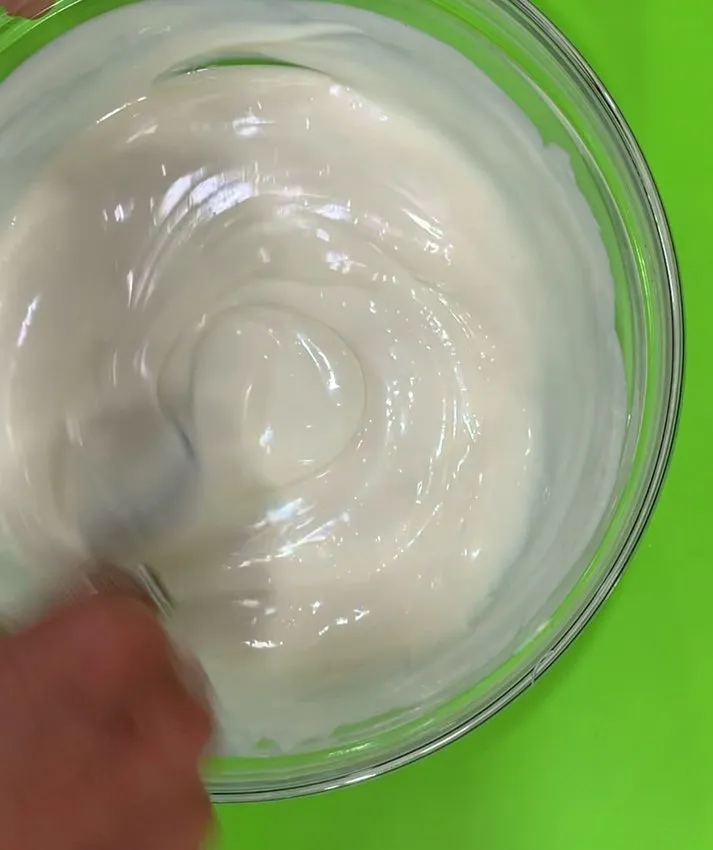
- Temper until chocolate is 87-88 degrees Fahrenheit.
- Heat for 30 seconds.
- Pour tempered chocolate into pumpkin mold.
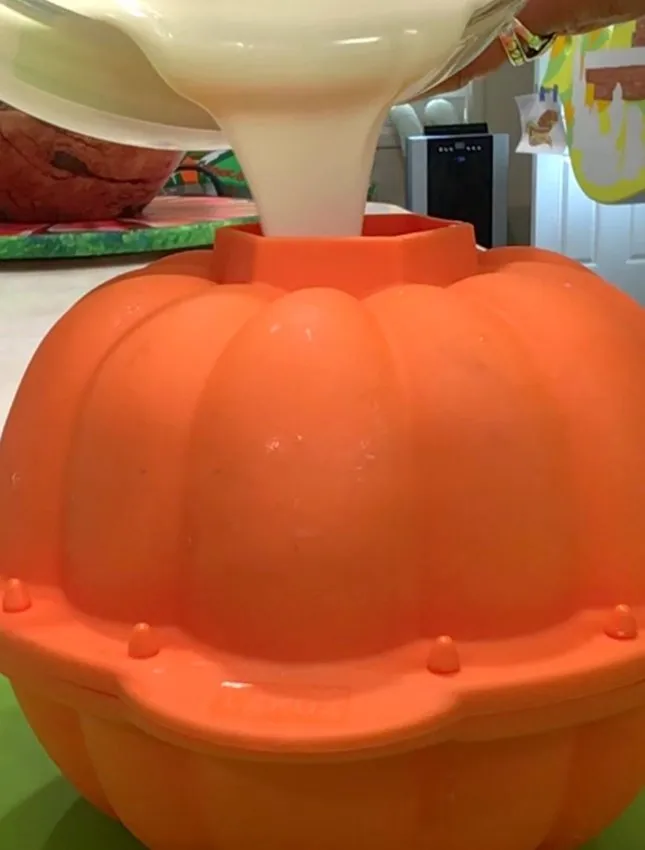
- Swirl the mold slowly to coat the inside. Pour off excess and let harden.
- Carefully remove hardened chocolate from the mold.
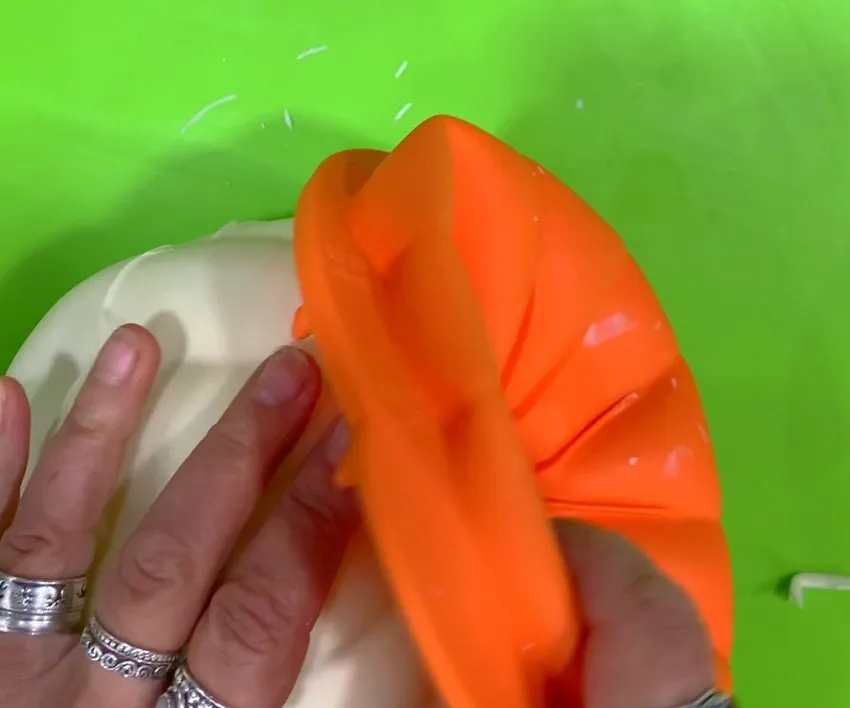
- Temper more white chocolate and shape into a stem.
- Pour your favorite candy into the chocolate pumpkin.
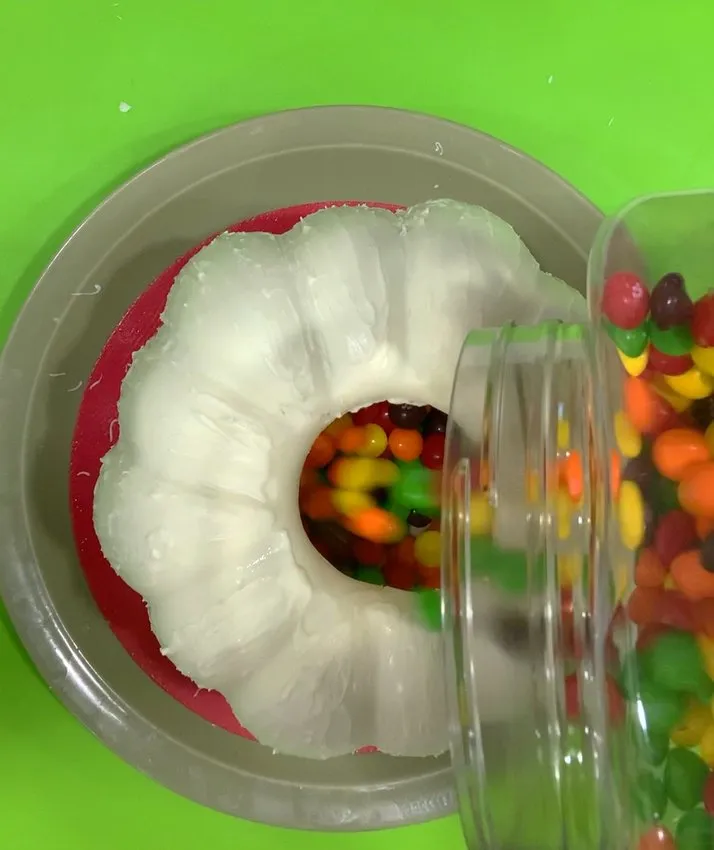
- Place the stem on top. Seal with tempered chocolate.
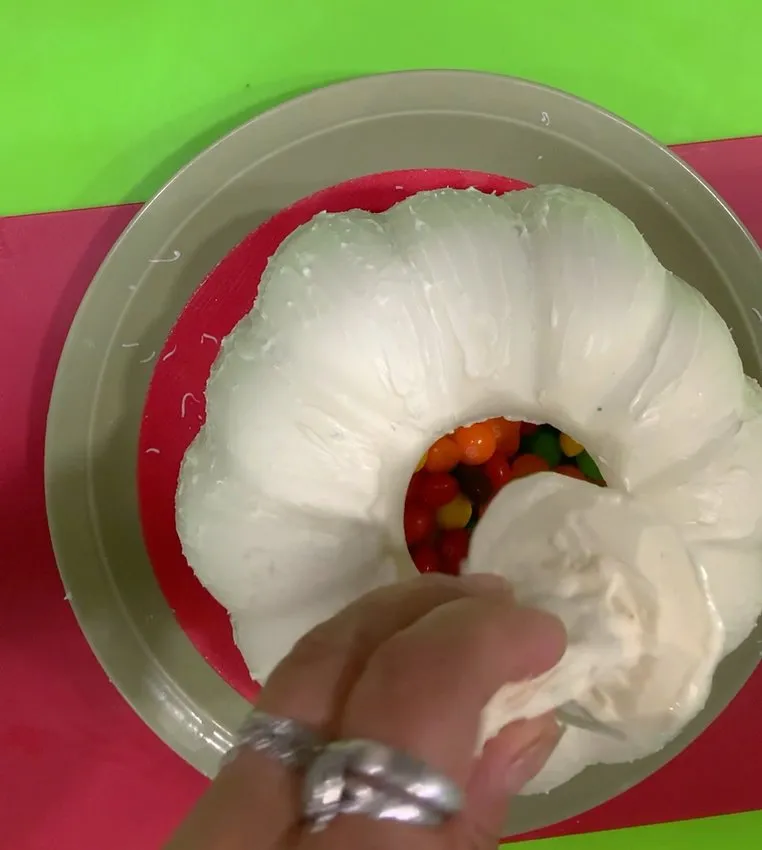
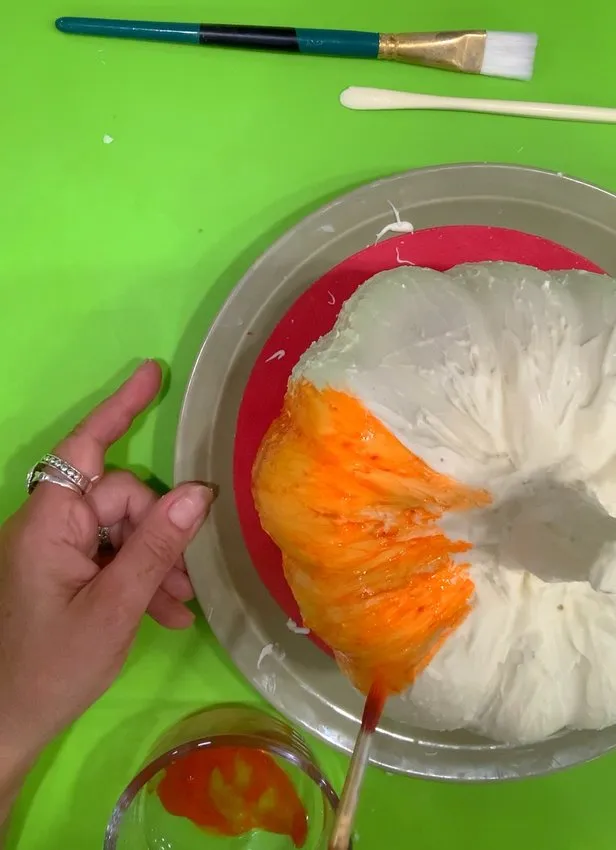
- Detail surface using a clay tool and a small precision knife.
- Paint and dust with edible colors.