Make this ‘Mountain View’ cookie
- Kim Simons
- November 24, 2021
- 1 min
- Kim's Kitchen
- catskills cookie decorating tutorial
Originally published at: https://www.riverreporter.com/stories/make-this-mountain-view-cookie,50134
Anyone with eyes can see that we live in one of the most beautiful places in the world. And because we live here, sometimes that’s easy to forget.
I’ve been lucky enough to see mountains in a lot of places, including California, Utah, South Dakota, Asia and Ireland. But some of the most wonderful views on the planet are right outside our doors.
That’s why I chose this project for this month’s tutorial. I’ve always said that Mother Nature is my favorite artist, and when you combine the look of mountains with the smell of baking cookies, you make magic in your own kitchen.
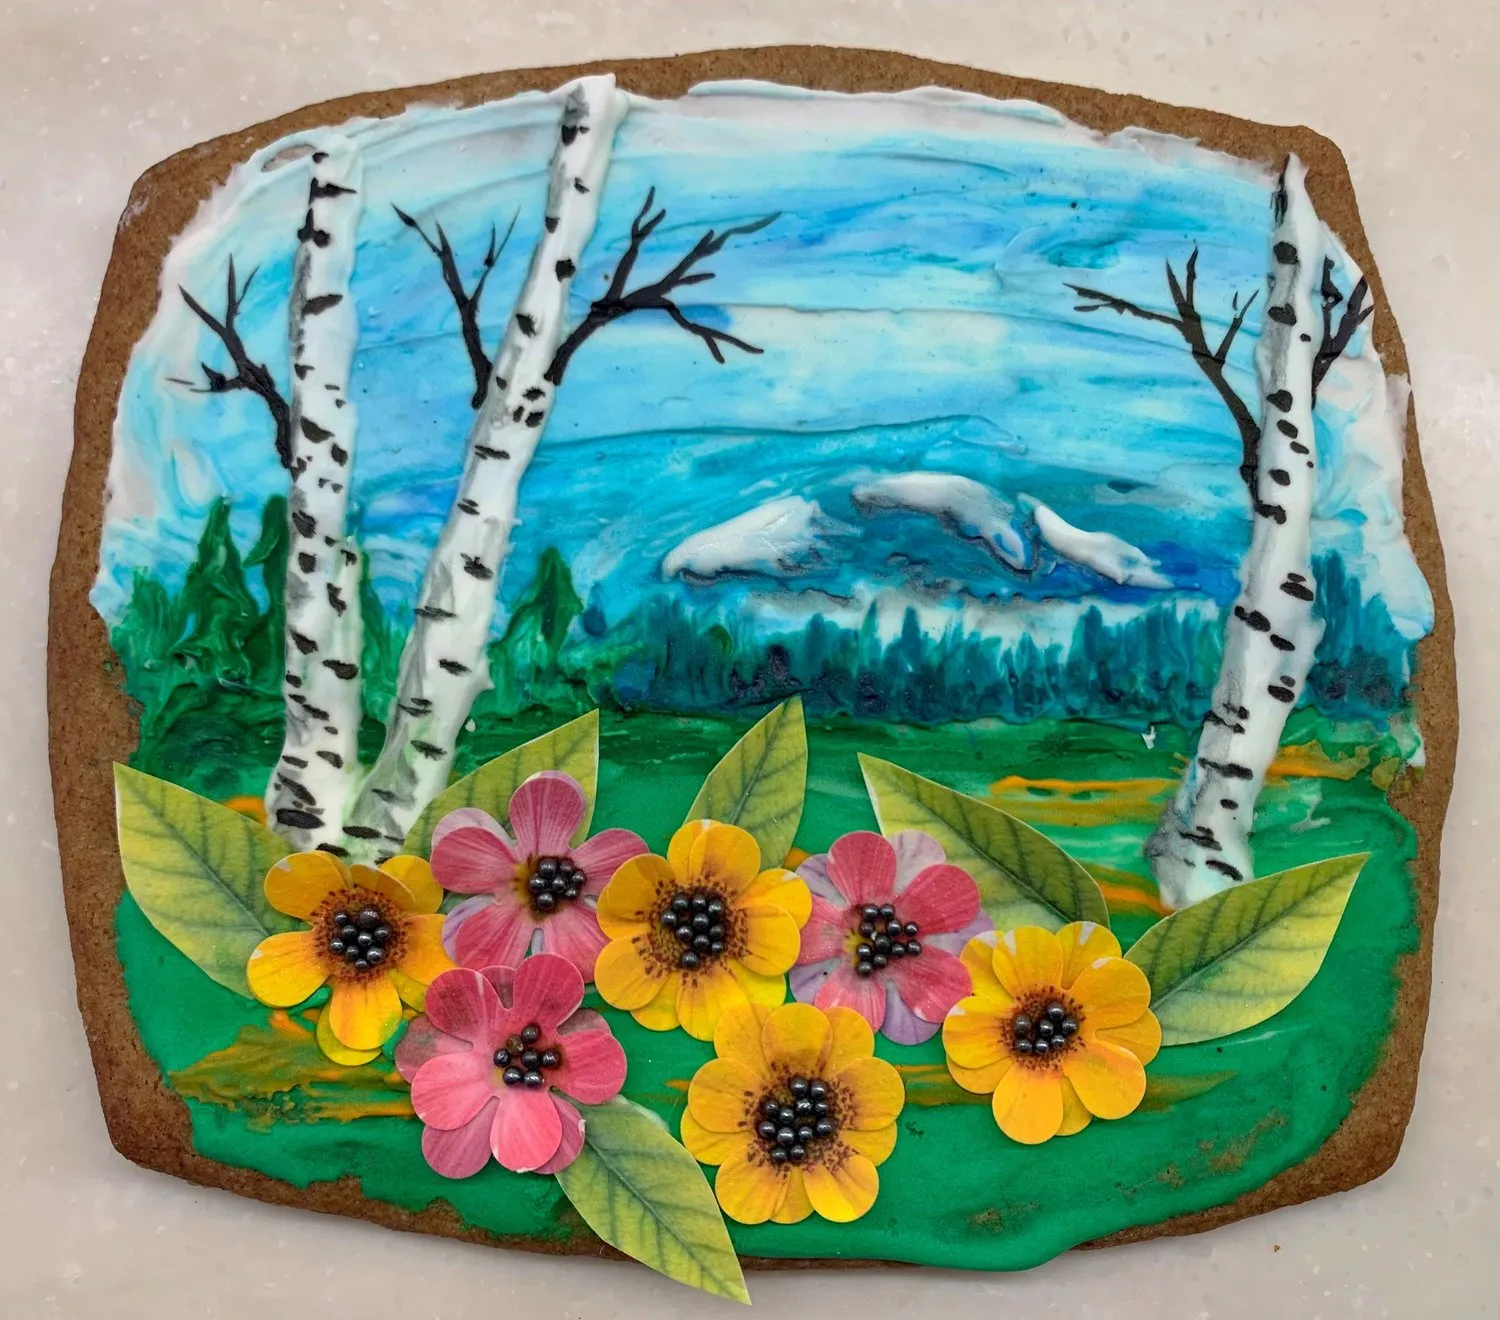
Mountain View Cookie
Learn how to decorate a cookie with a Mountain View landscape using royal icing, edible gel colors, and edible paper flowers.
Supply List
Instructions
- Make a sugar cookie or gingerbread using your favorite recipe.
- Make and color Royal Icing as instructed.
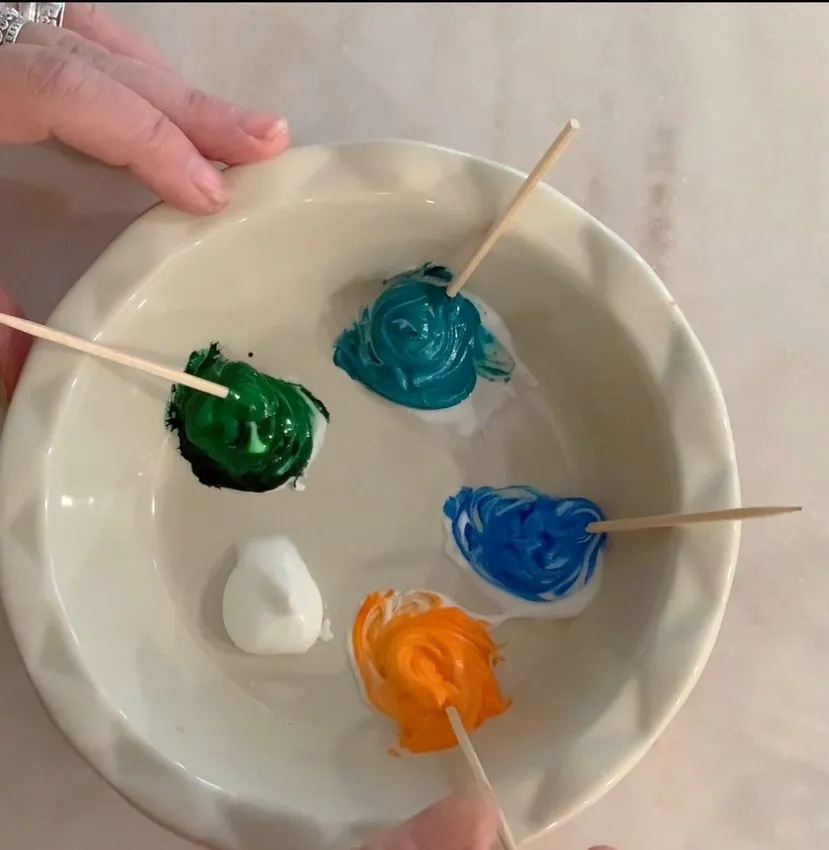
- Spread and blend Royal Icing on the top half of the cookie with a spatula to make the sky.
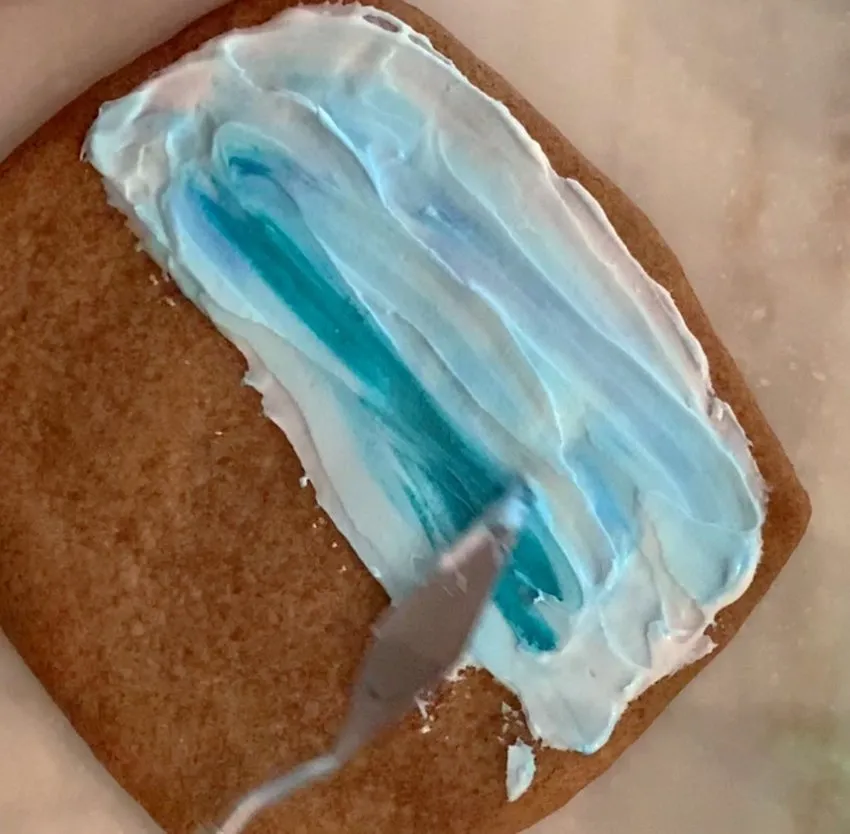
- Use a small palette knife to add green icing for the grass.
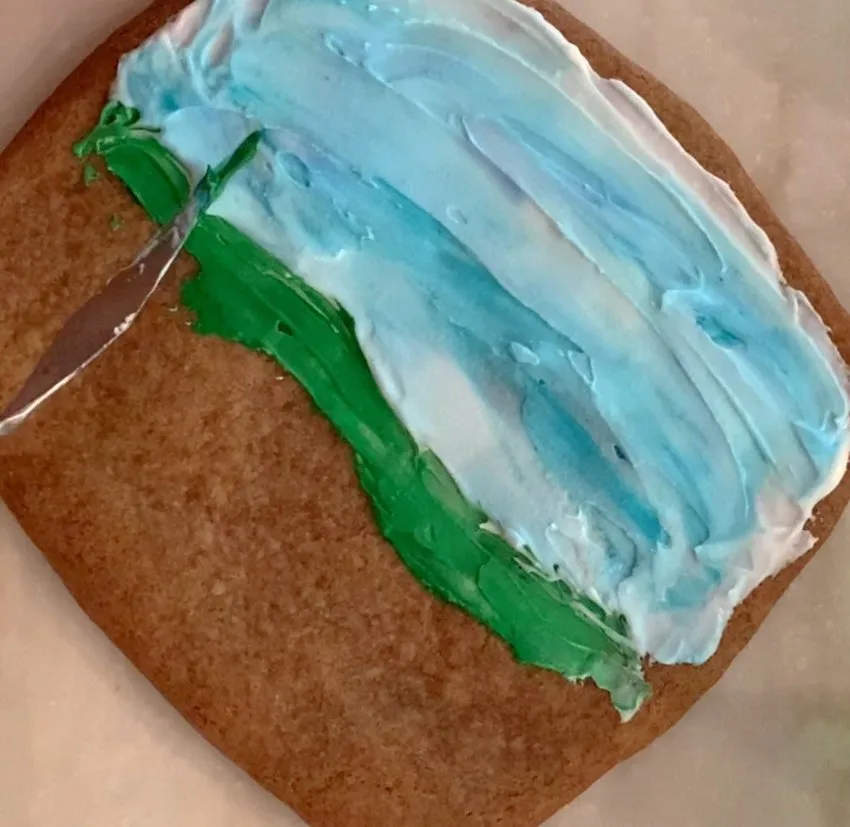
- Add trees to the center using a palette knife and a small brush.
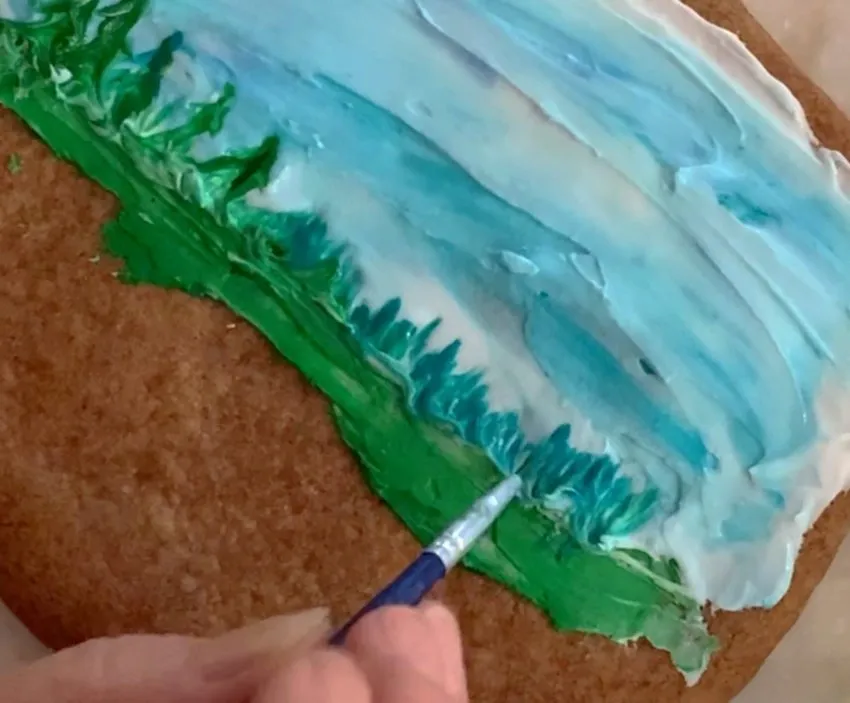
- Spread and blend icing on the bottom half of the cookie to make the field.
- Add mountains to the top half using a palette knife and a brush.
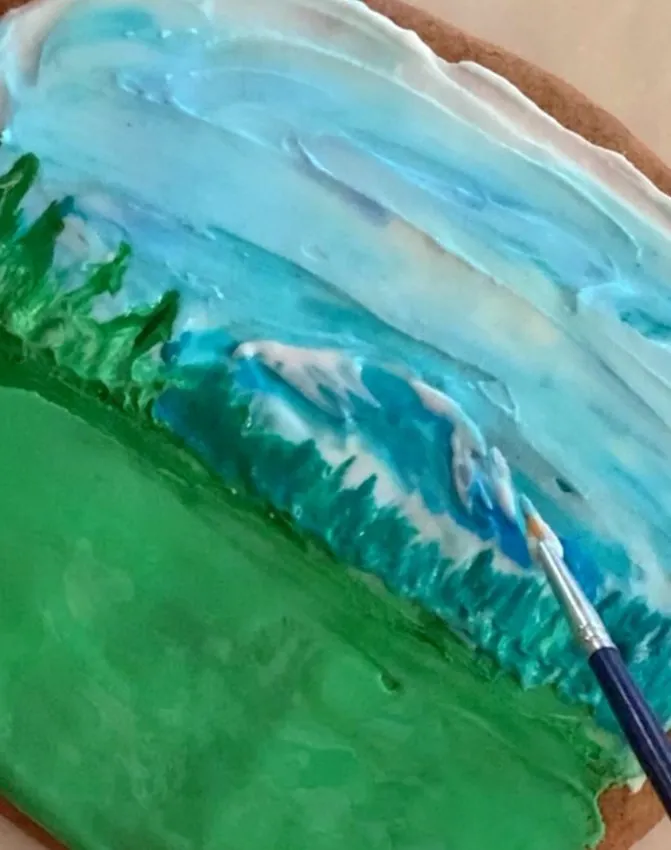
- Add color to the foreground with a small brush, using a horizontal motion.
- Add birch trees using a small brush and white icing.
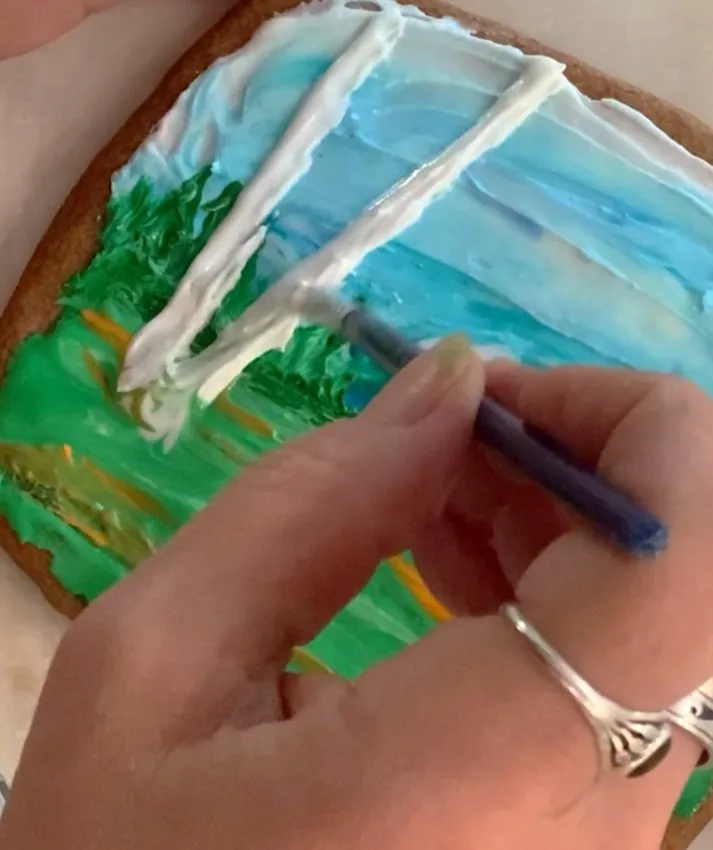
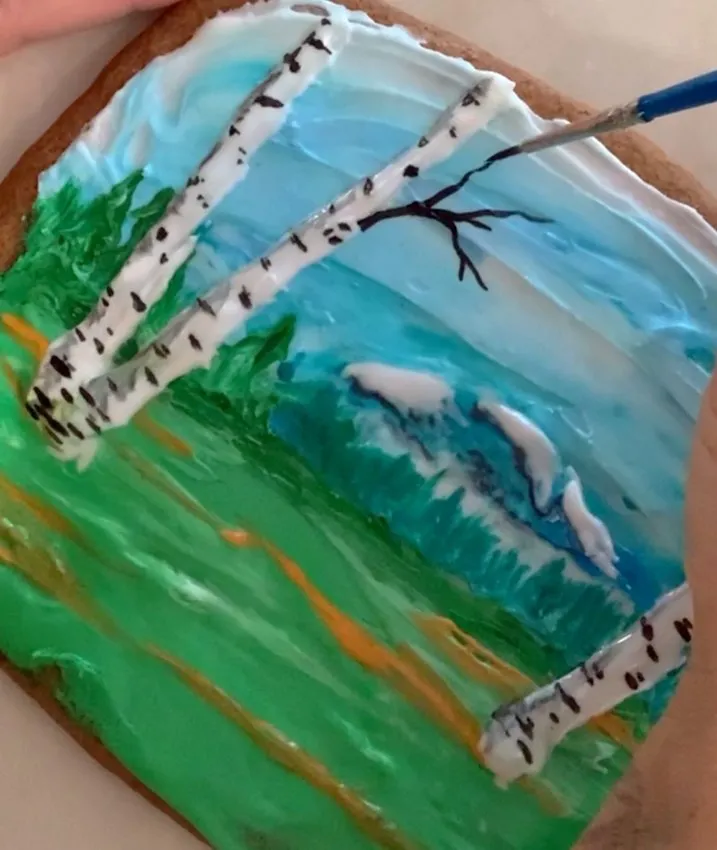
- Detail the trees and background with black icing.
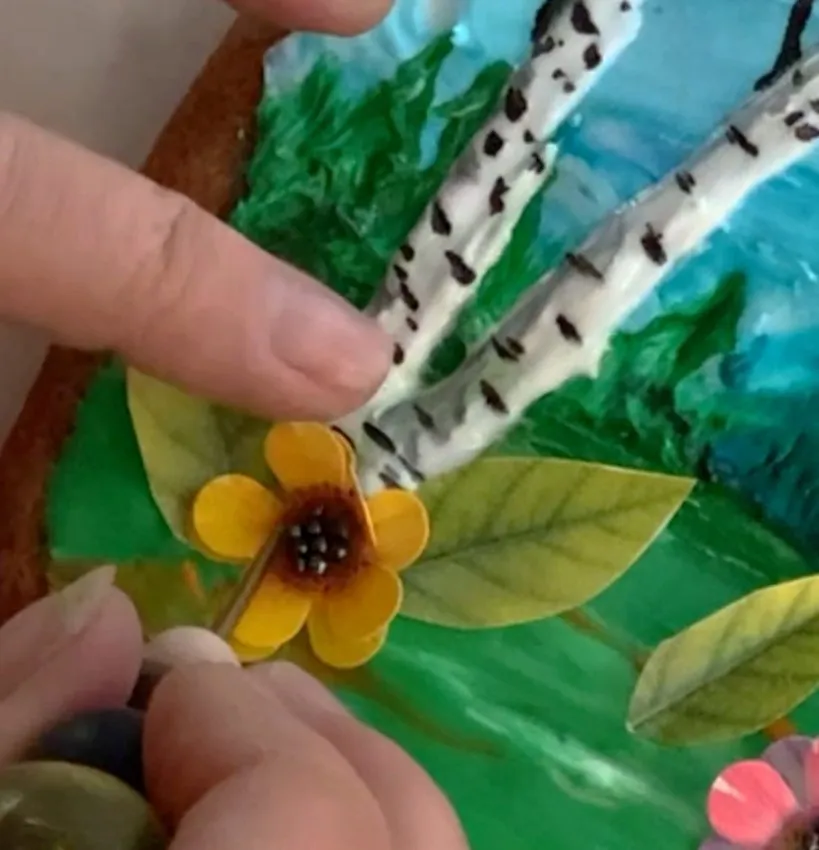
- Make flowers and leaves out of edible paper.
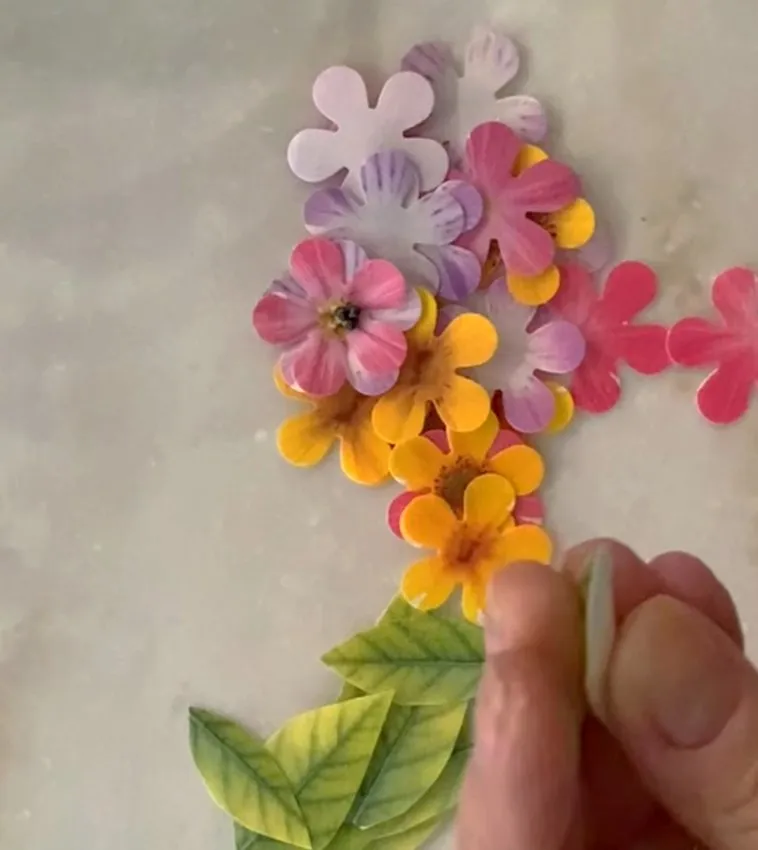
- Assemble using piping gel.
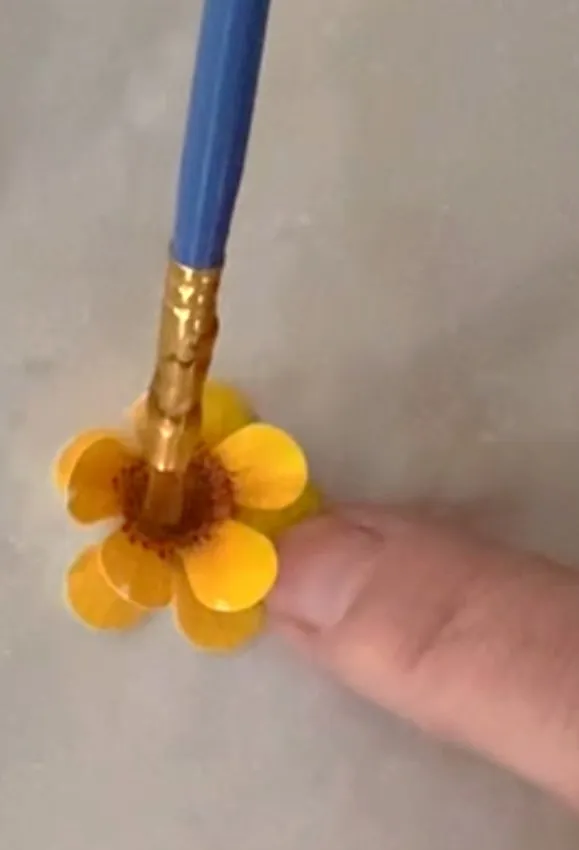
- Glue the plants to the foreground with icing.
Products Used
What’s nice about this project is that it isn’t very hard to do, which makes it fun for the entire family. Who doesn’t like to decorate cookies? And who doesn’t like to eat them afterward?
As always, my tutorial is *a way, not *the way. Feel free to be as creative as you please. Just remember to save a few cookies for when company comes… or to give away as a unique gift.