Make this polar bear cake topper out of modeling chocolate
- Kim Simons
- December 23, 2020
- 2 mins
- Kim's Kitchen
- cake topper modeling chocolate winter
Originally published at: https://www.riverreporter.com/stories/make-this-polar-bear-cake-topper-out-of-modeling-chocolate,41107
My birthday is in January, and as a child growing up in Liberty, NY, I remember how it was always too cold and snowy for me to have a party.
On the plus side, the ice, snow and freezing wind made me think of polar bears.
I love bears in general, but polar bears are something special. They’re so different from any other animal. To begin with, they’re the largest bears, weighing in anywhere between 900 to 1,500 pounds, edging out the Kodiak brown bear. They’re also very playful, which is great to watch from a distance… but they’re not something you want to meet accidentally in the wild.
Bears are also symbols of strength and healing. According to writer Elena Harris, “The primary meaning of the bear spirit animal is strength and confidence[,] standing against adversity[,] taking action and leadership. The spirit of the bear indicates it’s time for healing or using healing abilities to help [ourselves] or others. The bear medicine emphasizes the importance of solitude, quiet time [and] rest. The spirit of the bear provides strong grounding forces” (www.spiritanimal.info).
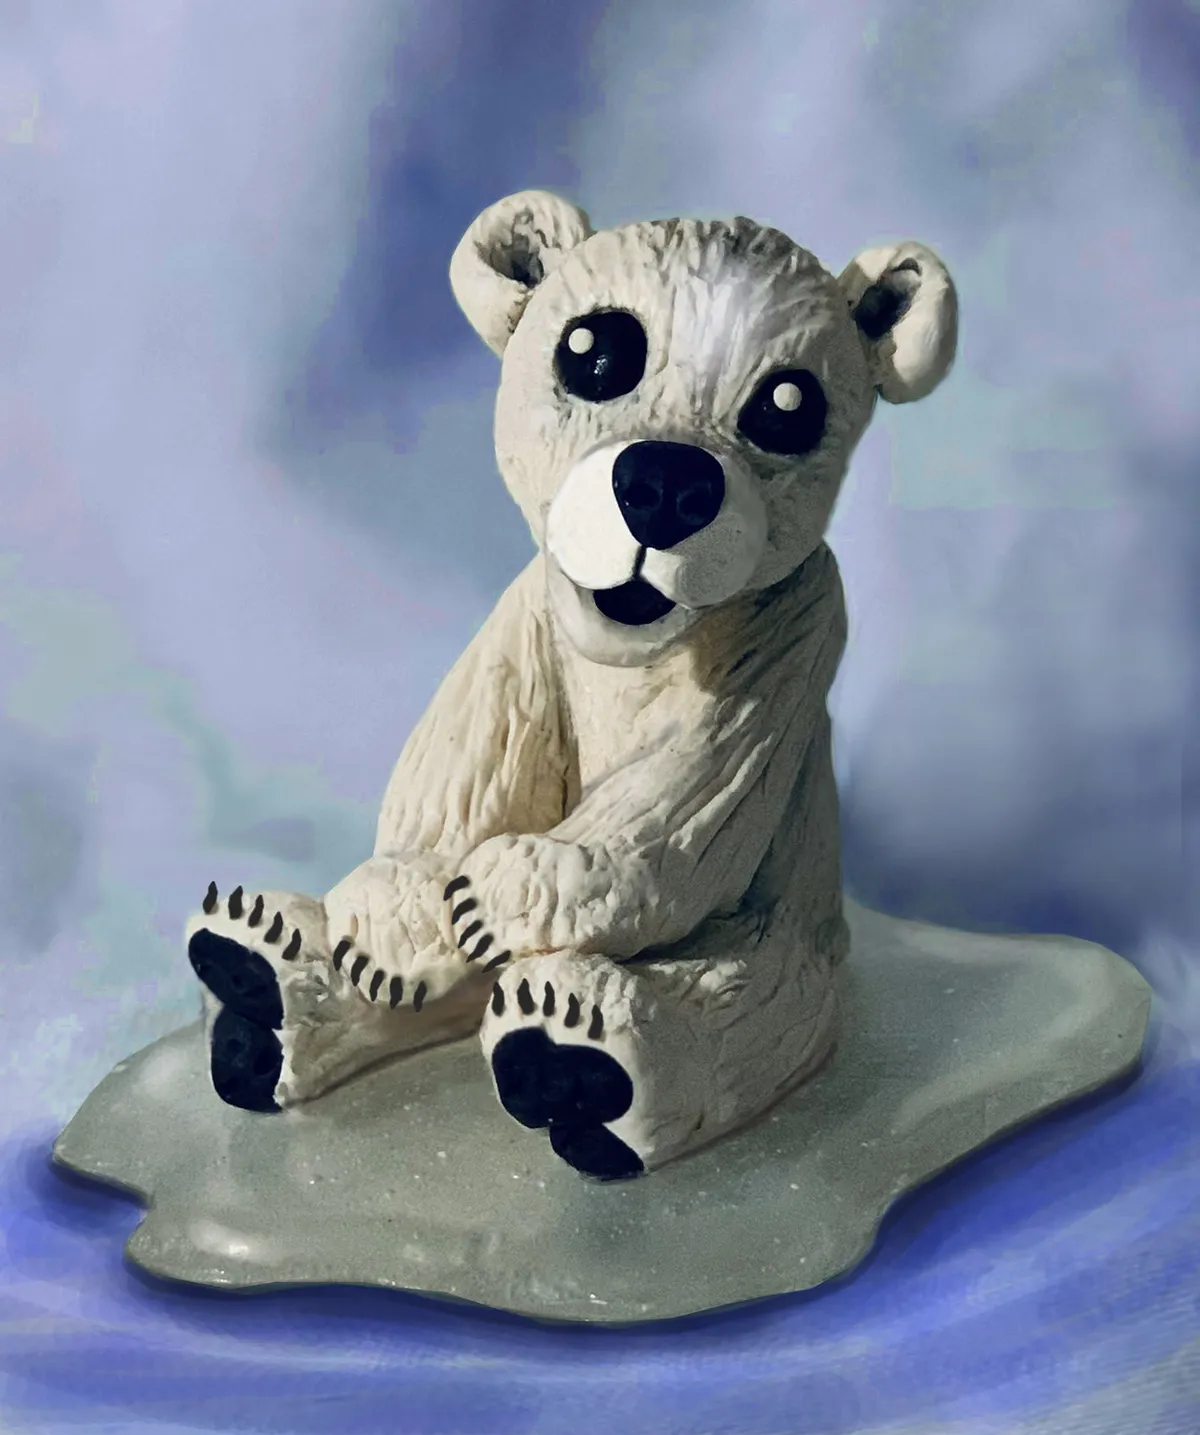
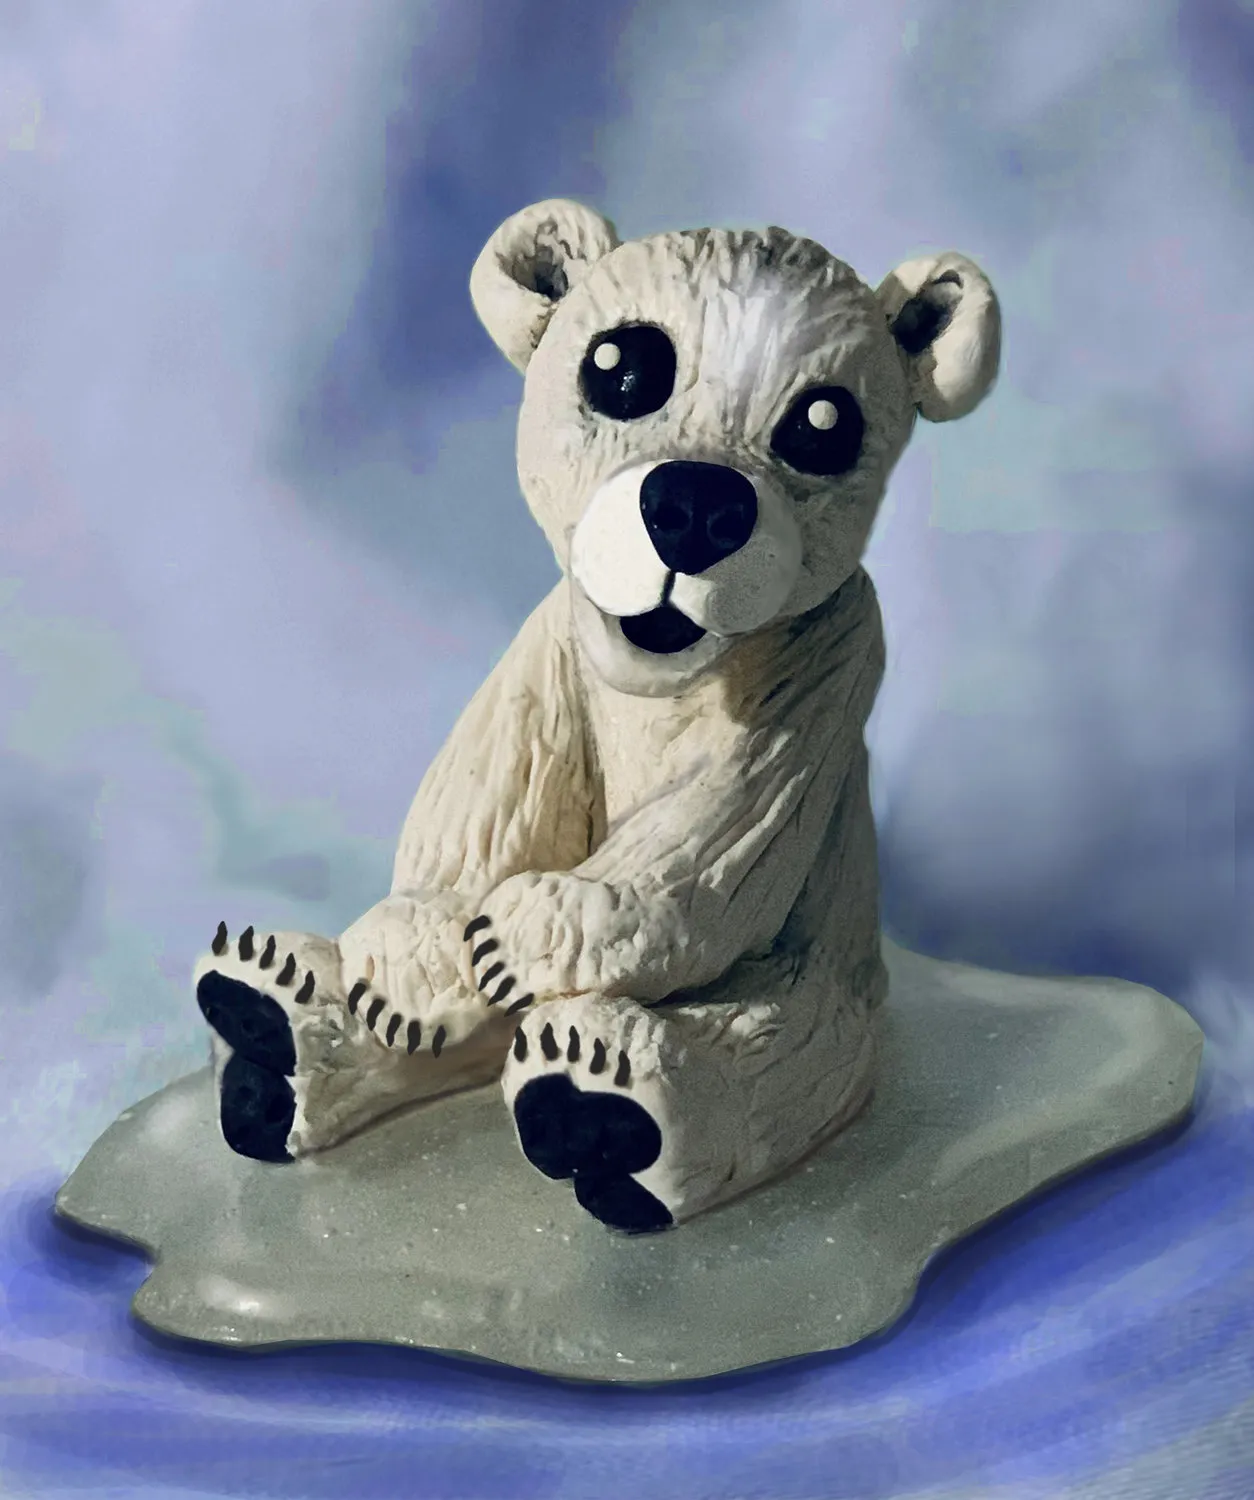
That’s why I chose this modeling chocolate polar bear as the project for this month. It’s easy to sculpt, and is almost as entertaining as the real thing in its own way. Feel free to be playful like the bear and experiment with different colors, scarves and/or designs!
And sipping some hot chocolate while you sculpt on a cold winter’s day is definitely recommended.
Polar Bear Cake Topper
Sculpt a playful polar bear cake topper from modeling chocolate with a clear isomalt ice block base, perfect for winter-themed cakes.
Supply List
Instructions
- Shape the 3-inch ball into a cone. Use cake tool to add texture for fur.
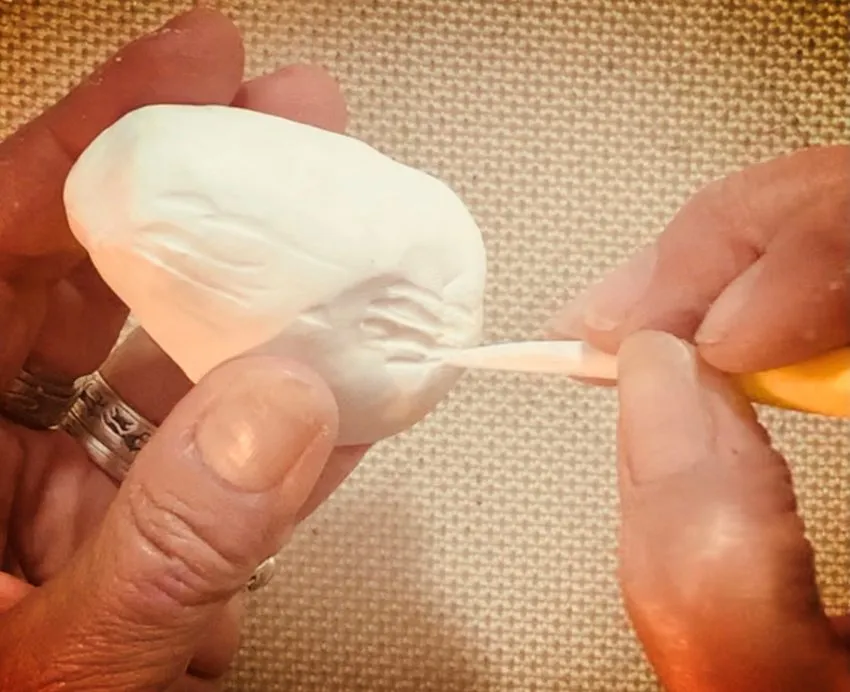
- Shape the 1-inch balls into the bear’s legs.
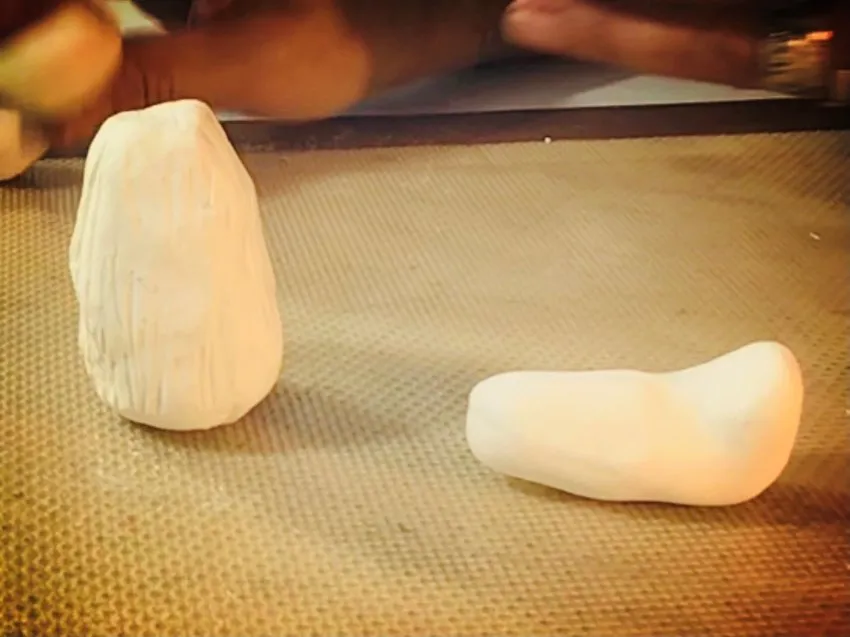
- Use clay tool to attach and add texture for fur.
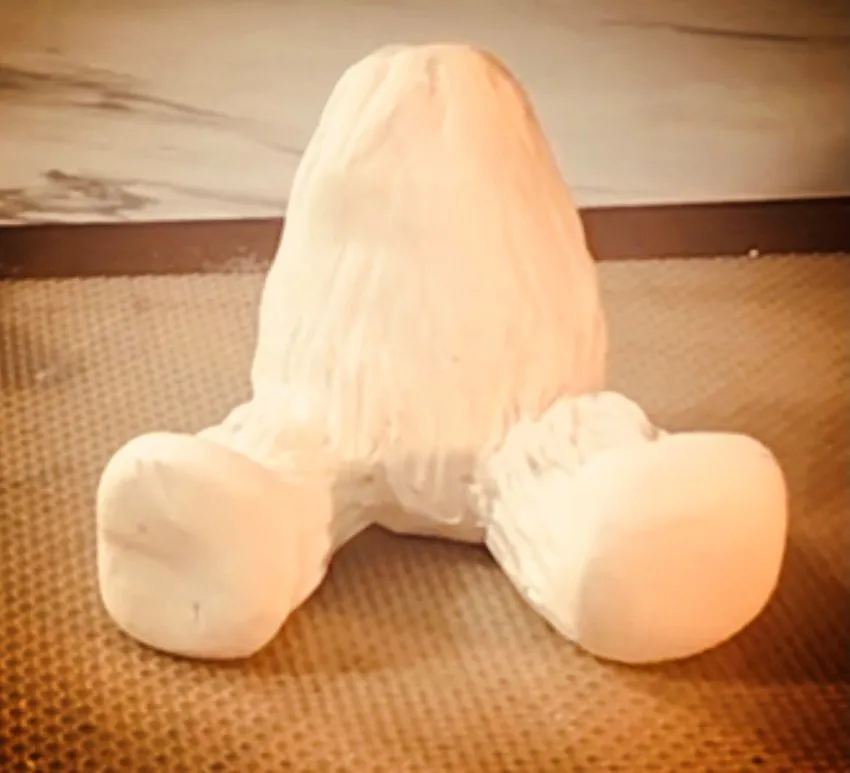
- Shape the 1-inch balls into the bear’s arms. Use cake tool to attach and add texture for fur.
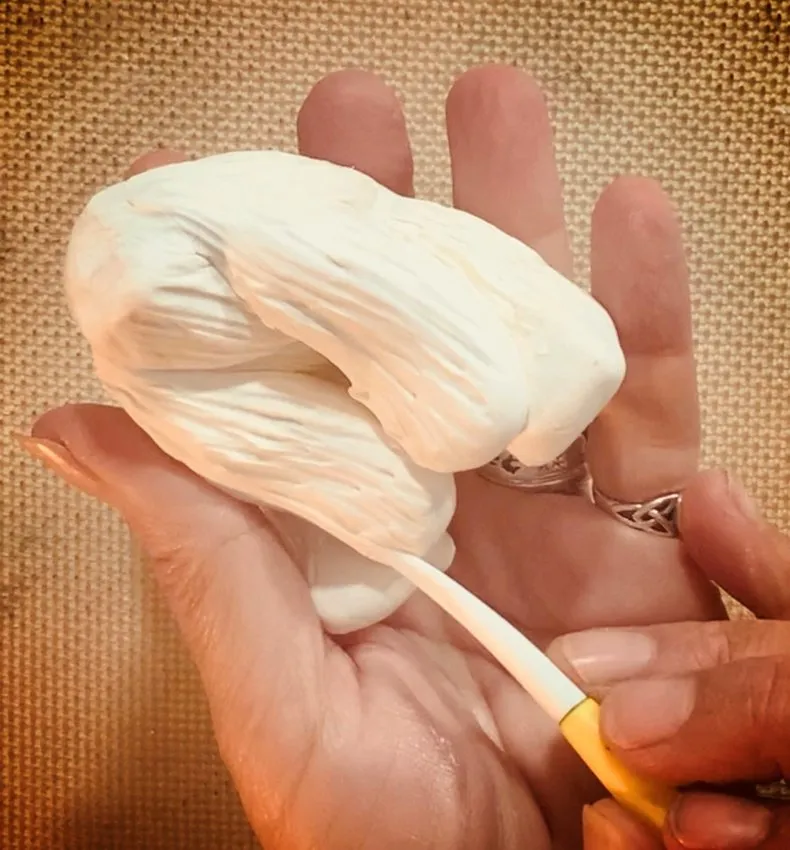
- Use cake tool to add toes.
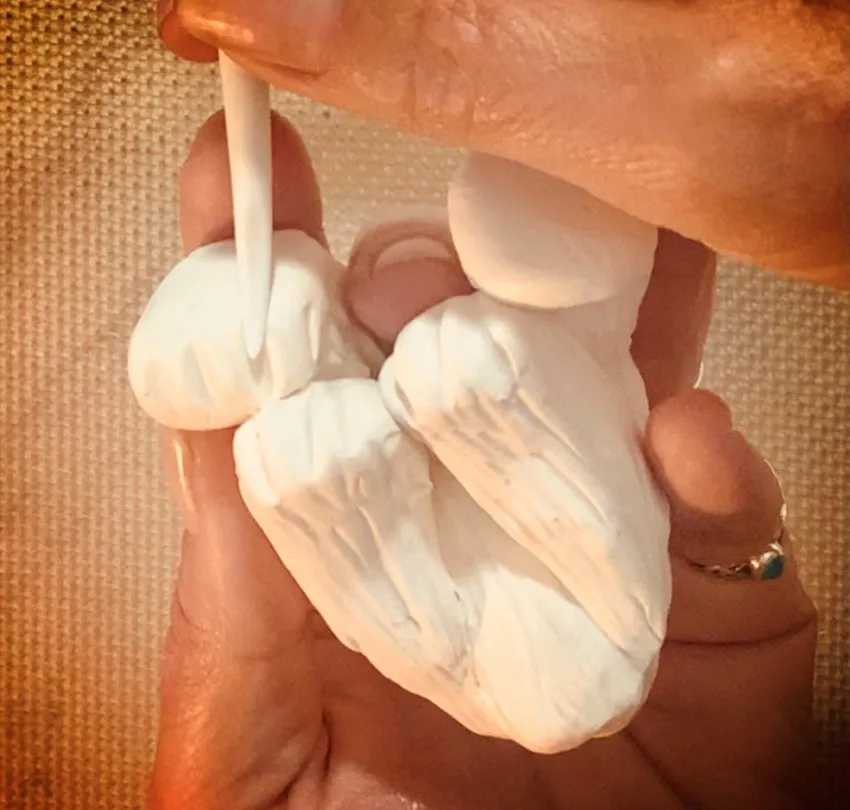
- Using the 2-inch ball, shape the bear’s head. With the ball tool, put in holes for the eyes.
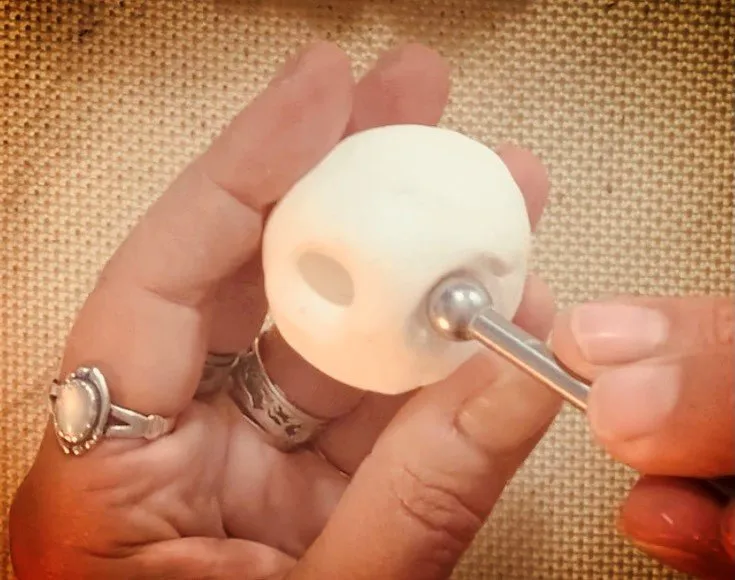
- Shape the 3⁄4-inch ball for the bear’s snout; attach the head to the body. Use the cake tool to add texture for fur.
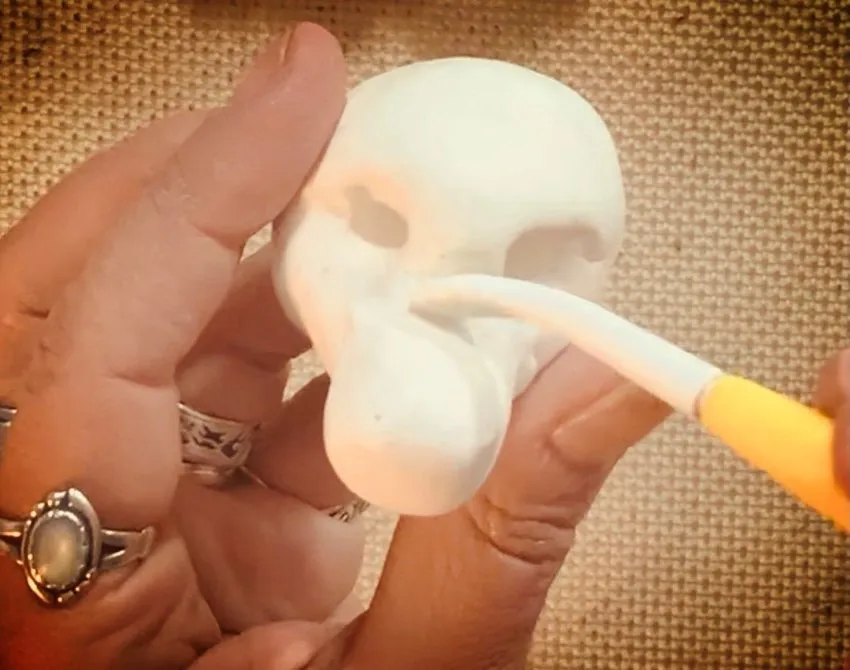
- Add the head to the body. Using the cake tool, shape 1⁄4-inch balls into the bear’s ears. Using the cake tool, add texture for fur. Attach to the bear’s head.
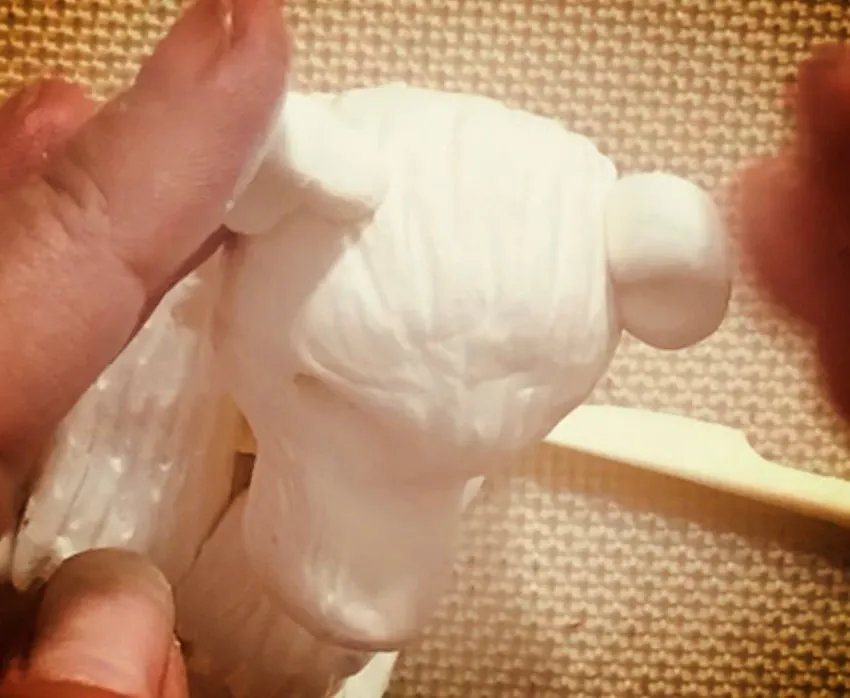
- Using the black modeling chocolate, add eyes and nose, then fill inside of the mouth.
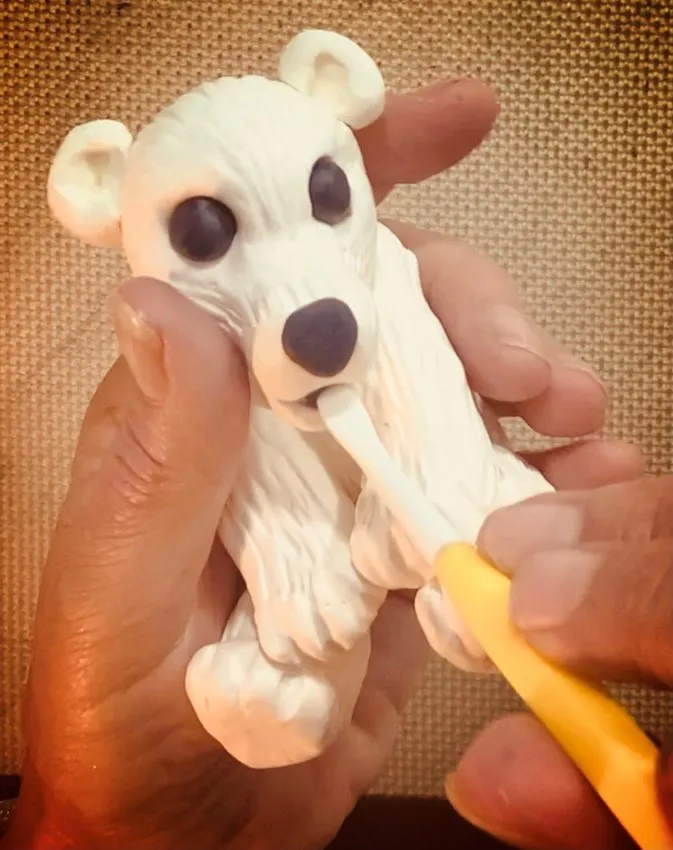
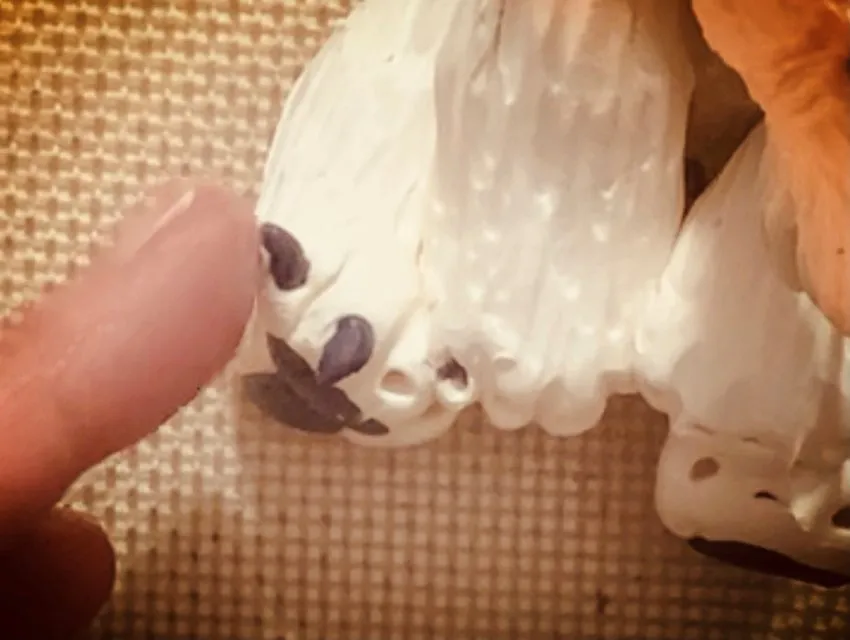
- Using the black modeling chocolate, add claws to the bear paws. Add finishing touches. Dust using black and white edible powder colors.
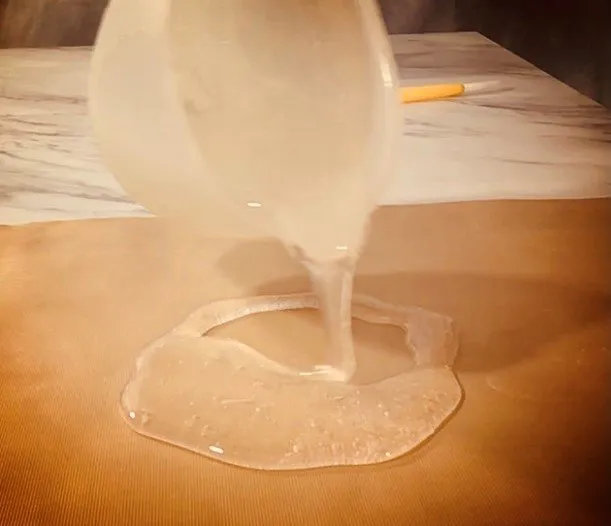
- Pour Isomalt ice block for the polar bear to sit on.