Make a Valentine’s Day lovebird cake topper out of modeling chocolate
- Kim Simons
- January 22, 2020
- 1 min
- Kim's Kitchen
- cake topper edible paints modeling chocolate tutorial valentines day
Originally published at: https://www.riverreporter.com/stories/make-a-valentines-day-lovebird-cake-topper-out-of-modeling-chocolate,35418
A lot of people look at what I do and say, “I could never do that.” While that might be true on a professional level, that doesn’t mean that you can’t let your creative spirit loose in the kitchen. If competing on Food Network TV shows has taught me anything, it’s that wonders can come out of pressure—if you’re willing to open yourself up to possibilities.
Of course, a few tips can’t hurt. And that’s one of the reasons I’m writing these “Kim’s Kitchen” tutorials. I’ve picked up a lot over the years, and it’s always nice to give back to people who have supported me. And who knows? Maybe I’ll be helping someone become a Food Network champ in the future!
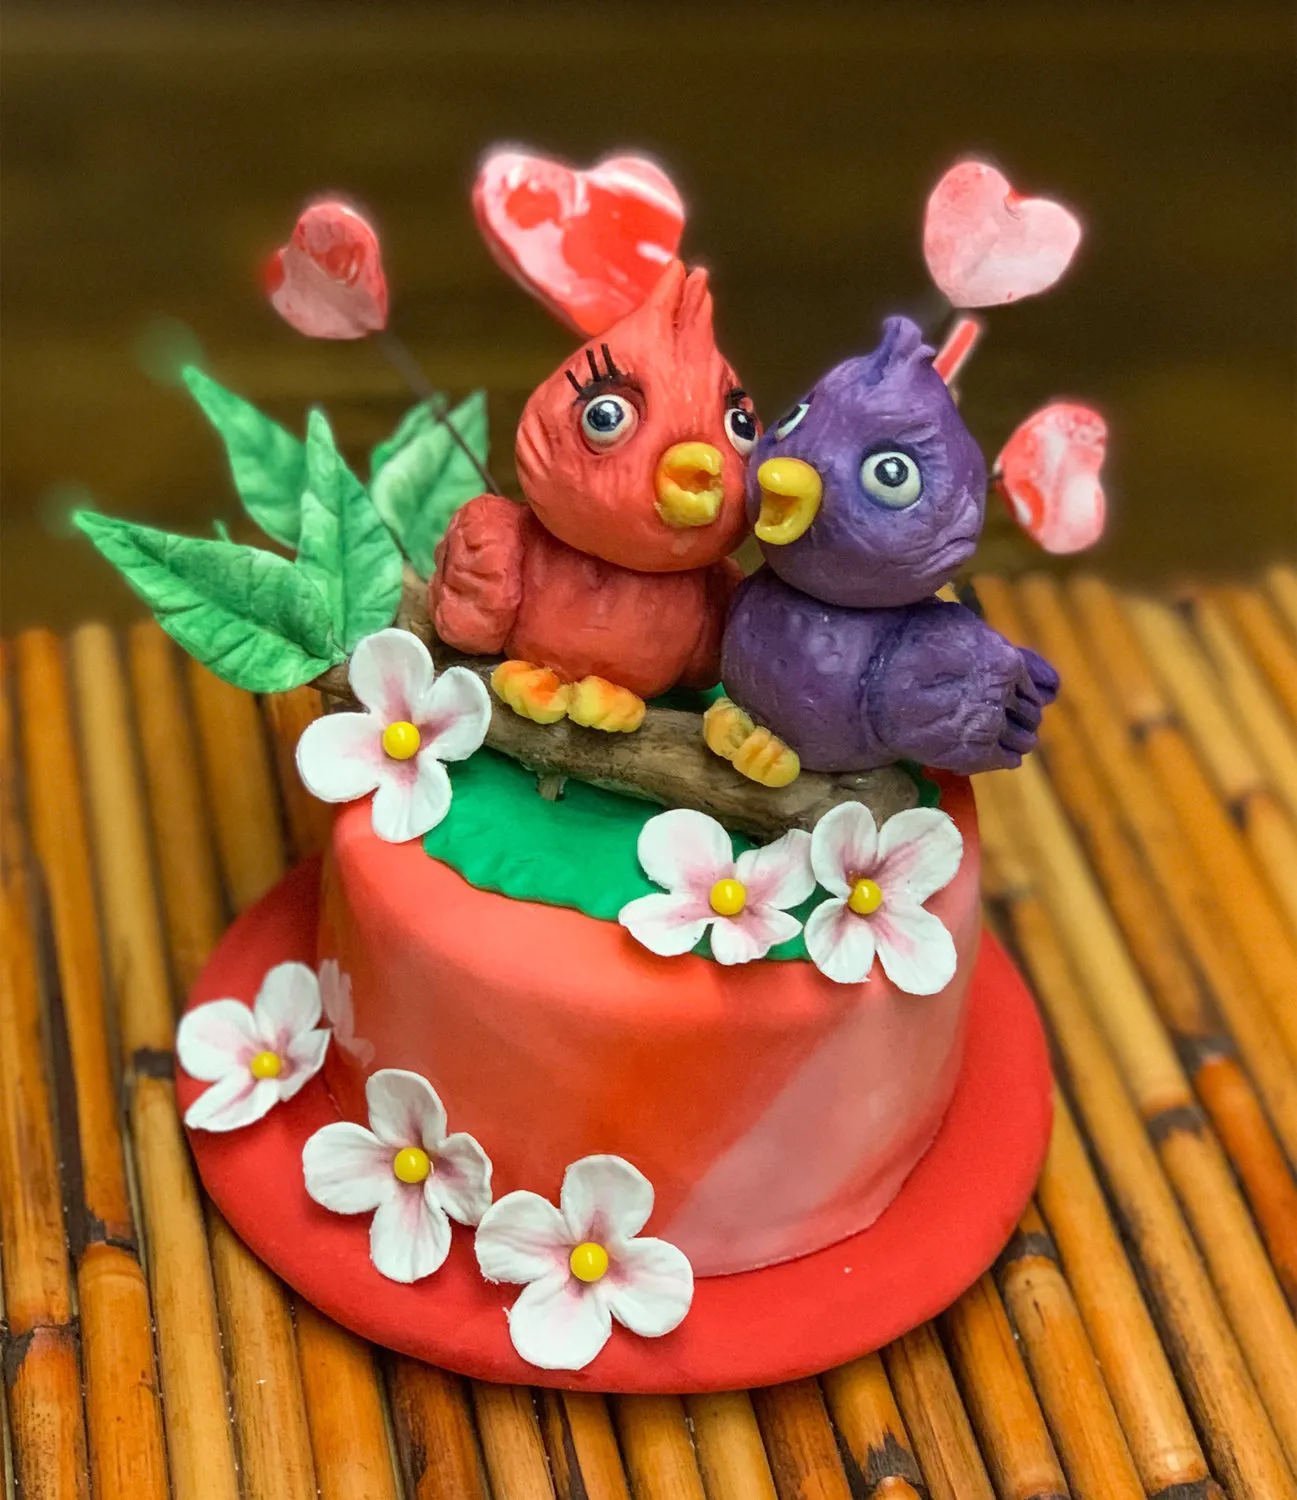
So let’s begin with this cute lovebird cake topper: a perfect touch for the Valentine’s Day season.
Lovebird Cake Topper
Sculpt a pair of lovebirds from colored modeling chocolate by shaping balls into body, head, wings, beak, and feet, then painting details.
Supply List
Instructions
- Soften purple, pink, and yellow modeling chocolate by kneading until smooth.
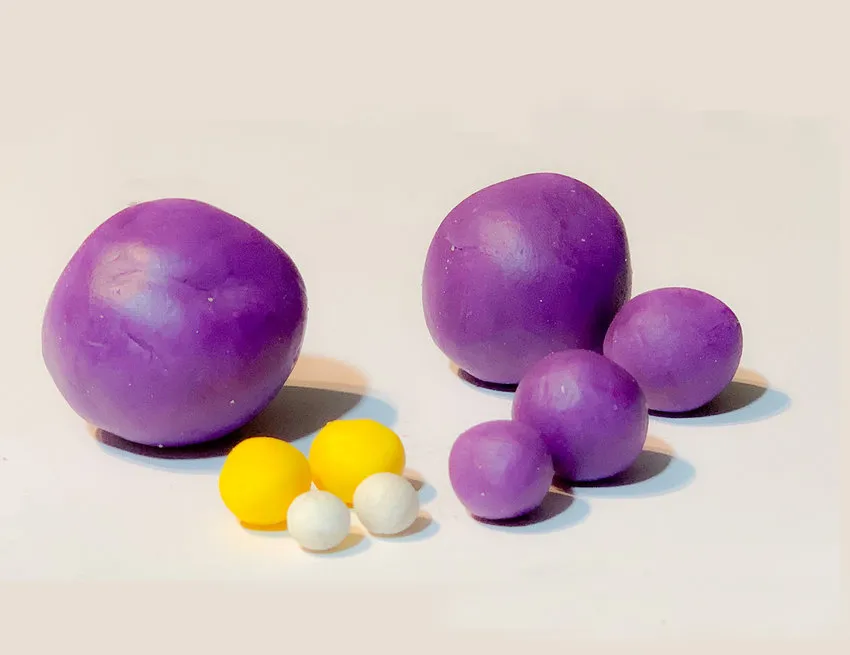
- Make a ball out of purple modeling chocolate (about 1 1⁄2 inches in diameter) for the body.
- Shape into a teardrop shape.
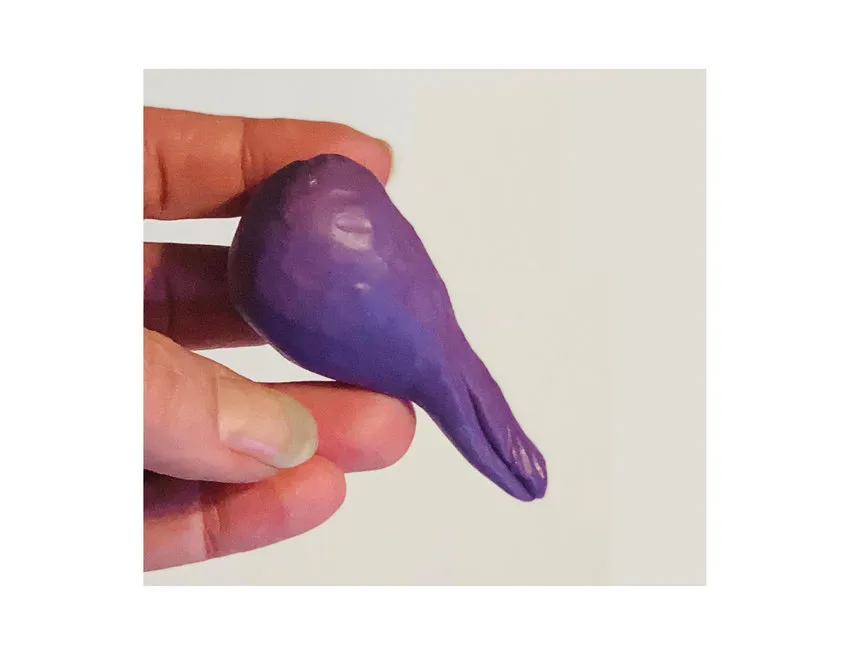
- Cut a 1-inch slit in the tail and separate slightly.
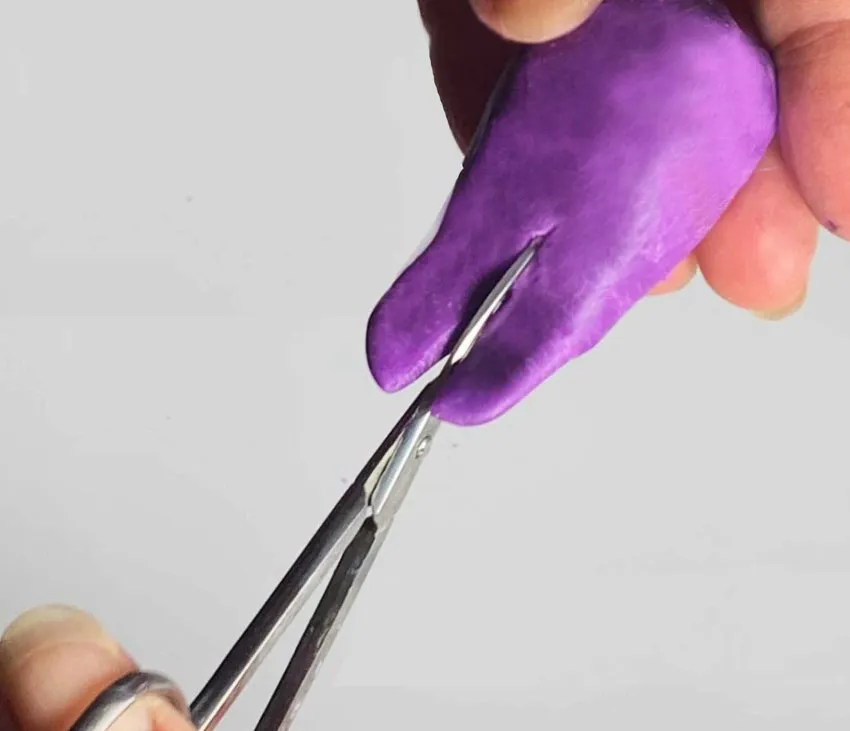
- Make a 1⁄8-inch purple ball for the feather on top of the tail.
- Make a 1-inch purple ball for the head. Shape into a cone, then use a ball tool to make holes for the eyes and beak.
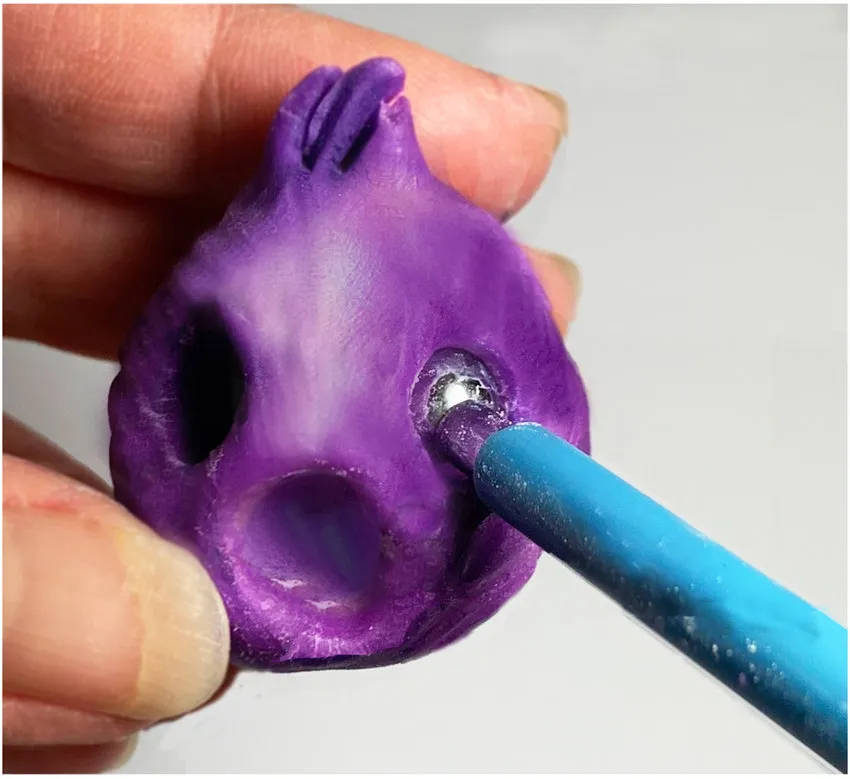
- Make two 1⁄8-inch white gumpaste balls for the eyes. Attach with a little water.
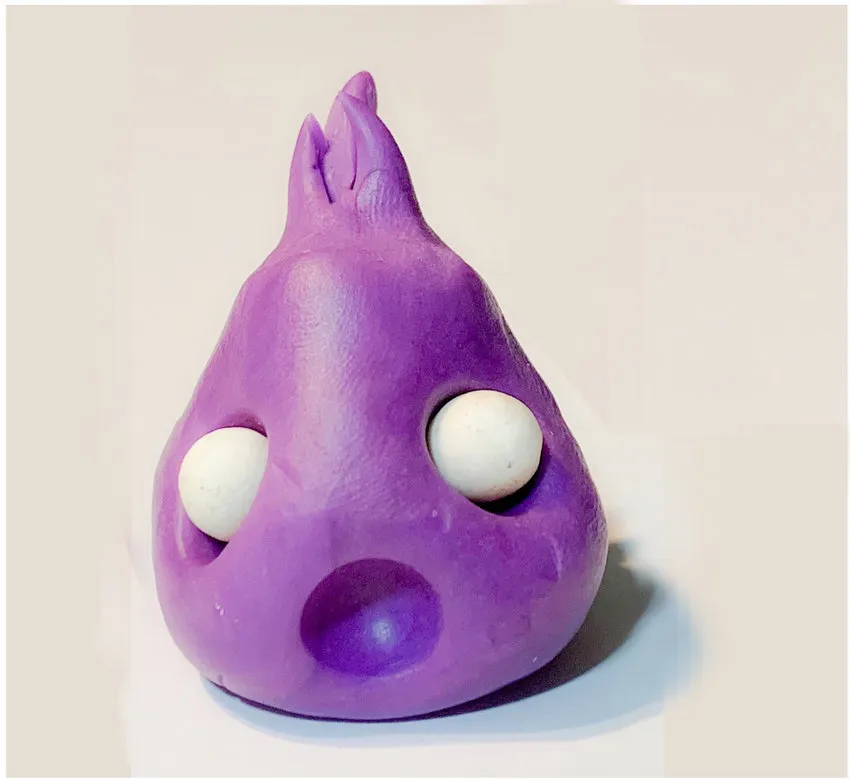
- Make a 1⁄4-inch yellow ball for the beak. Shape with a clay tool and attach with water.
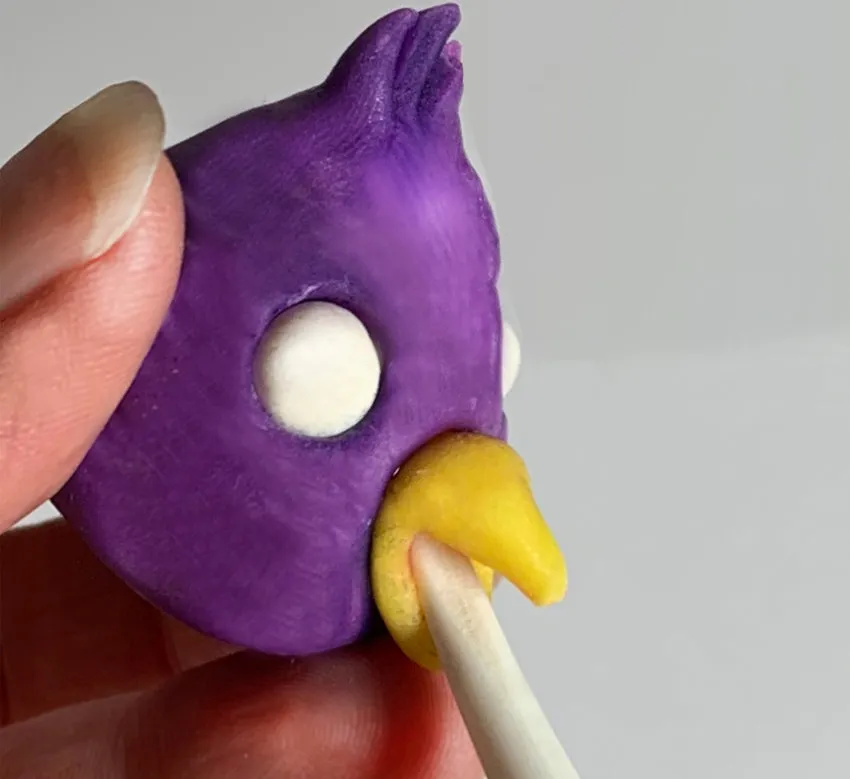
- Attach the head to the body using a little water and a toothpick.
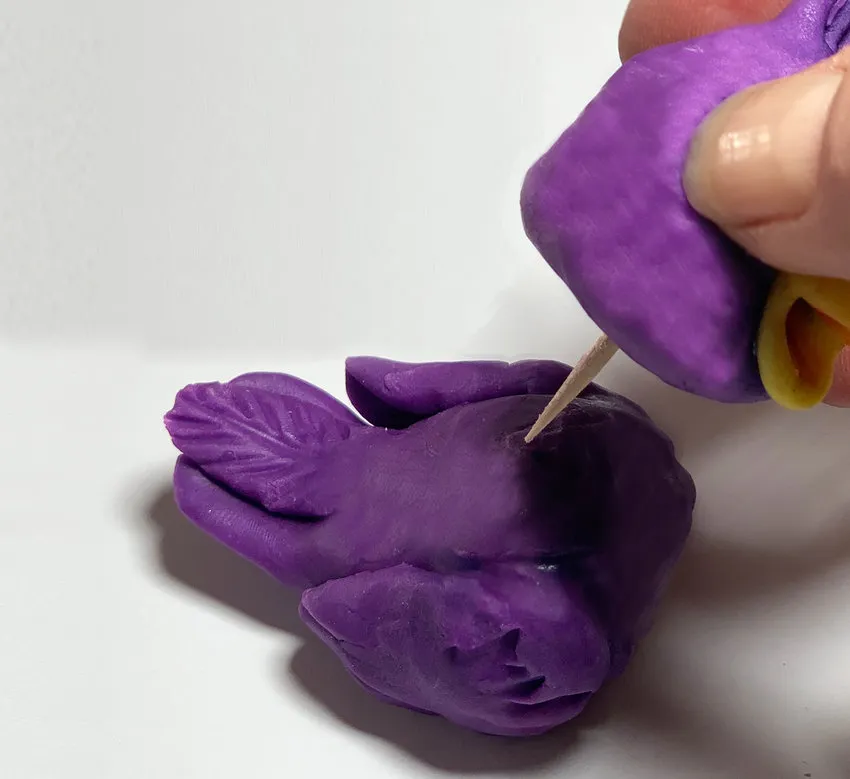
- Make two 1⁄2-inch purple balls for the wings. Cut slits for feathers and add details with a clay tool. Attach with a smoothing tool and water.
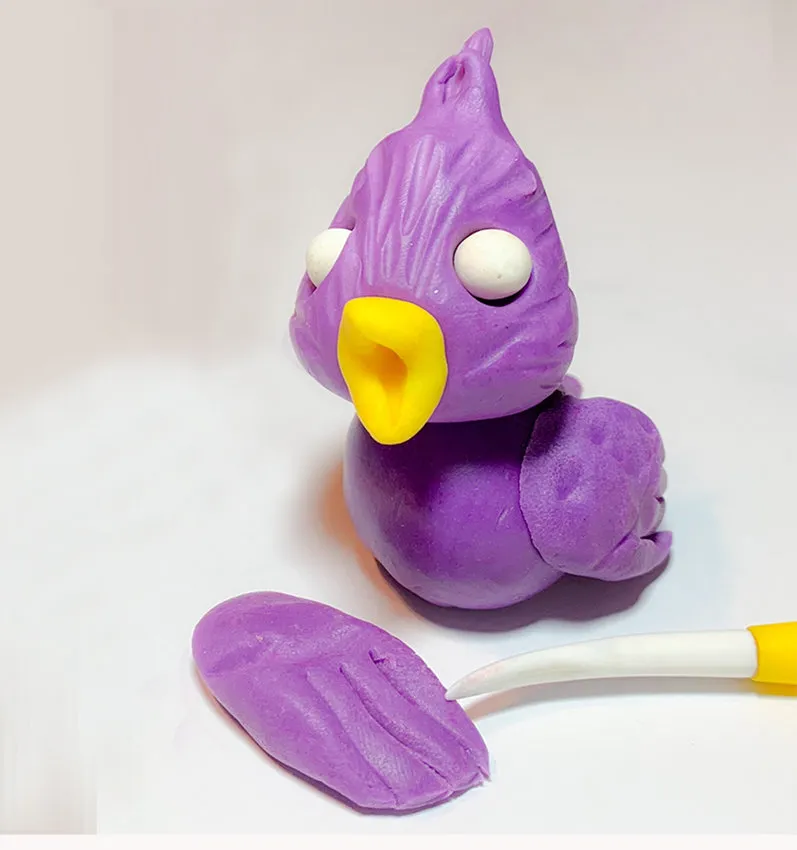
- Make a 1⁄4-inch yellow ball for the feet. Shape with a clay tool and attach with a smoothing tool.
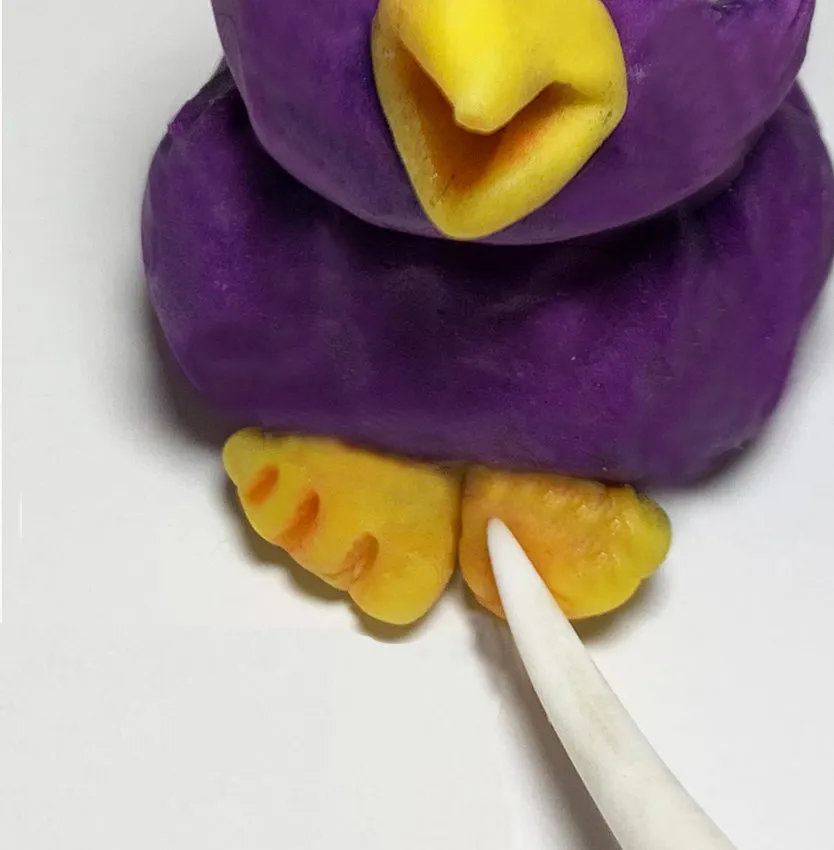
- Paint in eye details and add shadows with petal dust and a small brush.
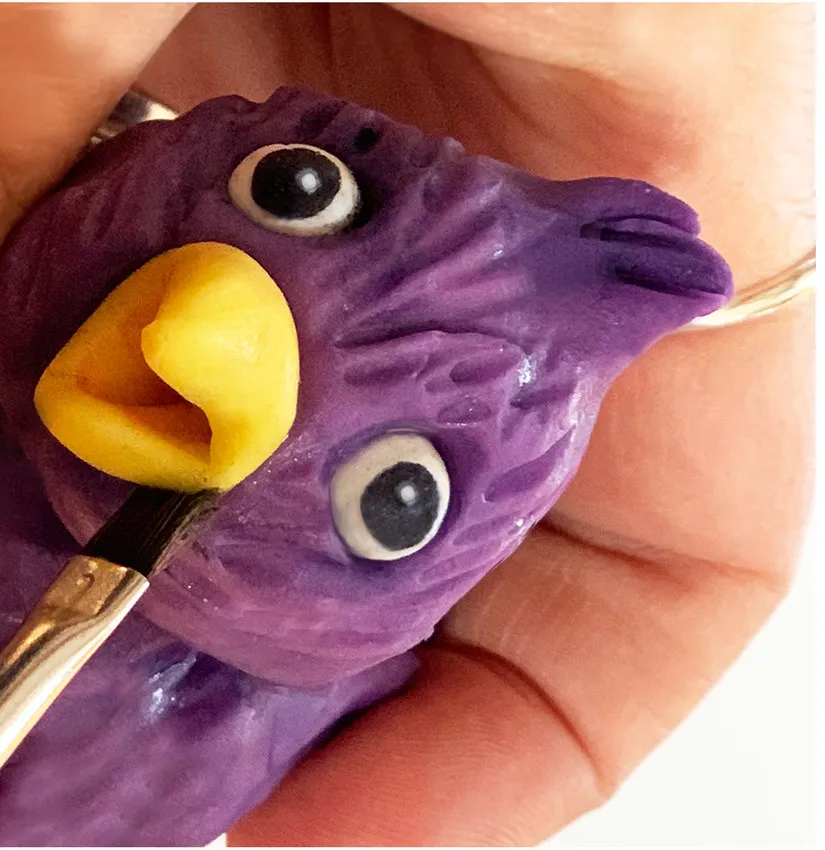
- Repeat with pink modeling chocolate for Lovebird #2.
Remember—practice makes perfect, but always try to have fun. And if others compliment you on your beautiful lovebirds, don’t feel like you have to point out your mistakes—just thank them from the heart!