Make this cute scarecrow cake topper out of fondant
- Kim Simons
- August 26, 2020
- 2 mins
- Kim's Kitchen
- autumn cake topper fondant tutorial
Originally published at: https://www.riverreporter.com/stories/make-this-cute-scarecrow-cake-topper-out-of-fondant,39073
I have always loved fall. In our corner of the world, it is absolutely beautiful. When I see brightly colored leaves on mountain trees against a blue sky, I feel invigorated. I feel that Mother Nature does her best work when there is a slight chill in the air.
I have also always been interested in scarecrows, from the funny to the creepy. I’m puzzled, though, as to why I’ve never seen one that wasn’t surrounded by crows.
And, of course, crows are very interesting. They’re extremely intelligent. According to “Facts About Crows” by Alina Bradford, “They are known for their problem-solving skills and amazing communication skills. For example, when a crow encounters a mean human, it will teach other crows how to identify the human. In fact, research shows that crows don’t forget a face” (www.livescience.com).
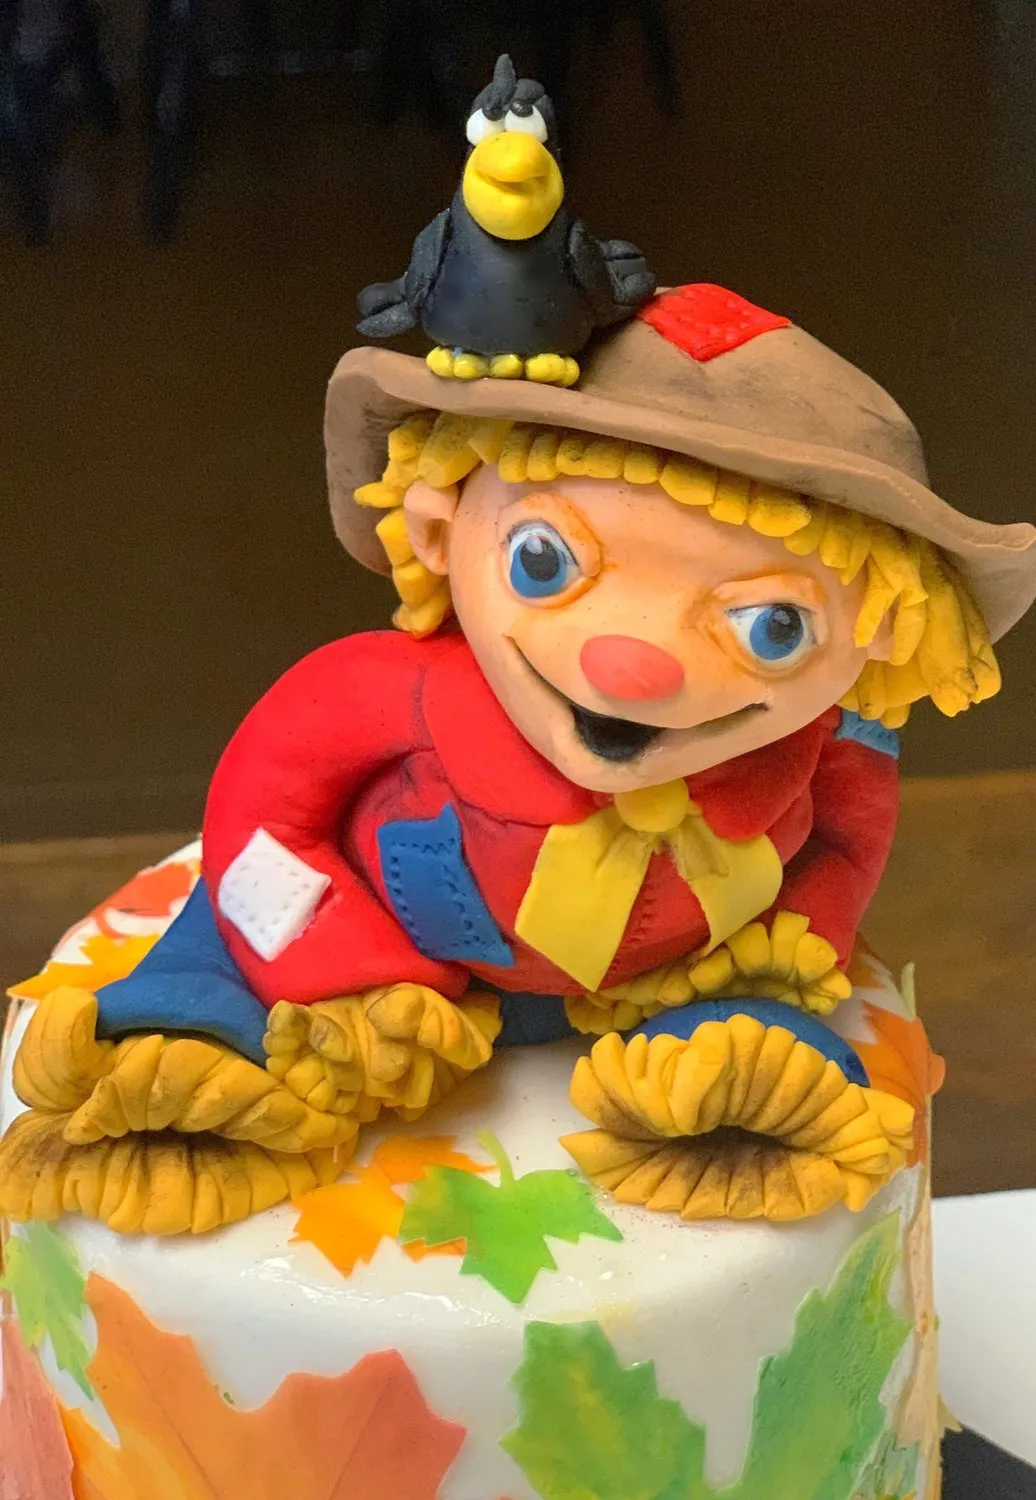
Given these interests, I thought it would be fun to make a scarecrow out of fondant for this month’s tutorial. Having a cute scarecrow to put on top of a cake or some other confection just epitomizes fall to me.
Cute Scarecrow Cake Topper
Learn how to make a cute scarecrow cake topper out of fondant with this step-by-step tutorial. Perfect for autumn cakes and fall-themed confections.
Supply List
Instructions
- With blue fondant, make a two-inch cone for the scarecrow’s body.
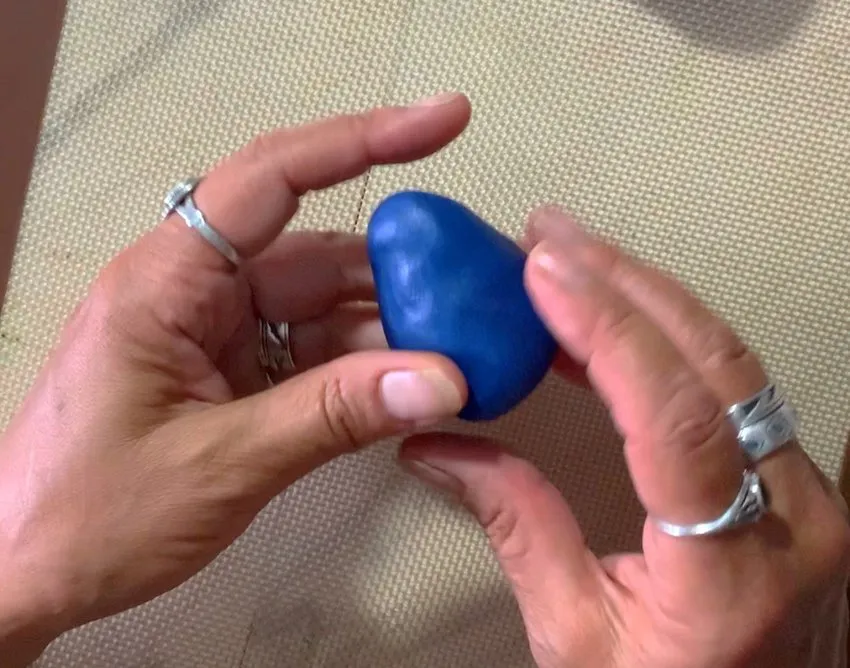
- Roll out blue fondant about 4 ½-inches long and ¼-inch thick; cut in half for the legs. Using a large ball tool, open up the bottom part of the pant legs.
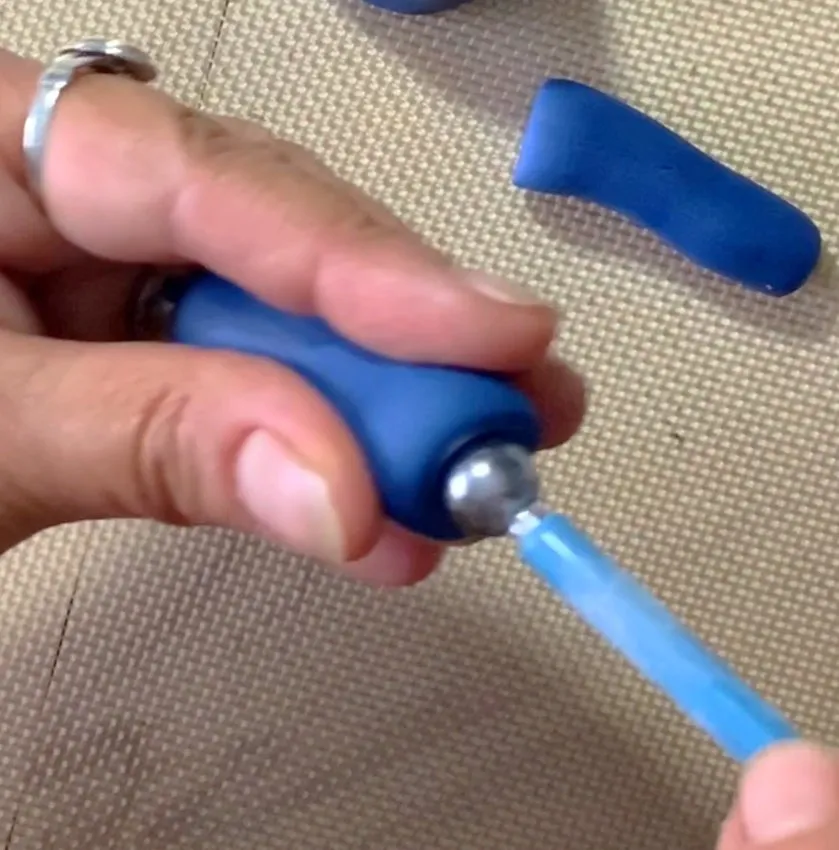
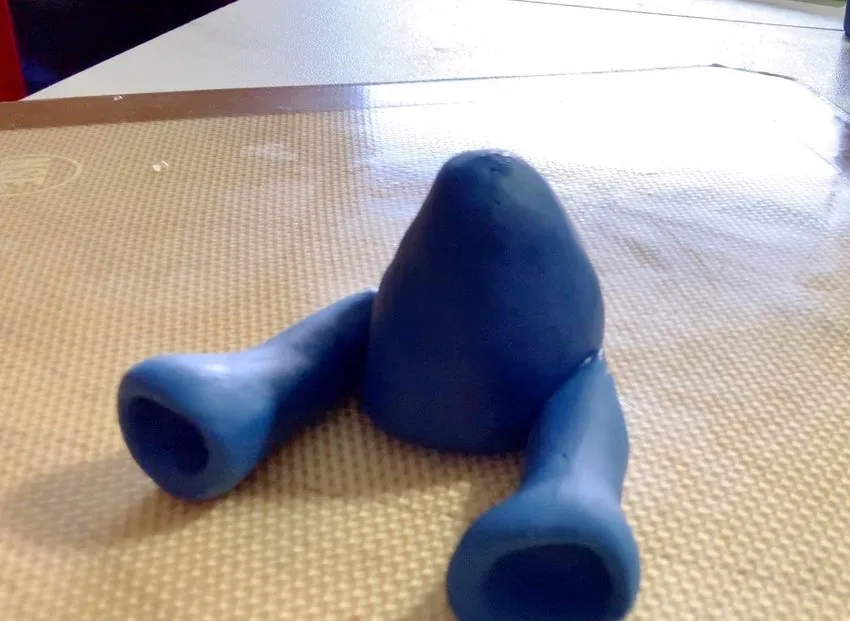
- Pinch the other end and attach to the body using a little bit of water and a sculpting tool.
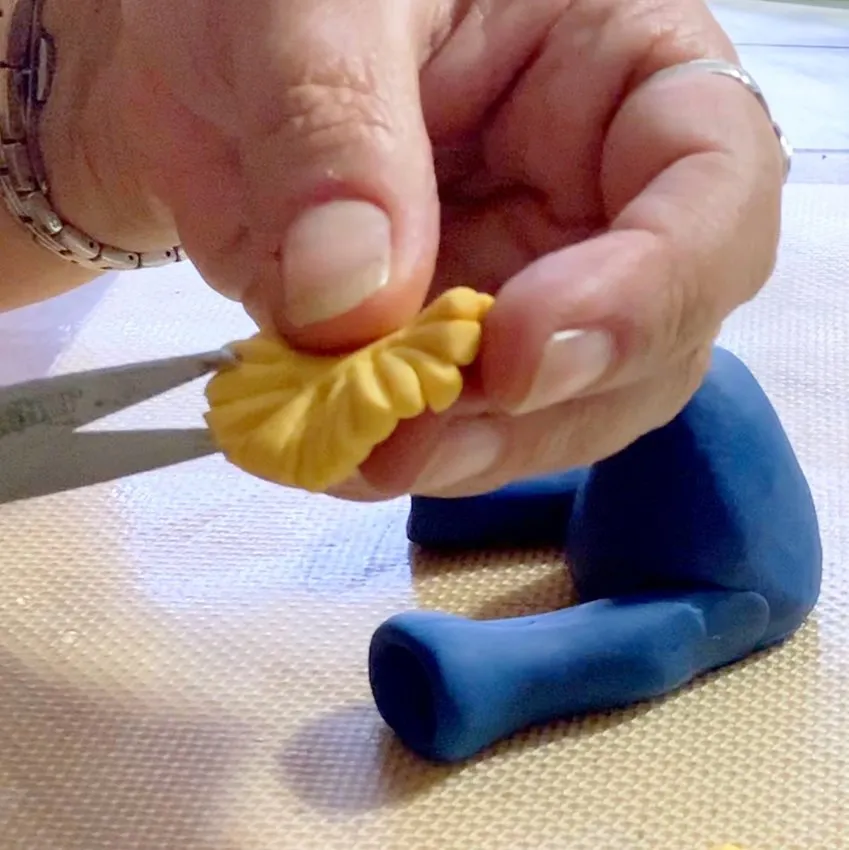
- Make a one-inch circle out of yellow fondant; using scissors, cut all the way around to make the straw.
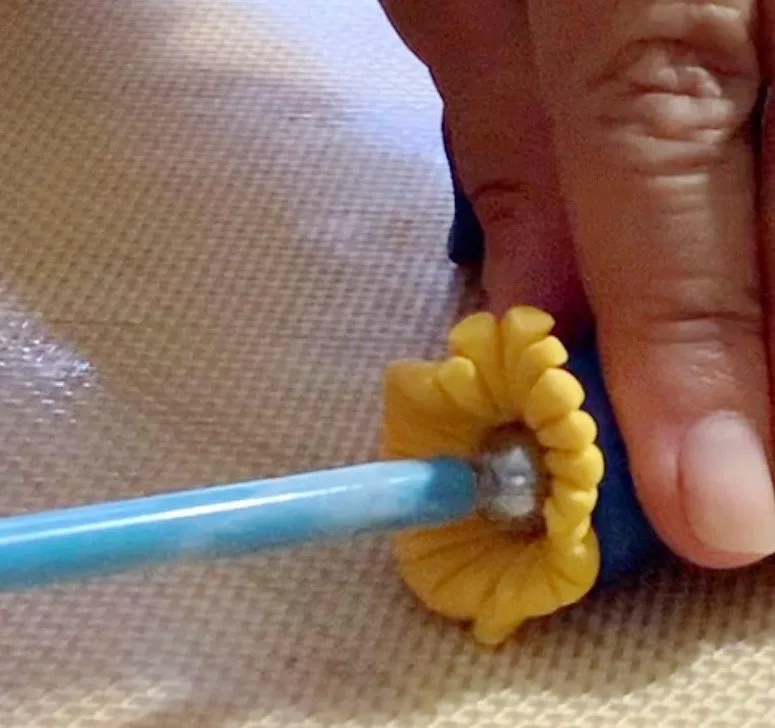
- Using a little bit of water and the ball tool, add the straw to the bottom half of the legs.
- Using red fondant, make the top half of the body (about 2-inches high). Add to lower body. Use a wooden skewer that sticks out about a quarter-inch at the top for head.
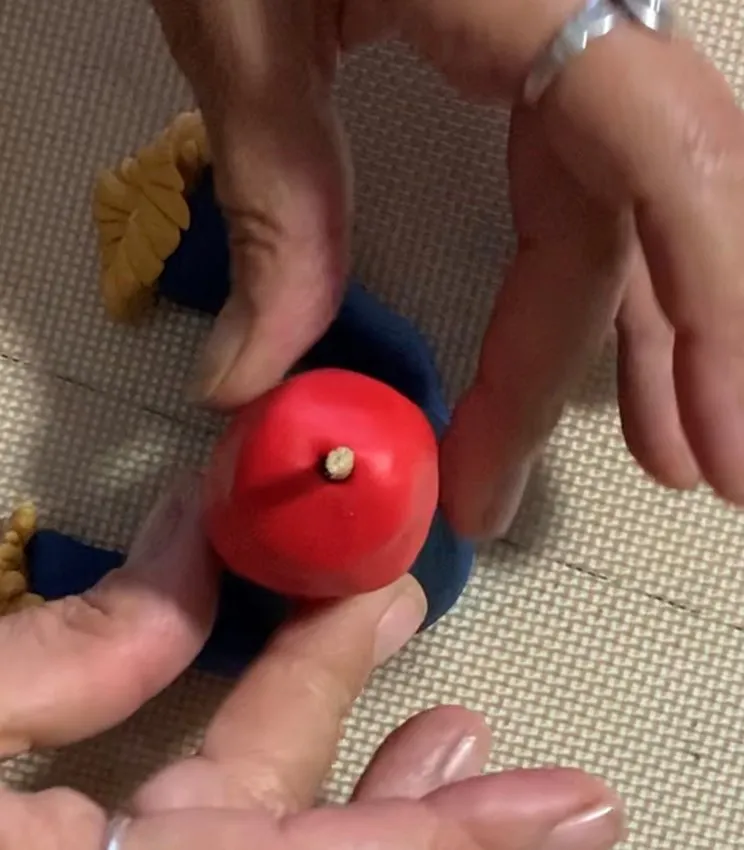
- Roll red fondant thin. Using a wheel cutter and textured wheel, cut jacket to fit. Add to the upper body using a little water to attach.
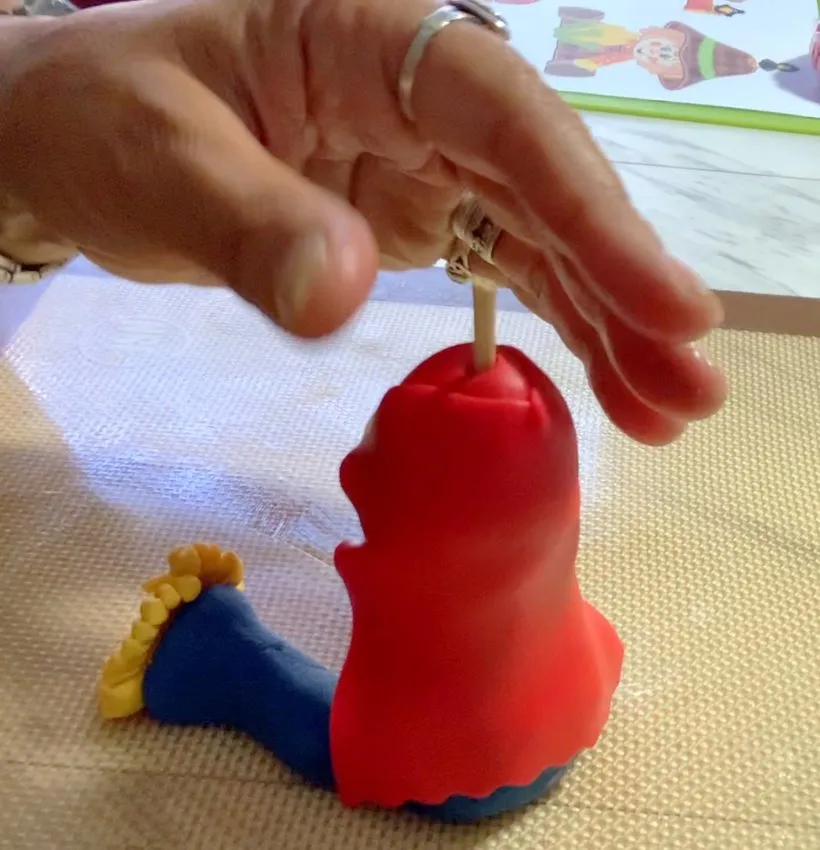
- Roll a thin strip of red fondant to make the collar for the jacket. Cut a V for the front and wrap around the neck area using a little water to attach.
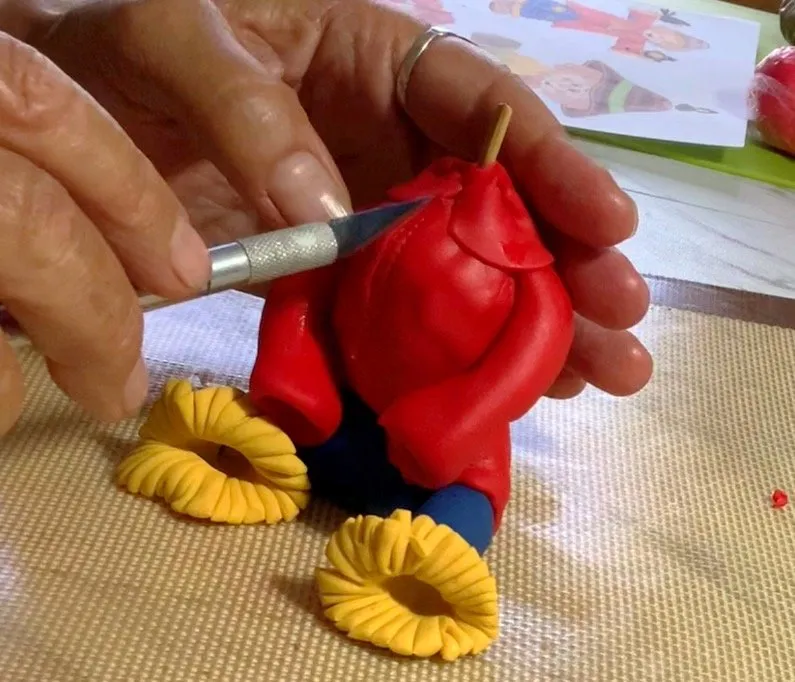
- Using a small textured wheel, add stitches to the jacket up and down both sides and the front.
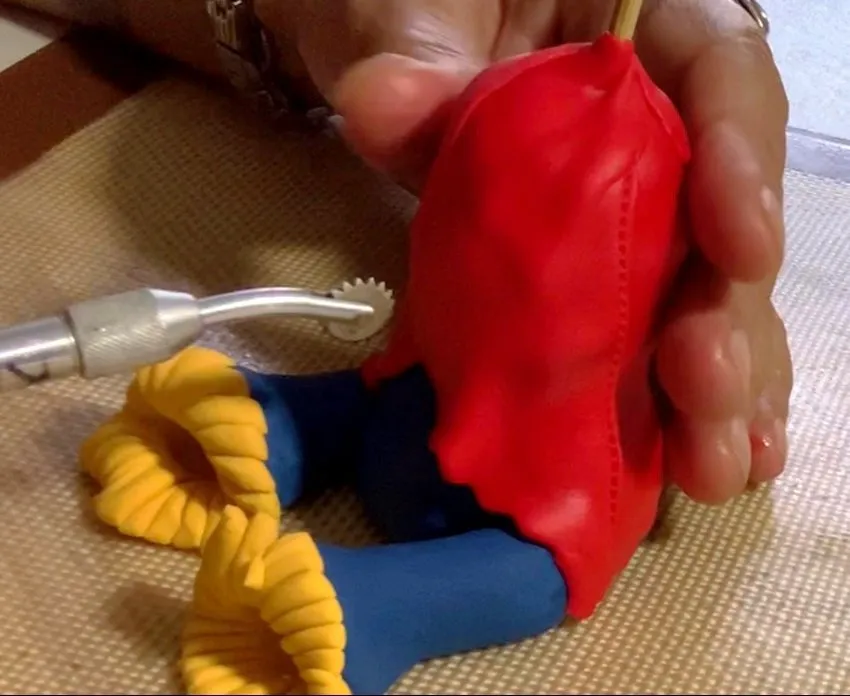
- Using a large ball tool, open up the bottom part of the arms. Make a 1-inch circle out of yellow fondant; using scissors, cut all the way around to make the straw. Using a little bit of water and the ball tool, add the straw to the bottom half of the arms.
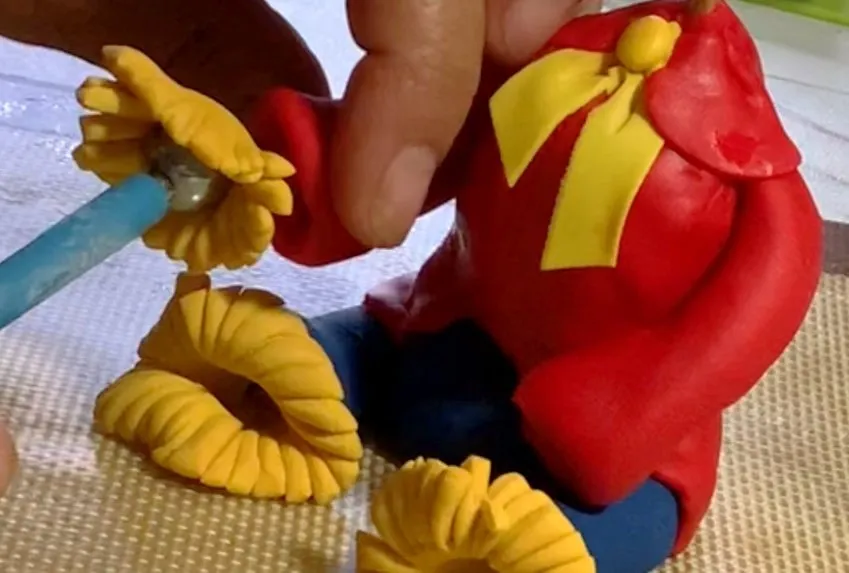
- Pinch the ends of the arms and add to body with a little water.
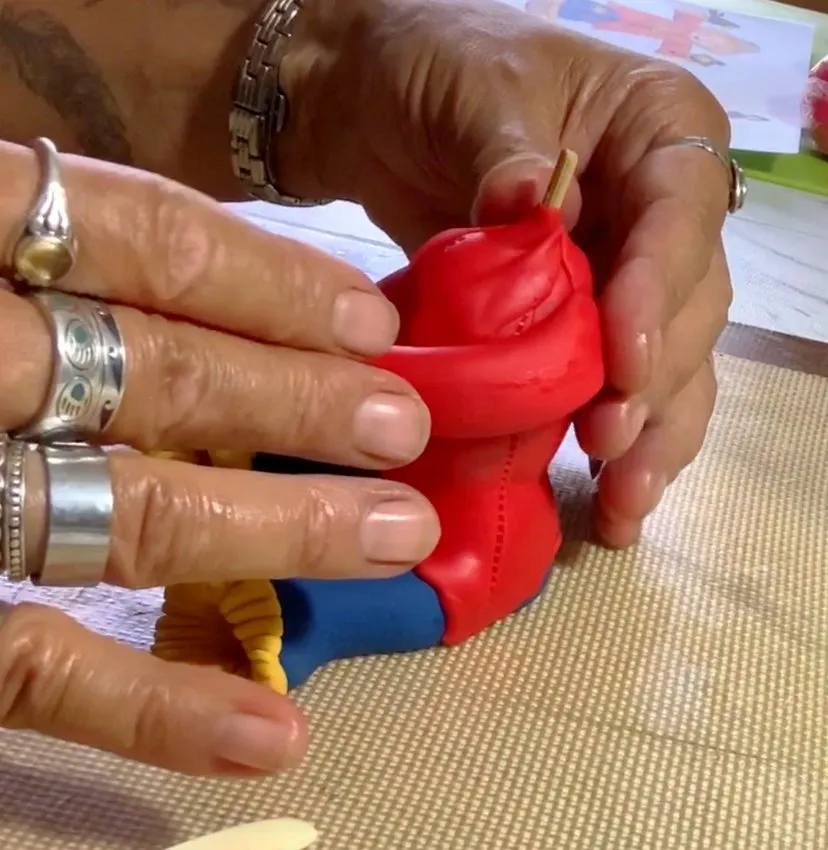
- Roll a thin piece of yellow fondant about a quarter-inch wide and 3 ½-inches long for the bow tie. Fold in half; cut bottom edges at an angle. Using a little water, add to body, then make a little yellow ball for the middle of the bow.
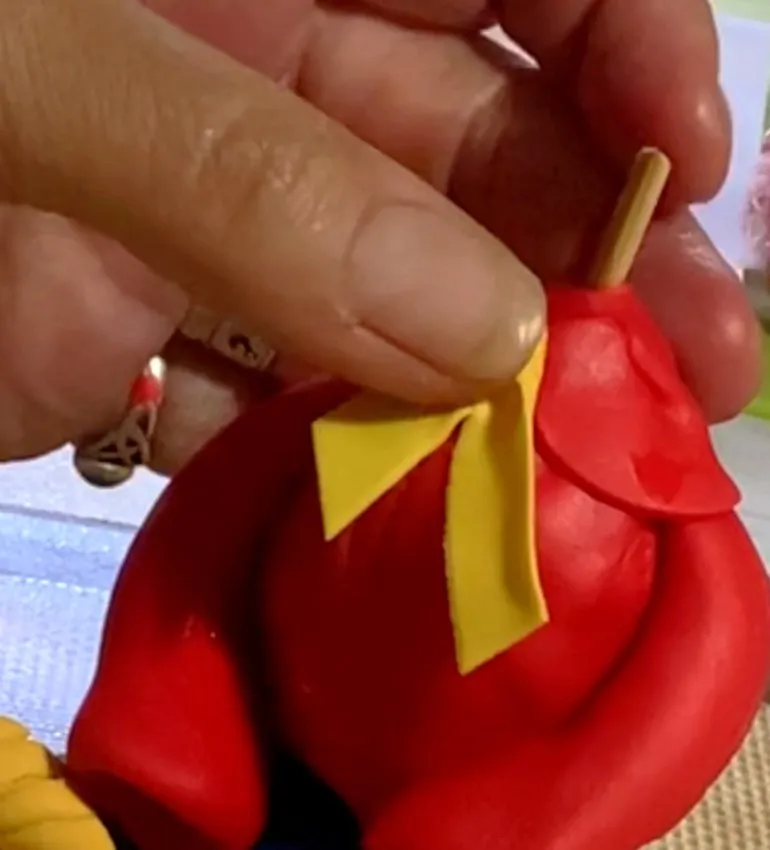
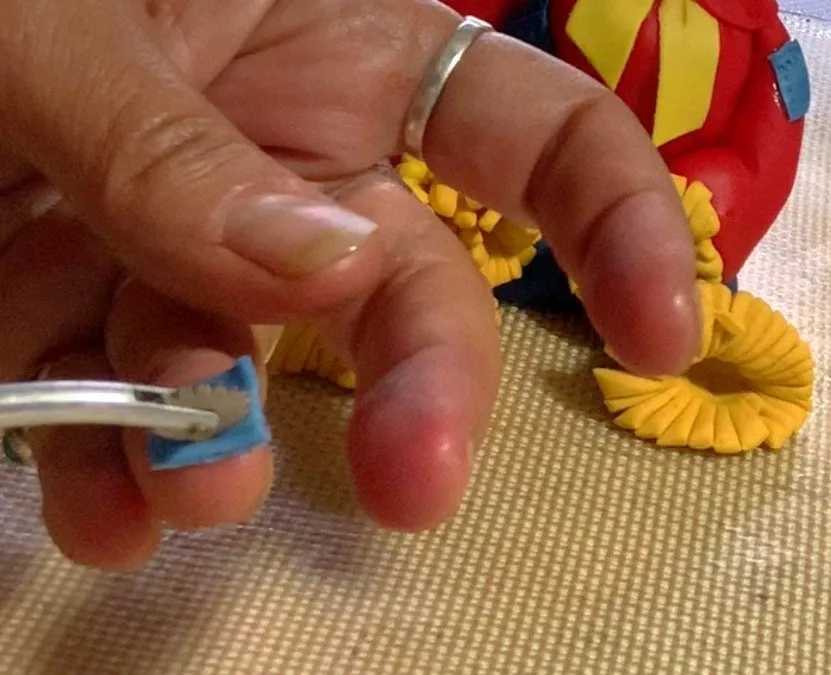
- Make patches by using differently colored fondant. Roll tiny squares and then texture to look like stitching; add to jacket with a little water.
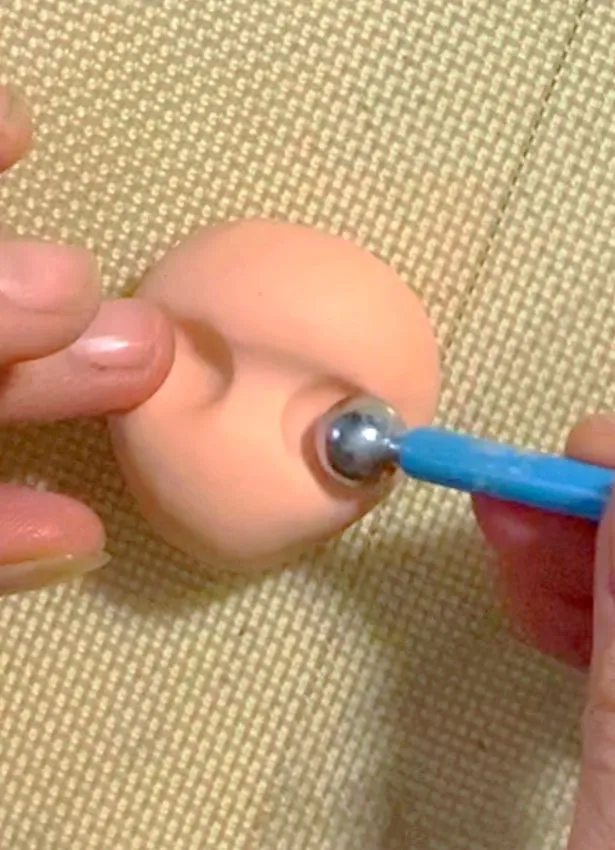
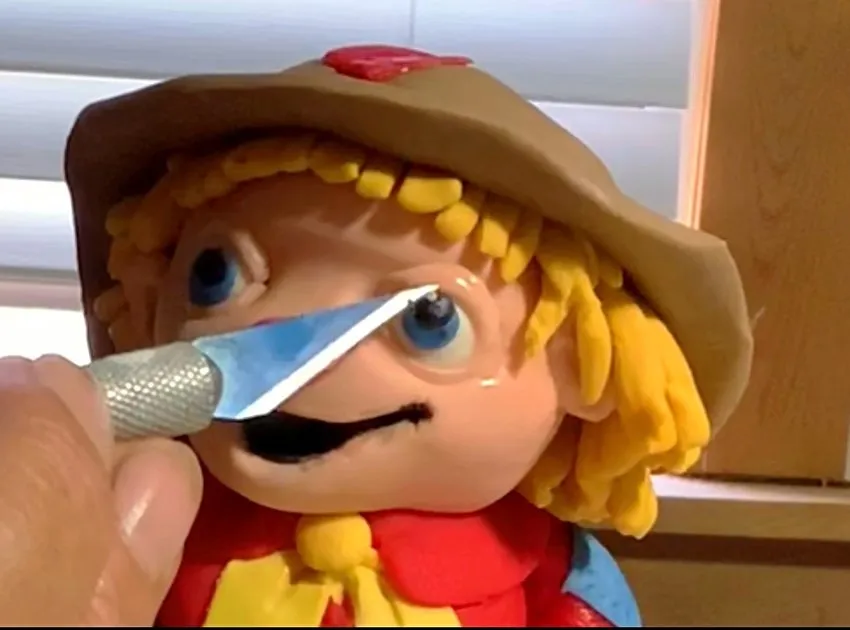
- Using a fondant of your choice, roll a ball about 2-inches for the head. Using a small ball tool, make indentations where the eyes will be and start shaping face. Using a clay tool, open up the mouth area; add a little bit of black fondant to the mouth area using clay tool and a little water.
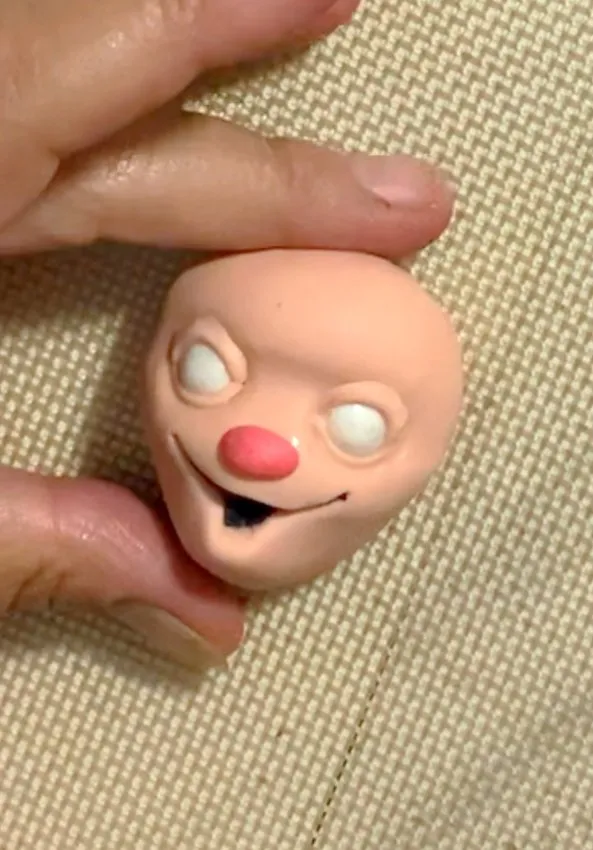
- Make two small balls to fit in the eye area out of white fondant; using a little water, add to the face. Using a little bit of deep pink fondant, make a small oval nose and add to the face. Place head onto body.
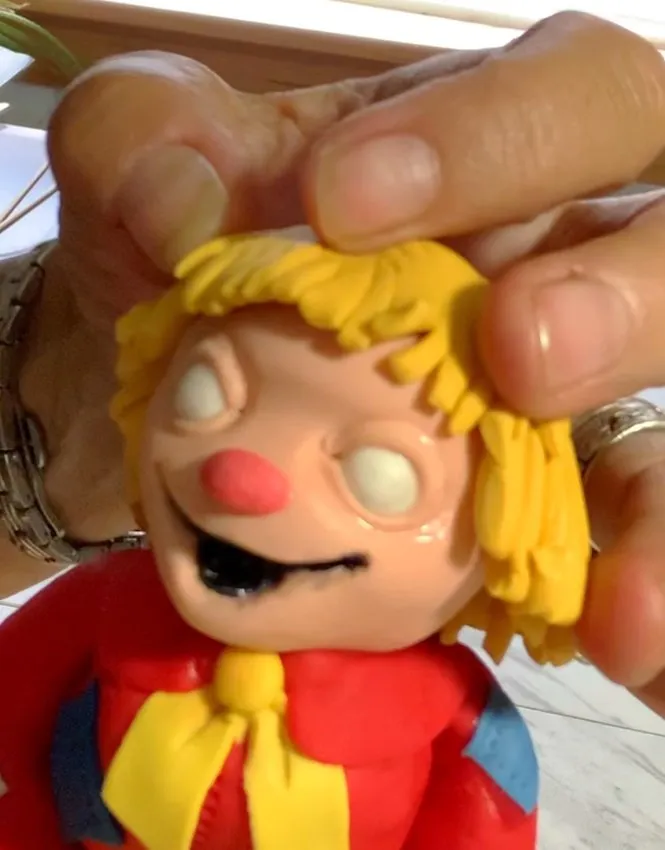
- Using some yellow fondant, make a 3-inch circle. Using scissors, cut all the way around with small cuts for the straw hair. Place on the head using a little water.
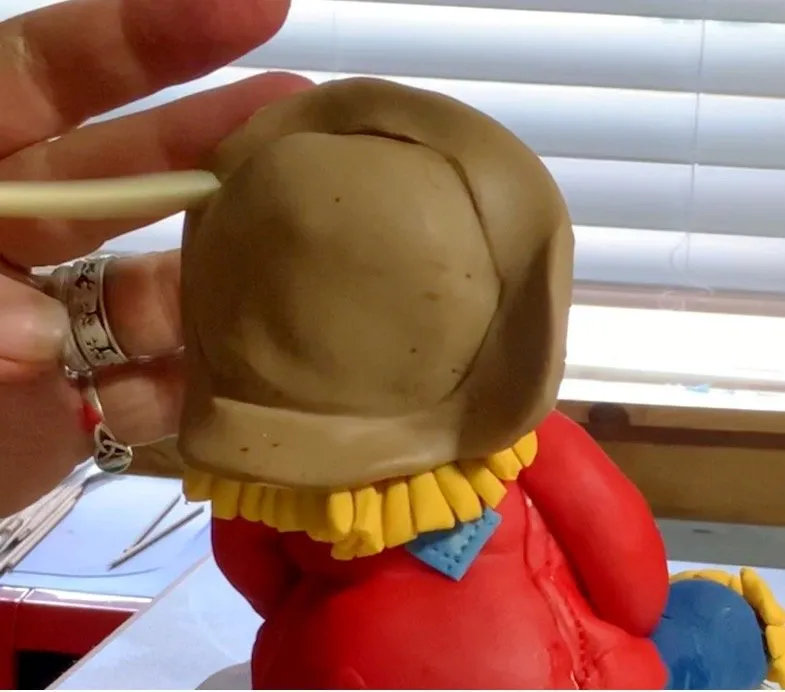
- Using brown fondant, roll out a 4-inch circle and place on head for hat. Using clay tool, add texture around the head.
- Add details using fondant for the eyes and dust clothing with blue powdered edible paint, and dust straw and hat with brown.
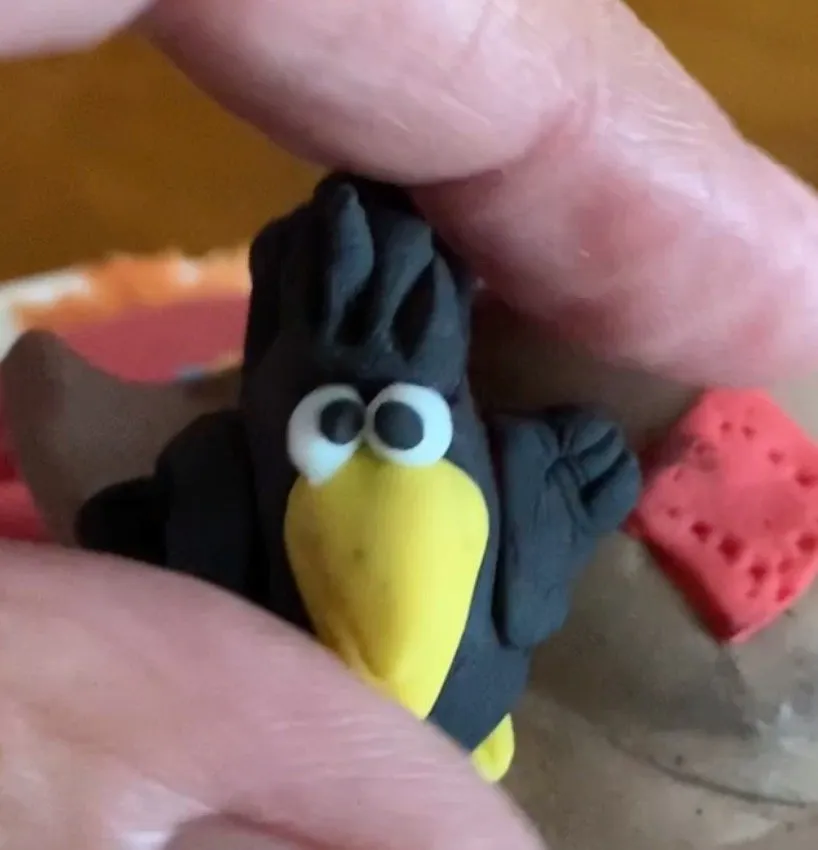
- Using some black and yellow fondant, make a small crow to sit on the top of the hat.
Notes
Products Used
It’s true that fondant can be a little bit difficult to work with at first. But once you master some of the tricks—which you’ll see in the tutorial—it can open up a world of creative fun for a budding cake artist.
Remember, too, that you can be as creative as you’d like to be in terms of shapes and colors for your scarecrow cake topper. What I’ve done here is one way, not the way. Always remember to express yourself in your artwork.
I hope you enjoy making this cute scarecrow as much as I did.